Crochet Snowflake Coasters – Free Winter Pattern
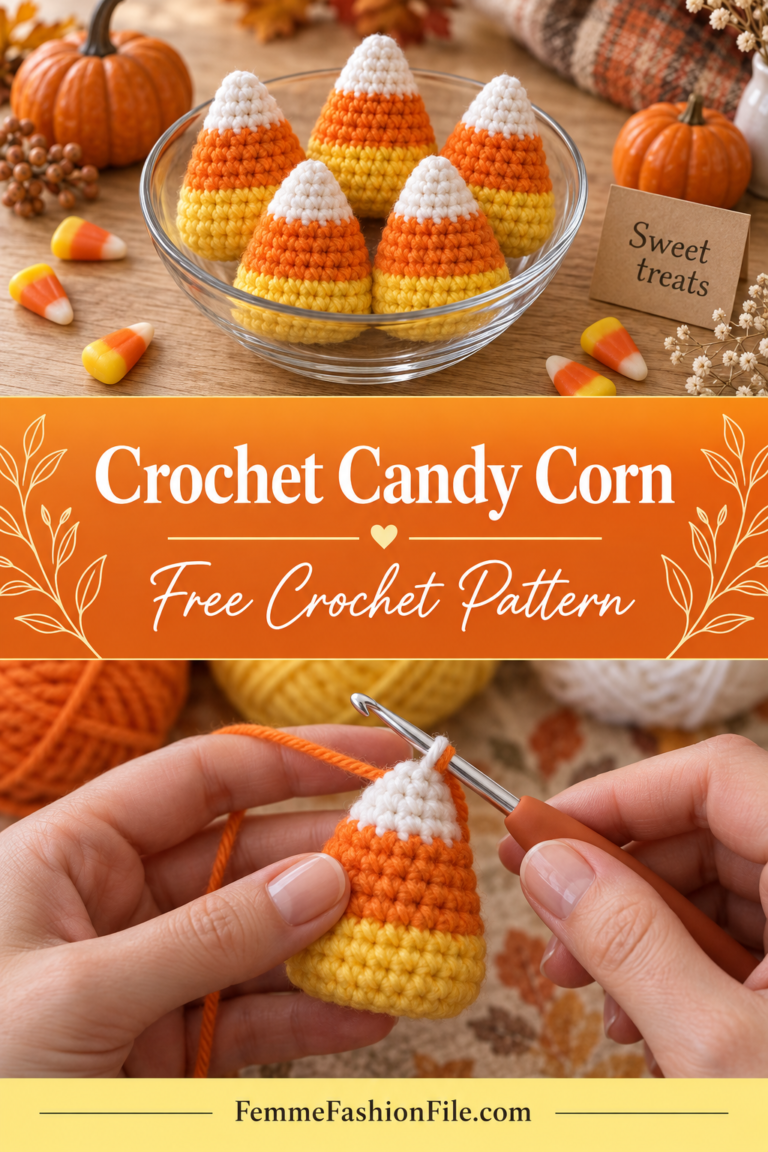
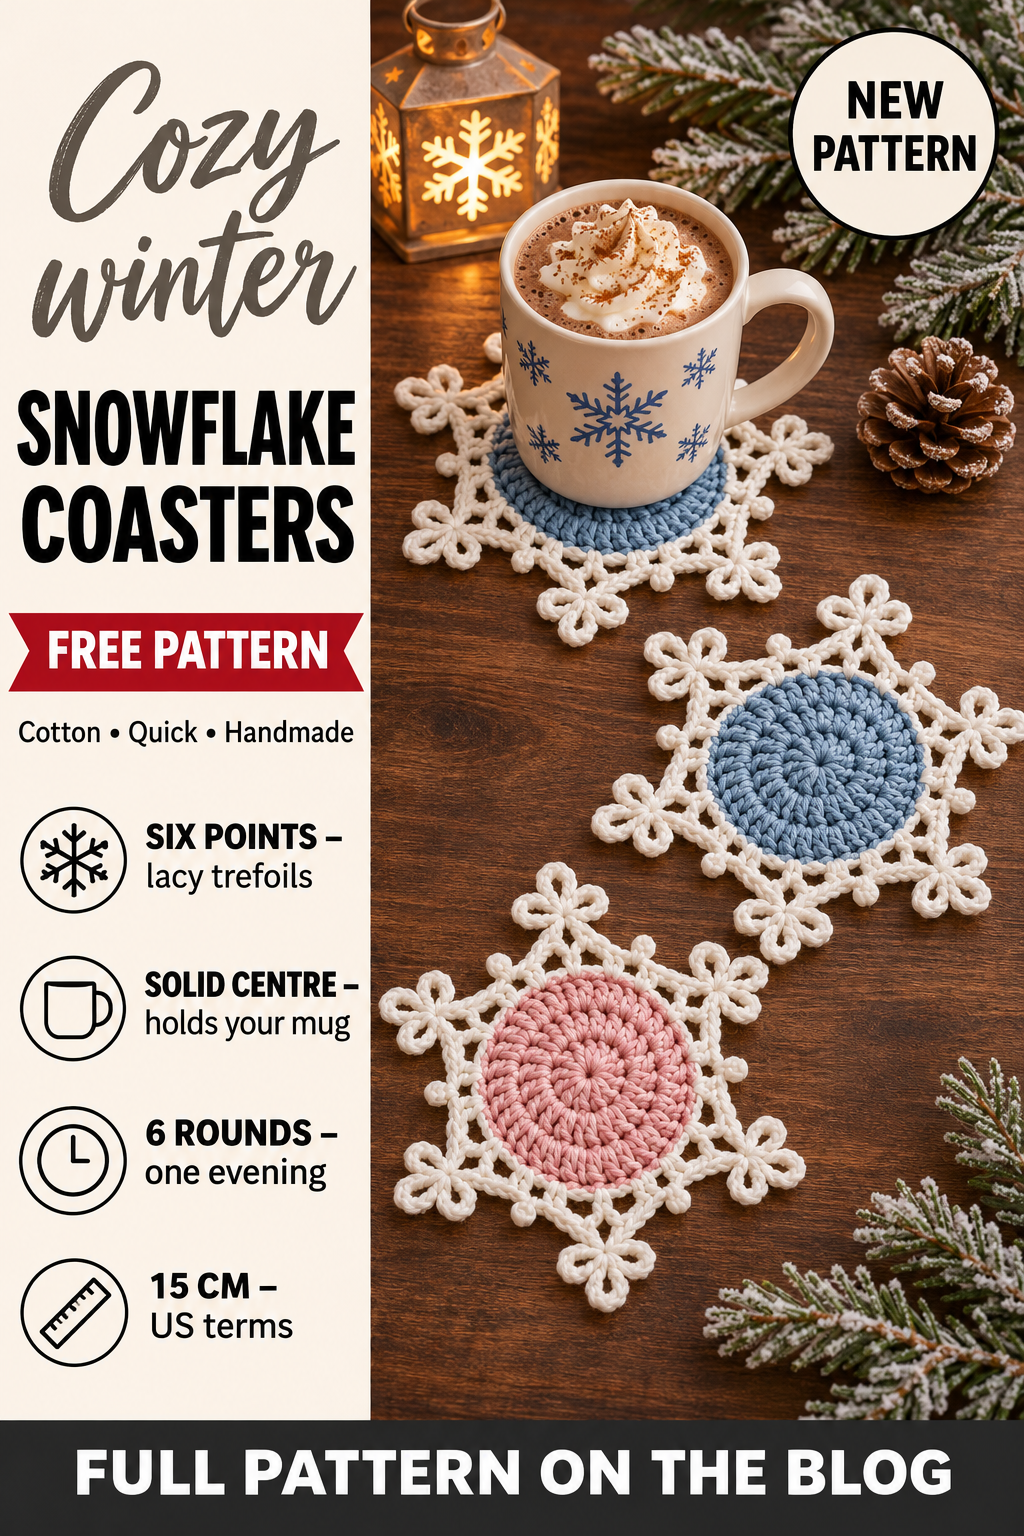
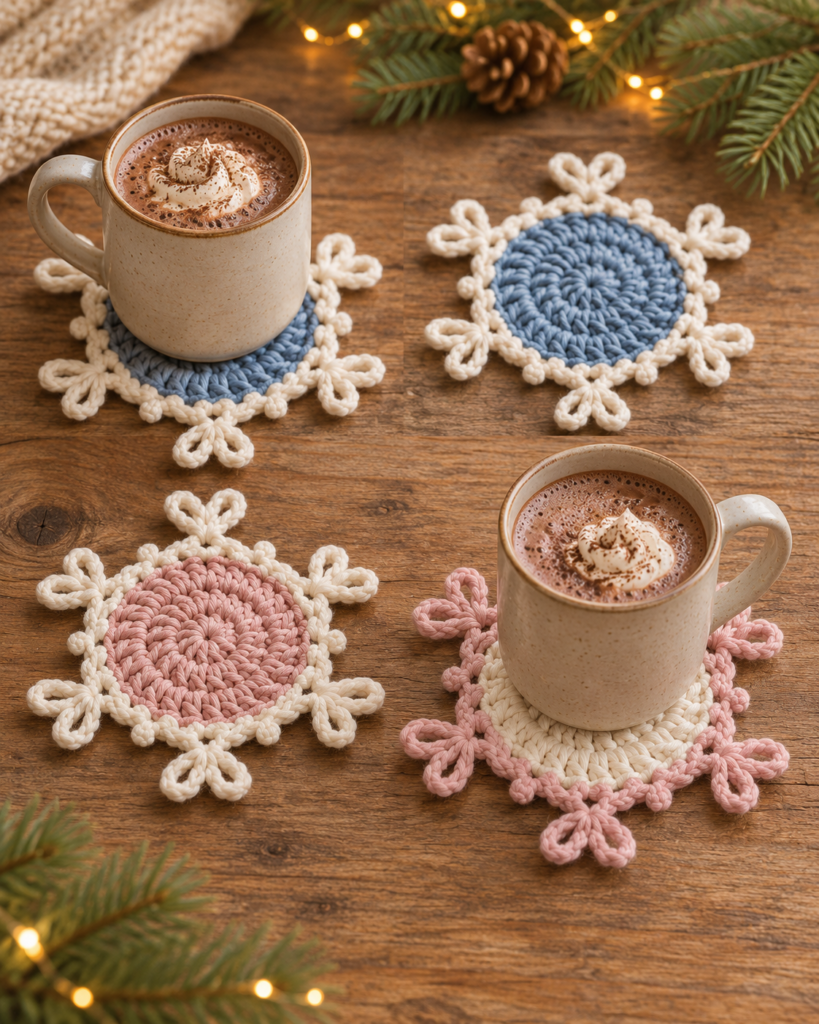
There is something about a mug of hot chocolate on a crochet snowflake that makes winter feel softer. These crochet snowflake coasters have a solid, coloured centre that holds your mug steady and six lacy white points that look like a real snowflake when they lie on the table.
Make them in dusty blue and white for a frosty look, in blush pink and white for a sweet one, or swap the colours and make white centres with pink points. A set of four takes an evening or two, and they make a lovely little gift tied with twine.
Each coaster is about 15 cm (6 in) from point to point, with a 9 cm (3.5 in) solid centre. If you can make a magic ring, double crochet and a chain, you can make these.
Why you will love these snowflake coasters
- They actually work as coasters. The solid centre is the size of a mug base, so cups sit flat and drips are soaked up by the cotton.
- Six rounds, one evening. Each coaster is only six rounds, so you can make a whole set quickly.
- Two-colour look, easy colour change. You change colour only once, at the start of round 4.
- Pretty off the table too. Hang one in a window or use it as a gift topper.
- A perfect scrap project. One 50 g ball of each colour makes four to six coasters.
Materials you will need
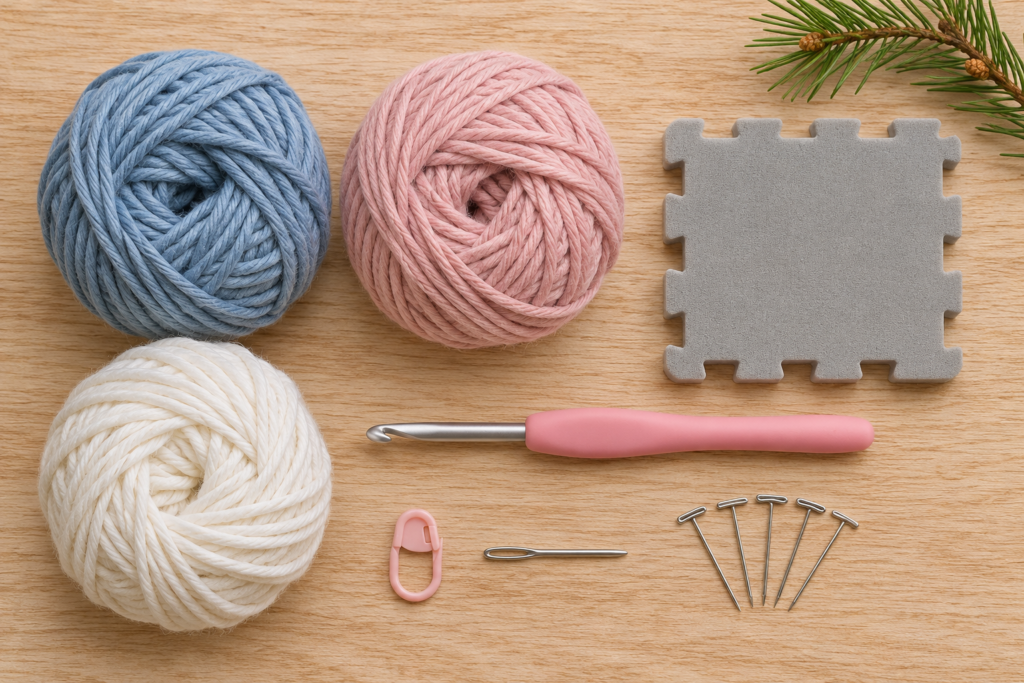
- Yarn: worsted / aran-weight 100% cotton (weight 4), for example a kitchen cotton. You need a centre colour (dusty blue or blush pink) and white or cream.
- Amount per coaster: about 8 g of the centre colour and 10 g of white.
- Hook: 4 mm (G-6)
- Also: tapestry needle, scissors, stitch marker, rust-proof pins and a foam mat or towel for blocking.
Use cotton, not acrylic. Cotton soaks up condensation from cold drinks and copes with hot mugs; acrylic can feel slippery and may go shiny or soft under a very hot cup.
Finished size and skill level
About 15 cm (6 in) across from point to point after blocking, with a solid centre of about 9 cm (3.5 in). Skill level: easy / advanced beginner.
Abbreviations (US terms)
- MR – magic ring
- ch – chain
- sl st – slip stitch
- sc – single crochet
- hdc – half double crochet
- dc – double crochet
- dc inc – 2 dc in the same stitch
- sk – skip
- sp – space
- picot – ch 3, sl st in the 3rd ch from the hook
- (…) x 6 – repeat what is in brackets 6 times
- [24] – total stitches at the end of the round or row
Pattern notes
- The coaster is worked in joined rounds with the right side facing you; do not turn.
- In rounds 1–3 the ch 3 at the start counts as the first dc.
- Join each round with a sl st into the top of the first stitch, as written.
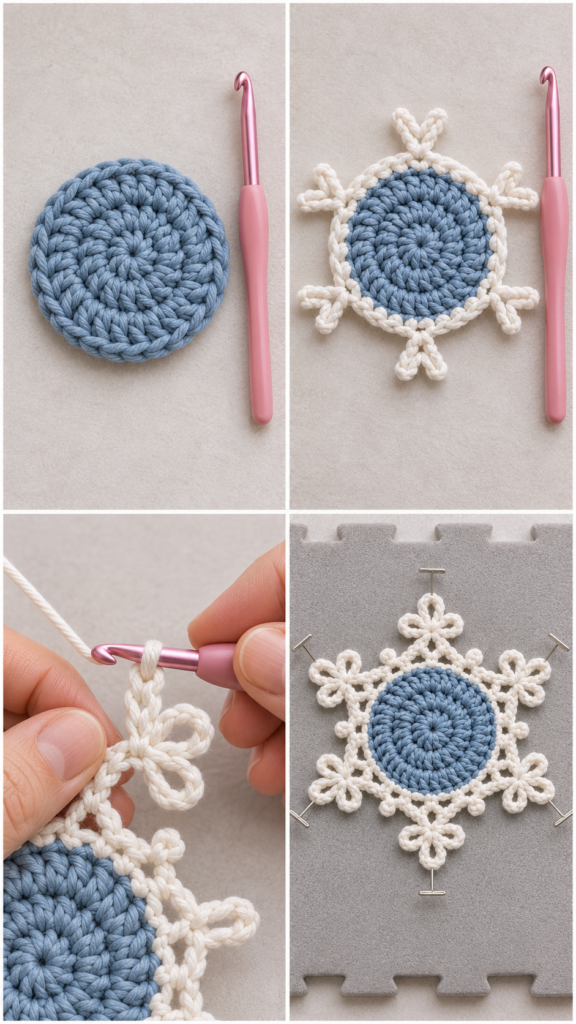
- Trefoil point: ch 5 (the stem), *ch 4, sl st in the 4th ch from the hook* for the first leaf, ch 5 and sl st in the 5th ch from the hook for the top leaf, ch 4 and sl st in the 4th ch from the hook for the last leaf, then sl st back down each of the 5 stem chains.
- For the reversed colour version, simply use white for rounds 1–3 and the colour for rounds 4–6.
Step by step
Rounds 1–3: the solid centre (centre colour)
- Round 1: MR, ch 3 (counts as dc), 11 dc in the ring. Pull the ring closed and sl st to the top of the ch 3. [12]
- Round 2: ch 3 (counts as dc), dc in the same st, dc inc in each st around; sl st to the top of the ch 3. [24]
- Round 3: ch 3 (counts as dc), dc inc in the next st, (dc in the next st, dc inc in the next st) x 11; sl st to the top of the ch 3. [36]
- Fasten off the centre colour.
The centre should lie completely flat. If it ripples, your tension is loose – try a 3.5 mm hook. If it cups, try 4.5 mm.
Round 4: the white base round
- Round 4: join white with a sl st in any st, ch 1, sc in the same st and in each st around; sl st to the first sc. [36]
Place a stitch marker in the first sc. Round 5 divides the 36 stitches into 6 groups of 6, one group for each point.
Round 5: the point bases
- Round 5: ch 1, *sc in the next st, hdc in the next st, (2 dc, ch 3, 2 dc) all in the next st, hdc in the next st, sc in each of the next 2 sts* x 6; sl st to the first sc. [54 sts and 6 ch-3 spaces]
You now have six little V shapes around the coaster. Each ch-3 space is the tip where a snowflake point will grow.
Round 6: the snowflake points
- Sl st in the next hdc and in each of the next 2 dc, then sl st into the ch-3 space.
- Round 6: ch 1, *in the ch-3 space work (sc, trefoil point, sc); sc in each of the next 4 sts, (sc, picot, sc) in the next st, sc in each of the next 4 sts* x 6; sl st to the first sc. [72 sc, 6 trefoil points, 6 picots]
- Fasten off and weave in all ends.
Between two points there are 9 stitches: the 4 before the little picot, the picot stitch itself and the 4 after it. Count them on the first repeat – once one point is right, the rest will follow.
Blocking: the secret to a real snowflake shape
- Wet the coaster in cool water, squeeze gently in a towel (do not wring).
- Lay it on a foam mat, pin the centre flat, then pin out each trefoil: one pin in the top leaf and one in each side leaf.
- Pin each small picot between the points, pulling the edge into a gentle star shape.
- Leave to dry completely, then unpin. For extra crisp points, spray lightly with starch before it dries.
Blocking makes a huge difference with lacy points – before blocking they curl and look like a flower; after blocking they open into a snowflake.
Finishing checklist
- All six points the same size and evenly spaced.
- Centre flat and round, with the colour change hidden on the back.
- Ends woven in through solid stitches, not through the lace, so they cannot pull out.
- Coaster completely dry before it is used or wrapped.
Common mistakes and how to fix them
- The centre cups. Check you made 12 increases in round 3 (36 stitches). Too few stitches pull the circle into a bowl.
- Uneven points. Count the 9 stitches between points in round 6. One extra stitch makes one side longer.
- Trefoils twist. Make sure each leaf is a sl st into the chain counted from the hook, then sl st back down the stem in the chains, not around them.
- Coasters slide around. A firm block and a little starch help; you can also sew a felt circle under the centre.
Ways to make them your own
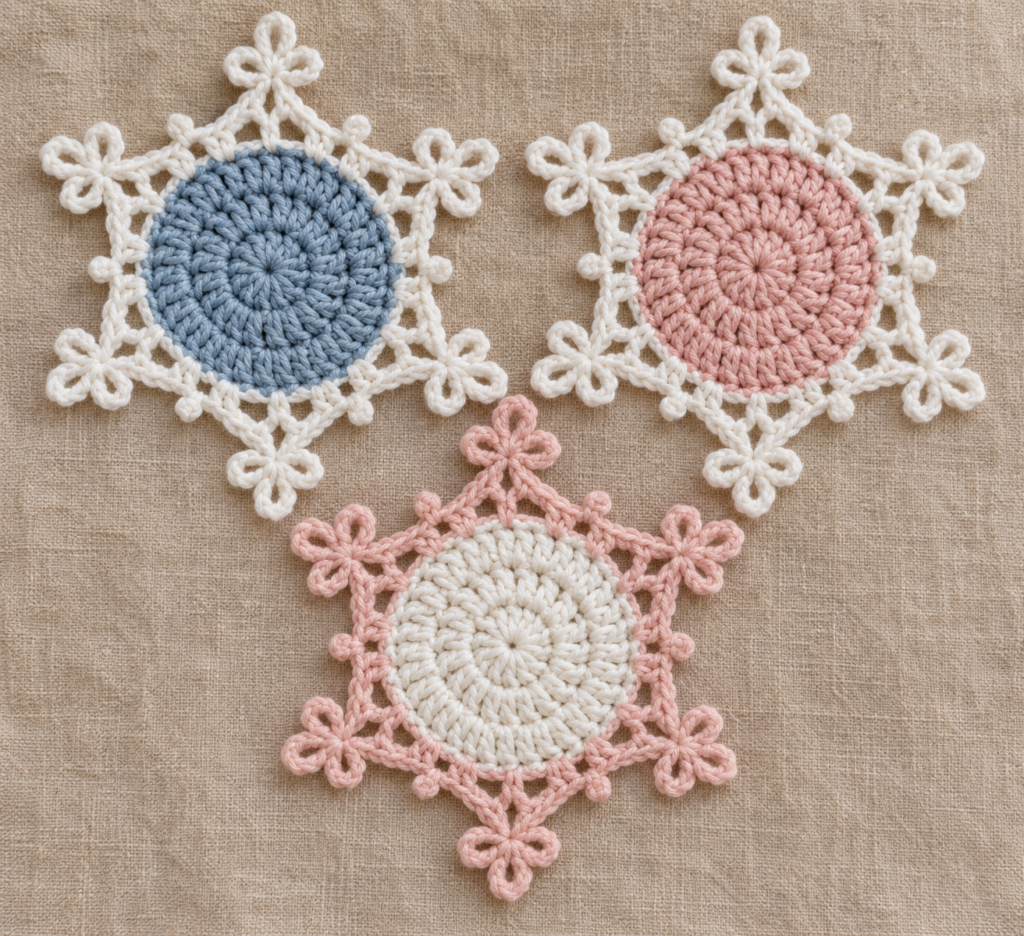
- Reverse the colours: white centre with pink or blue points.
- Make the centre in a variegated cotton for a frosty, speckled look.
- Skip the coaster idea and use bright white mercerised cotton with a 3 mm hook for a tree ornament.
- Make six and join them point to point for a snowflake table runner.
Care
Wash by hand in cool water or on a gentle machine cycle in a laundry bag, then reshape and dry flat. Re-block if the points start to curl. Very hot pans should go on a trivet, not on a crochet coaster.
More Christmas patterns you will love
Make a whole snowy set: the matching crochet snowflake garland for the mantel, a crochet Christmas tree skirt with bells and snowflake edging, or a cosy Sleepy Santa to sit beside your mugs.
Frequently asked questions
How many coasters can I make from one ball?
With a 50 g ball of each colour, you can make four to six coasters, depending on your tension.
Can I use a thinner yarn?
Yes. DK cotton with a 3.5 mm hook makes a coaster about 12 cm across. It will still fit most mugs, but the centre will be a little smaller.
Do I have to block them?
For coasters you really should. Unblocked points curl, and the snowflake shape only appears after pinning them out.
Can I make them as a set for a gift?
Absolutely. Stack four, tie them with baker’s twine and tuck a sprig of pine or a cinnamon stick into the bow.
Save this pattern to your winter crochet board on Pinterest so you can find it again, and happy crocheting!