Crochet Candy Corn Amigurumi – Free Halloween Pattern
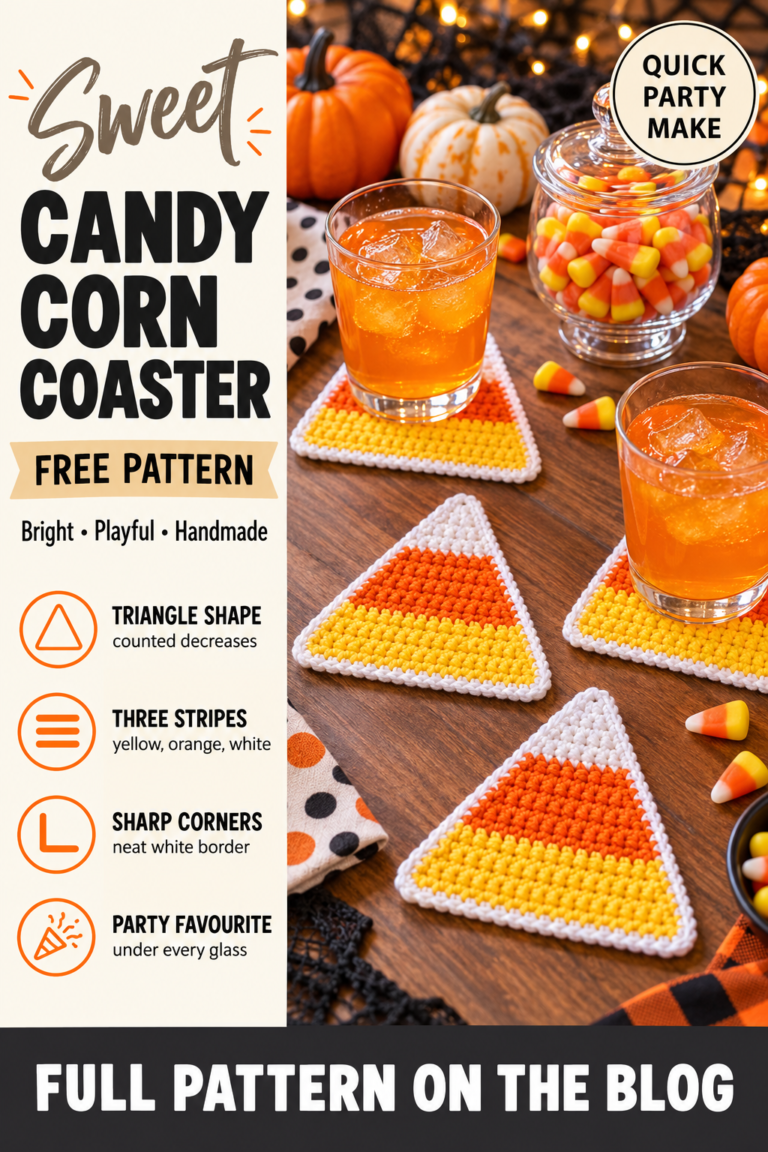
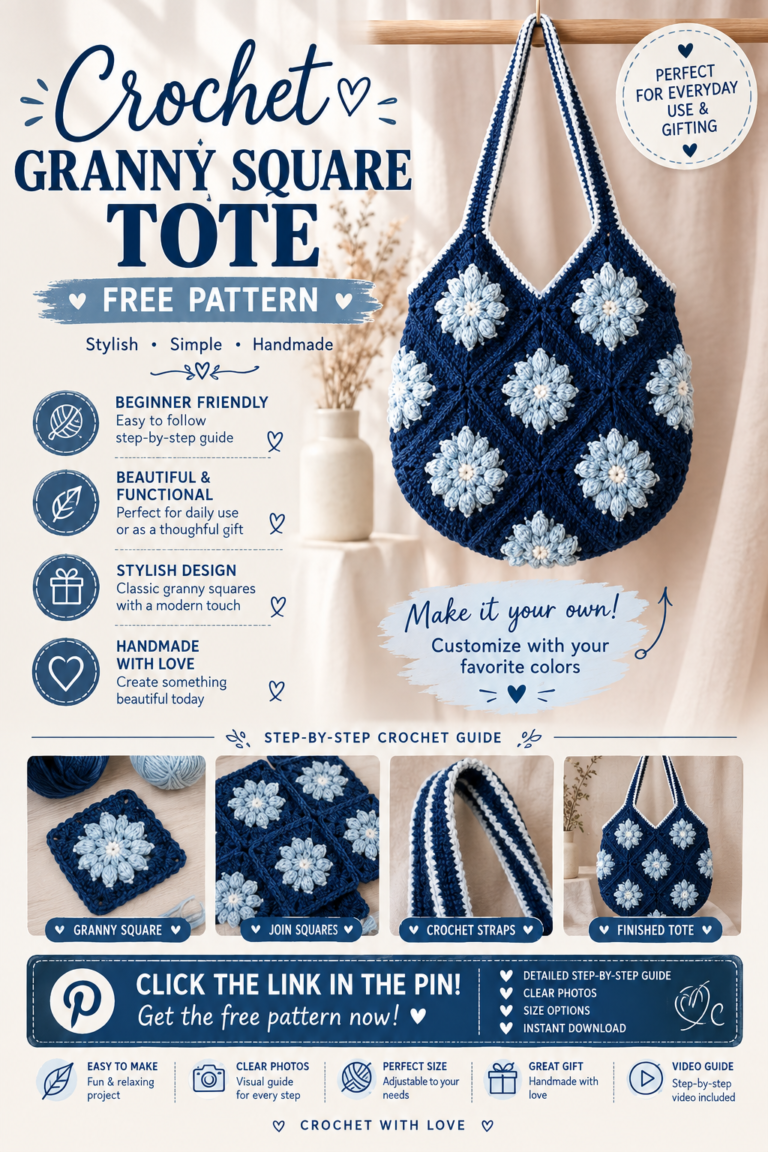
Crochet candy corn is the sweetest Halloween make, in every sense. Each one takes about forty minutes, uses three tiny amounts of scrap yarn, and looks exactly like the real sweet — a white tip, a bright orange middle and a yellow base. A bowl of them on a table is cheerful, completely calorie-free, and never goes stale.
They are also the best way to practise clean colour changes in amigurumi. Three colours, two changes, and a shape small enough that you can see immediately whether your stripes are straight.
You need to work in the round, increase and decrease, and change colour. If colour changes are new to you, this is the gentlest possible way to learn them.
Why this candy corn works
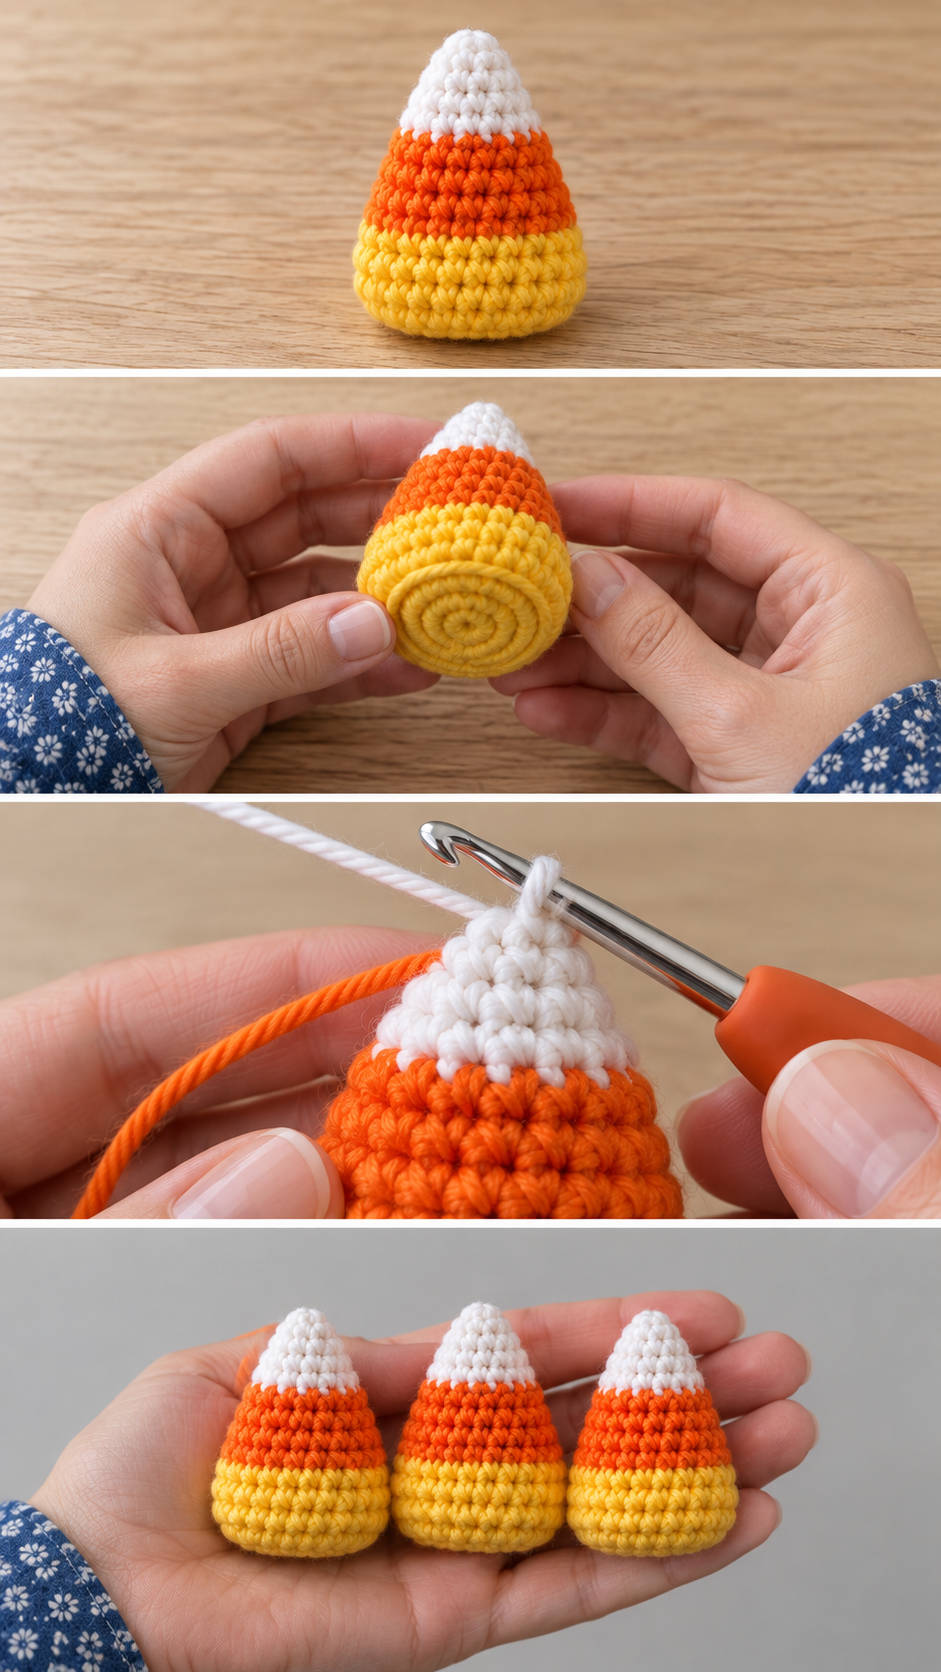
Candy corn is a cone with a flat base, and a cone in crochet comes from increasing by three stitches a round instead of six. With only three new stitches per round the fabric cannot lie flat, so it rises into a point. This is exactly how the strawberry on this site is made, only with stripes.
The colours sit where they do on the real sweet because each colour covers a set number of rounds: three rounds of white for the tip, four of orange for the broad middle, and yellow for the widest band and the base. Because every round is a known count — 6, 9, 12, 15, 18, 21, 24 — the stripes land at the same height all the way round.
The honest trade-off: working in a spiral means the colour change leaves a tiny step where the round begins. It is barely visible on something this small, and I explain how to hide it completely.
Materials you will need
- White yarn: about 3 yards per candy corn
- Orange yarn: about 6 yards
- Yellow yarn: about 6 yards
- Worsted weight cotton gives the crispest stripes
- Hook: 3.5 mm (E-4)
- Stuffing: a pinch of fibrefill
- Notions: stitch marker, tapestry needle, scissors
Choose a warm, true orange and a clear sunny yellow. A yellow that is too pale disappears next to the white tip, and an orange with too much red in it looks more like a traffic cone than a sweet.
Finished size
About 2″ tall and 1¾″ across the base in worsted cotton on a 3.5 mm hook.
Abbreviations
- MR = magic ring: a loop you work the first round into, then pull tight to close.
- sc = single crochet: insert hook, yarn over and pull up a loop (2 loops on hook), yarn over and pull through both.
- inc = 2 sc in the same stitch. Adds one stitch.
- dec = invisible decrease: insert hook into the front loop only of the next two stitches, yarn over and pull through 2 loops, yarn over and pull through the last 2.
- BLO = back loop only: work into the loop furthest from you.
- ch = chain.
- sk = skip.
- sl st = slip stitch.
Pattern notes
- Worked in continuous spiral rounds from the tip down to the base.
- Change colour on the last yarn-over of the final stitch of the round before, so the new colour starts cleanly.
- Mark the first stitch of each round, and move the marker up at each colour change.
- Counts go up by three per round in the cone.
How to change colour cleanly
Work the last stitch of the old colour until two loops are left on your hook. Drop the old colour, pick up the new one, and use it to pull through those last two loops. Then carry on in the new colour. The stitch before the change is finished in the new colour, which is why the stripe starts crisply rather than with a half-and-half stitch.
Leave the old colour hanging inside the cone. You will tie the tails together inside before stuffing.
Step by step
Part 1: The white tip
Round 1: With white, 6 sc into a MR. Pull tight. (6)
Round 2: *Sc in next st, inc*; repeat 3 times. (9)
Round 3: *Sc in next 2 sts, inc*; repeat 3 times, changing to orange on the last stitch. (12)
Part 2: The orange middle
Round 4: *Sc in next 3 sts, inc*; repeat 3 times. (15)
Round 5: *Sc in next 4 sts, inc*; repeat 3 times. (18)
Round 6: *Sc in next 5 sts, inc*; repeat 3 times. (21)
Round 7: Sc in each st around, changing to yellow on the last stitch. (21)
Part 3: The yellow base
Round 8: *Sc in next 6 sts, inc*; repeat 3 times. (24)
Rounds 9 and 10: Sc in each st around. (24)
Round 11: Working in the BLO only, sc in each st around. (24) This makes the sharp edge of the flat base.
Round 12: *Sc in next 2 sts, dec*; repeat around. (18)
Tie the colour tails together inside and stuff firmly, pushing a little into the tip.
Round 13: *Sc in next st, dec*; repeat around. (12)
Round 14: Dec around. (6)
Fasten off, close the opening through the front loops, and hide the end inside. Press the base flat against the table.
Hiding the colour step
At each colour change, the new round starts a stitch higher than the last because the rounds spiral. On the first stitch of the new colour, work a slip stitch instead of a single crochet, then continue as normal. That little shorter stitch lowers the start of the round and makes the stripe look level. Count the slip stitch as the first stitch of the round.
Making a set
Candy corn looks best in quantity. Five or seven in a small glass bowl or jar is lovely on a desk or kitchen counter. A handful scattered along a mantelpiece among small pumpkins and candles looks very festive. Threaded onto a length of yarn through their tips, they make a short garland for a window.
For a playful twist, make an “Indian corn” version with a brown base, orange middle and cream tip, or a pastel version in lilac, mint and white for a gentler, more modern look.
Choosing colours
The classic combination only works if the three colours read clearly as separate bands. Hold the three balls together before you start. If any two blend into each other, swap one for a stronger shade. It is also worth checking them under a warm lamp, because a lot of Halloween decorating happens in the evening light.
Common mistakes and how to fix them
The stripes are wavy
The colour changes are not all at the start of the round. Keep your marker in the first stitch and change exactly there each time.
The tip is blunt
The magic ring is not pulled tightly closed. Pull the tail hard before Round 2.
It will not stand up
The base is rounded. Press it flat while you close the final round, and do not overstuff the yellow section.
Finishing and care
Spot clean with a damp cloth. For a child under three, these are small enough to be a choking risk, so keep them as decorations out of reach.
Frequently asked
Can I make a bigger one for a pillow?
Yes. Use chunky yarn with a larger hook, and keep the same round counts. You will get a sweet about 6″ tall, which is lovely on a child’s bed.
Can I skip the stuffing?
For a flat appliqué version, work only Rounds 1 to 10 without joining the base, flatten the cone, and sew it onto a bag or a jumper.
Why cotton works best
Candy corn needs three things from its yarn: crisp colour bands, a firm shape and a smooth surface. Worsted cotton gives all three. Acrylic works, but it is springier, so the cone can look slightly soft and the colour changes a little less sharp. Avoid anything fluffy, which blurs the stripes into each other.
Turning candy corn into gifts
A handful of crochet candy corn in a small cellophane bag tied with orange ribbon makes a lovely, sugar-free Halloween treat for a friend or a teacher. They are also a good party favour for a Halloween craft evening, since guests can take one home. For a bigger gift, fill a small glass jar with eight or ten and add a handwritten label.
How long it takes
Each candy corn takes about forty minutes once you are comfortable with the colour changes, so a bowl of six or eight is a relaxed evening or two. They are a lovely project to make while watching a Halloween film, since the rounds are short and easy to count between scenes.
Before you start
Line up your three colours and practise one colour change on a scrap. Once that feels natural, the rest is easy. More spooky makes are in Halloween.