Crochet Pumpkin Stems, Leaves and Curly Vines: 8 Easy Finishing Ideas
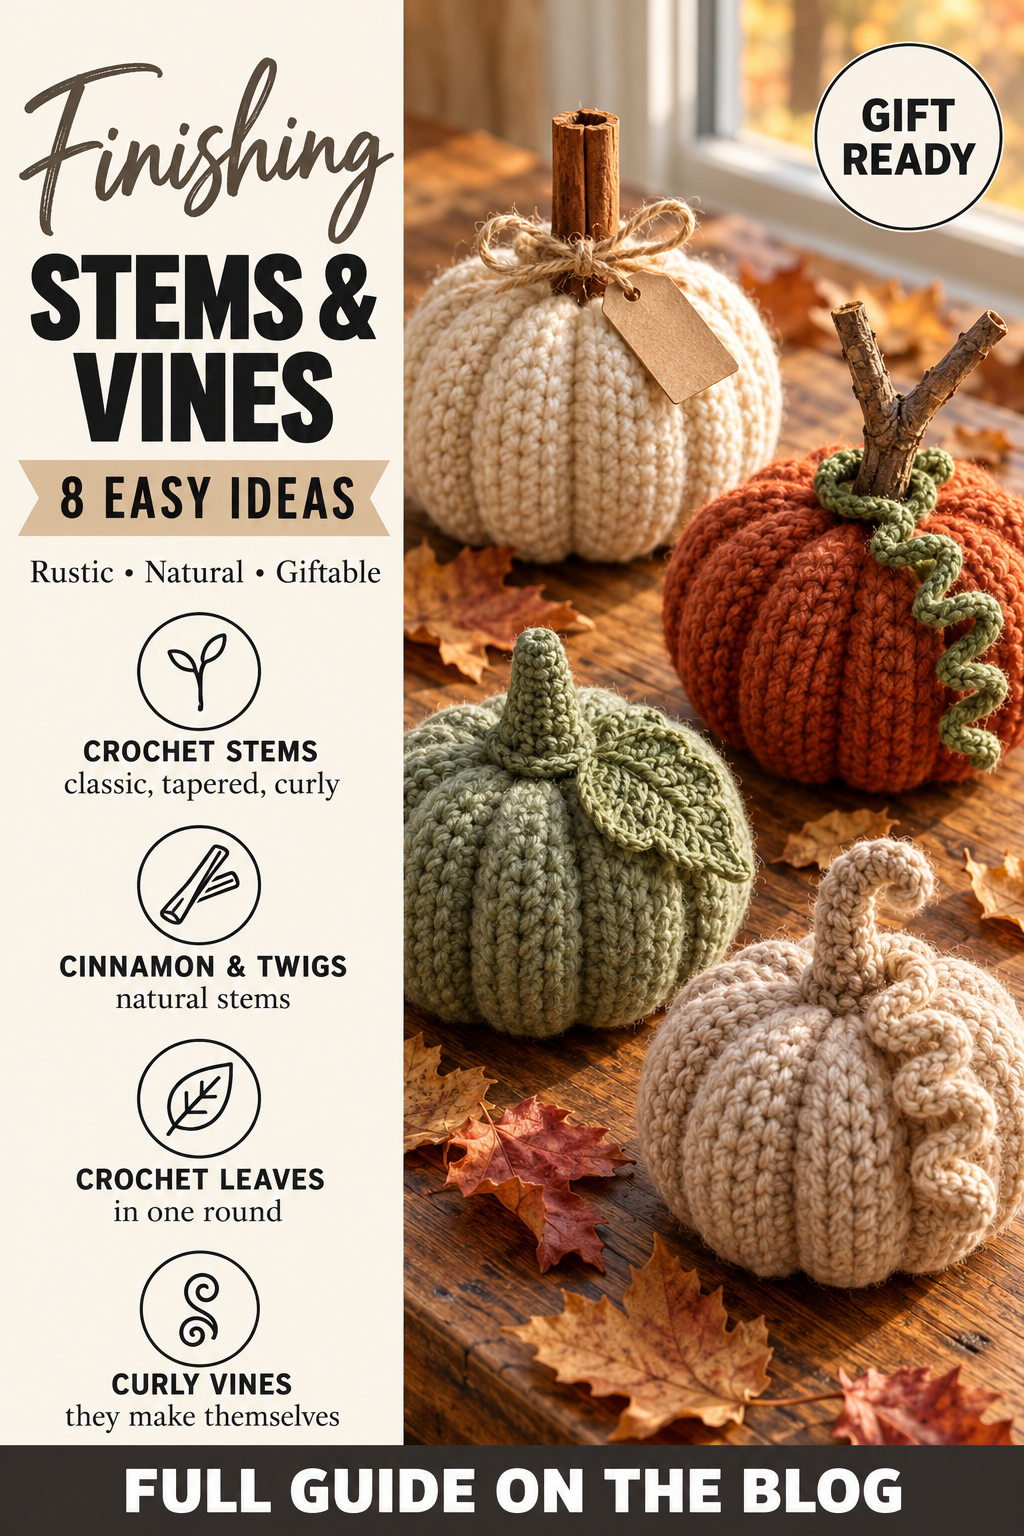
A crochet pumpkin without a stem is a cushion. Add the right stem, a leaf and a curly vine, and it becomes a pumpkin. The finishing details are small, quick and surprisingly powerful: the same pumpkin can look rustic, elegant, playful or giftable depending on what you put on top.
Here are eight easy ways to finish any crochet pumpkin, including the spiral swirl pumpkin. Mix and match them across a patch so no two pumpkins look quite the same.
Before you add a stem
Whatever you choose, the top of the pumpkin needs to be closed firmly first. Cinch the top opening tightly and knot it securely; the stem sits over that closed centre and hides it. Keep the yarn tail long — you will use it to sew the stem down, or to anchor a natural stem in place.
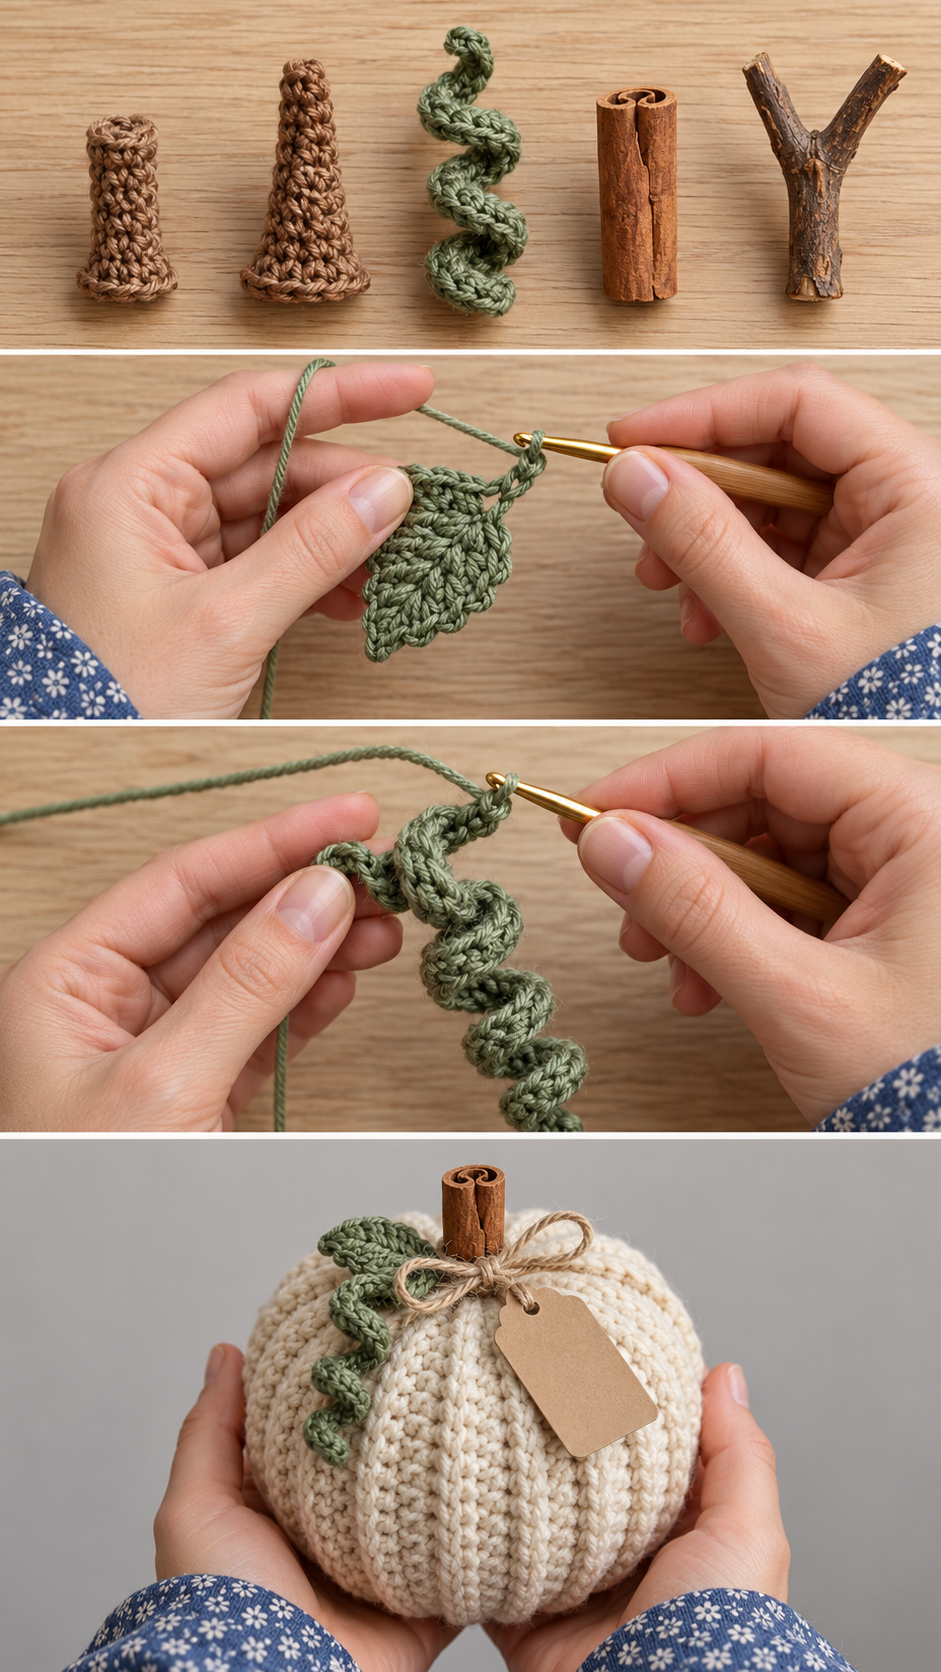
1. The classic crochet stem
The simplest, most versatile option.
Round 1: With brown or green, 6 sc into a magic ring. (6)
Rounds 2 to 5: Sc in each st around. (6)
Fasten off with a long tail and sew the open end over the top centre. Add or remove rounds for a taller or shorter stem.
2. The tapered stem
Real stems are wider at the base. This one is too, which makes it look far more natural.
Round 1: 8 sc into a magic ring. (8)
Rounds 2 and 3: Sc in each st around. (8)
Round 4: *Sc in next 2 sts, sc2tog*; repeat once more. (6)
Rounds 5 and 6: Sc in each st around. (6)
Sew the wider end to the pumpkin. Stuff the stem very lightly if you want it to stand up stiffly.
3. The curly stem
Make a classic or tapered stem a little longer — seven or eight rounds. Before sewing it on, push a short length of brown pipe cleaner inside, folding the sharp ends over first. Bend the top of the stem into a gentle hook or curl.
Because of the wire, keep curly stems for decoration only, out of reach of small children.
4. A cinnamon stick
A cinnamon stick makes a beautiful, natural stem and gives the pumpkin a gentle spicy scent — perfect for a gift. Push the stick into the top centre of the pumpkin, through the cinched opening, so a couple of inches stand up. Then use the yarn tail to stitch tightly around its base a few times so it cannot slip out.
Choose a thick, sturdy stick. Thin ones snap. Like any small item, a cinnamon stick is not suitable for a pumpkin given to a baby or toddler.
5. A real twig
A short, slightly crooked twig looks wonderfully rustic. Choose a dry, clean twig about the thickness of a pencil, and let it dry indoors for a few days so there is no moisture or insects. Anchor it the same way as a cinnamon stick. Twigs with a natural fork or knot look especially good.
6. A crochet leaf
A single leaf beside the stem adds colour and makes the pumpkin look freshly picked.
Ch 9. Starting in the 2nd ch from hook, work: sl st, sc, hdc, dc, dc, hdc, sc, sl st — one stitch in each chain to the end. Ch 1, then turn the work and work the same sequence back along the other side of the foundation chain. Fasten off with a tail.
The two sides mirror each other and make a pointed leaf shape. Sew it next to the stem, tacking only the base so the tip stands slightly free. Use two greens for a pair of leaves, or a rust and a mustard for an autumn-leaf look.
7. A curly vine
A corkscrew vine is the detail people love most, and it makes itself.
With green, ch 16. Work 2 sc into the 2nd ch from hook and 2 sc into every remaining ch. The extra stitches crowd the chain, and it twists into a spiral on its own. For a tighter corkscrew, work 3 sc into each chain instead.
Sew one end beside the stem and let the rest curl over the side of the pumpkin. A vine of 25 or 30 chains drapes beautifully down the side of a large pumpkin.
8. A twine bow and gift tag
For a pumpkin that is going to be a gift, tie a length of jute twine or raffia around the base of the stem in a simple bow. Thread a small brown kraft-paper tag onto one end and write a short message on it. It turns a decoration into a present in seconds.
Combining the ideas
The most natural-looking pumpkins combine two or three details: a tapered stem with a leaf, a twig with a curly vine, or a cinnamon stick with a twine bow. Across a patch, vary the combinations so the group feels collected rather than mass-produced.
A good rule is one element that is crocheted and one that is natural on each pumpkin: a crochet leaf with a real twig, or a crochet vine with a cinnamon stick. The mix of textures makes both look better.
Choosing stem and leaf colours
Stems look most natural in a slightly darker, warmer brown than you might expect — a chocolate or tobacco brown. For leaves and vines, moss and olive greens look more autumnal than bright greens. On cream or white pumpkins, a sage stem and leaf looks soft and modern.
Matching stems to the style of pumpkin
The stem sets the character of the whole pumpkin, so it is worth matching it to the look you want. For a rustic, farmhouse feel, choose a real twig or a cinnamon stick with a jute bow. For a clean, modern look, a short tapered crochet stem in a soft neutral colour is enough on its own. For something playful for a child’s room or a party, a long curly stem with a bright vine and two leaves looks fun.
On an elegant velvet or chenille pumpkin, keep the stem simple. A short, dark crochet stem or a smooth twig lets the plush fabric be the star.
Making stems stand up straight
A floppy stem makes a pumpkin look tired. Three tricks keep stems upright:
- Stuff the stem lightly before sewing it on, pushing the stuffing firmly into the tip.
- Sew it on in two rounds, once around the base and once again a little higher, so it is held at two points.
- Use a tighter hook for the stem than for the pumpkin, so the fabric is dense and stiff.
For a large pumpkin, a short piece of dowel or a thick twig hidden inside a crochet stem makes it completely rigid.
Leaves in different shapes
The simple leaf in this guide can be changed easily. For a longer, narrower leaf, start with a longer chain and add an extra double crochet in the middle. For a rounder leaf, start with a shorter chain and work treble crochet in the centre instead of double crochet. For a pumpkin-style lobed leaf, make three small leaves and sew them together at the base in a fan.
Adding a vein is easy too: once the leaf is finished, work a line of surface slip stitches down the middle in a slightly darker green, or embroider a single straight stitch along the centre.
Seasonal variations
The same finishing ideas can carry your pumpkins through more than one season. For Halloween, add a black curly vine, or a tiny felt bat tucked beside the stem. For Thanksgiving, add a small wheat sprig or a cluster of dried flowers to the twine bow. For winter, swap the leaf for a sprig of faux eucalyptus or pine and choose white or cream pumpkins with silver twine. Because the stems and decorations are sewn or tied on rather than crocheted into the pumpkin, they are easy to change from one season to the next.
Safety for children and pets
Some of these finishing ideas use small or natural parts. Cinnamon sticks, twigs, pipe cleaners and gift tags are all fine on a decorative pumpkin placed out of reach, but they are not suitable for a pumpkin given to a baby or toddler, or left where a puppy might chew it. For those, use a crochet stem, crochet leaves and a crochet vine only, all sewn on very firmly.
Quick reference
If you only remember one thing from this guide, make it this: close the top firmly, choose one crochet detail and one natural detail, and sew everything on twice. That simple habit makes every pumpkin look finished, sturdy and full of character.
Before you start
Decide on the look you want for your whole patch, then pick two or three finishing ideas from this list to repeat across it. If you have not made your pumpkins yet, start with the spiral swirl pattern and the size chart.