Granny Stripe Crochet Scarf with Tassels – Free Pattern
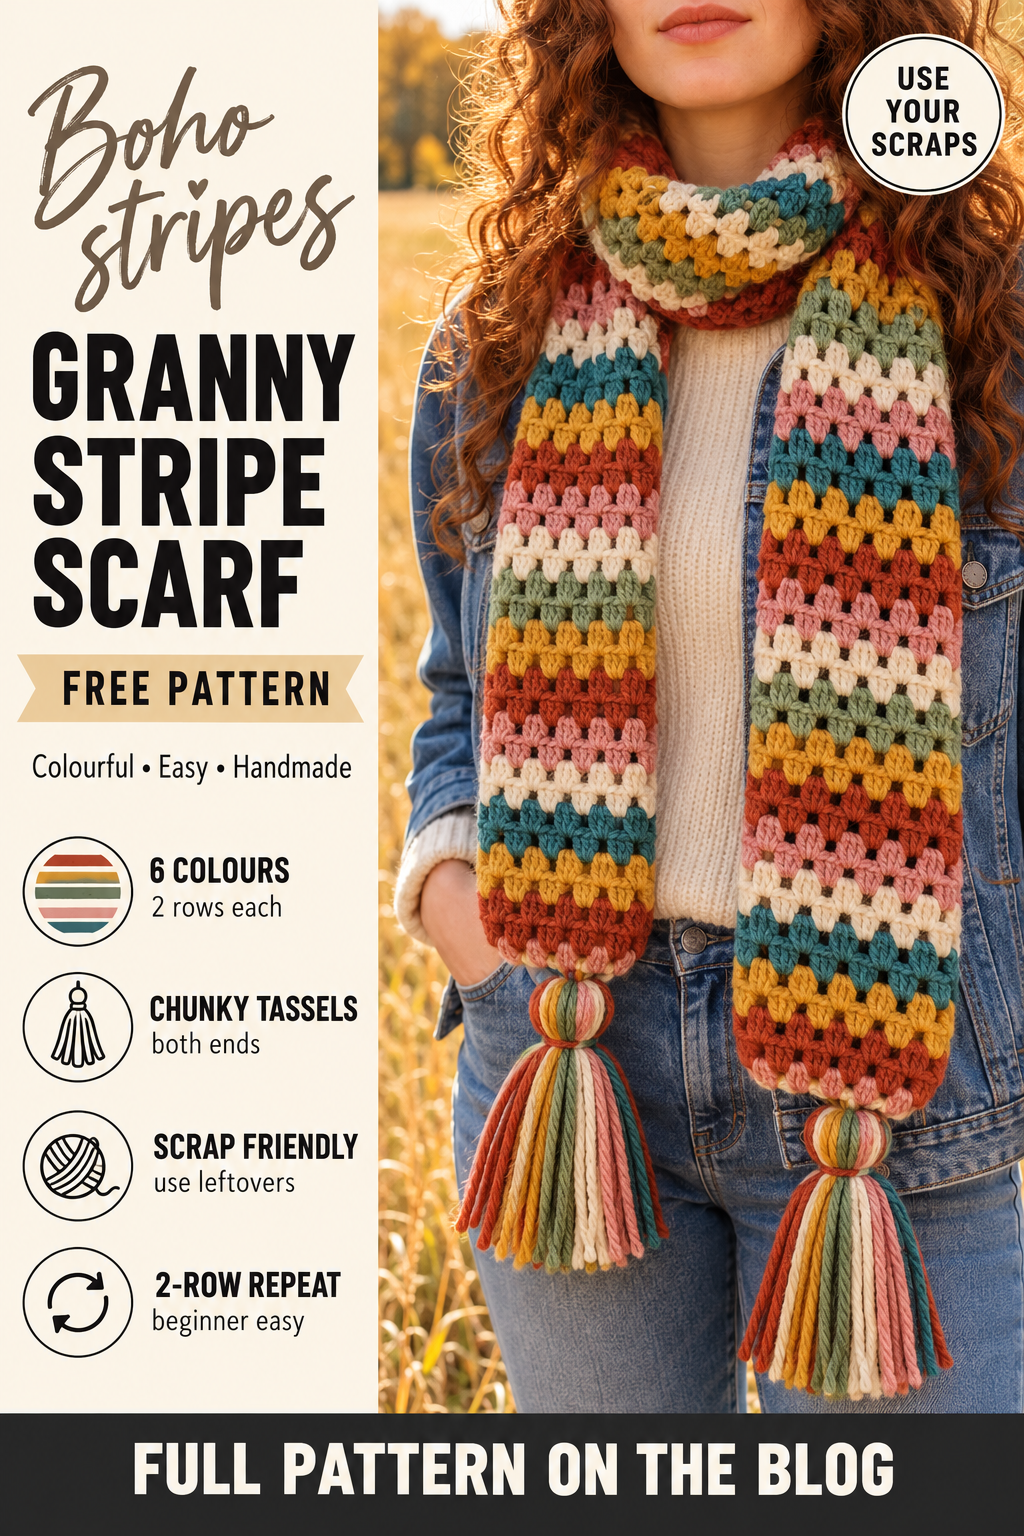
A granny stripe scarf with chunky tassels is pure boho joy. Bands of rust, mustard, sage, cream, dusty pink and teal stack up row after row, and a fat tassel swings from each end. It is a brilliant way to use up leftover yarn, and every one you make looks different.
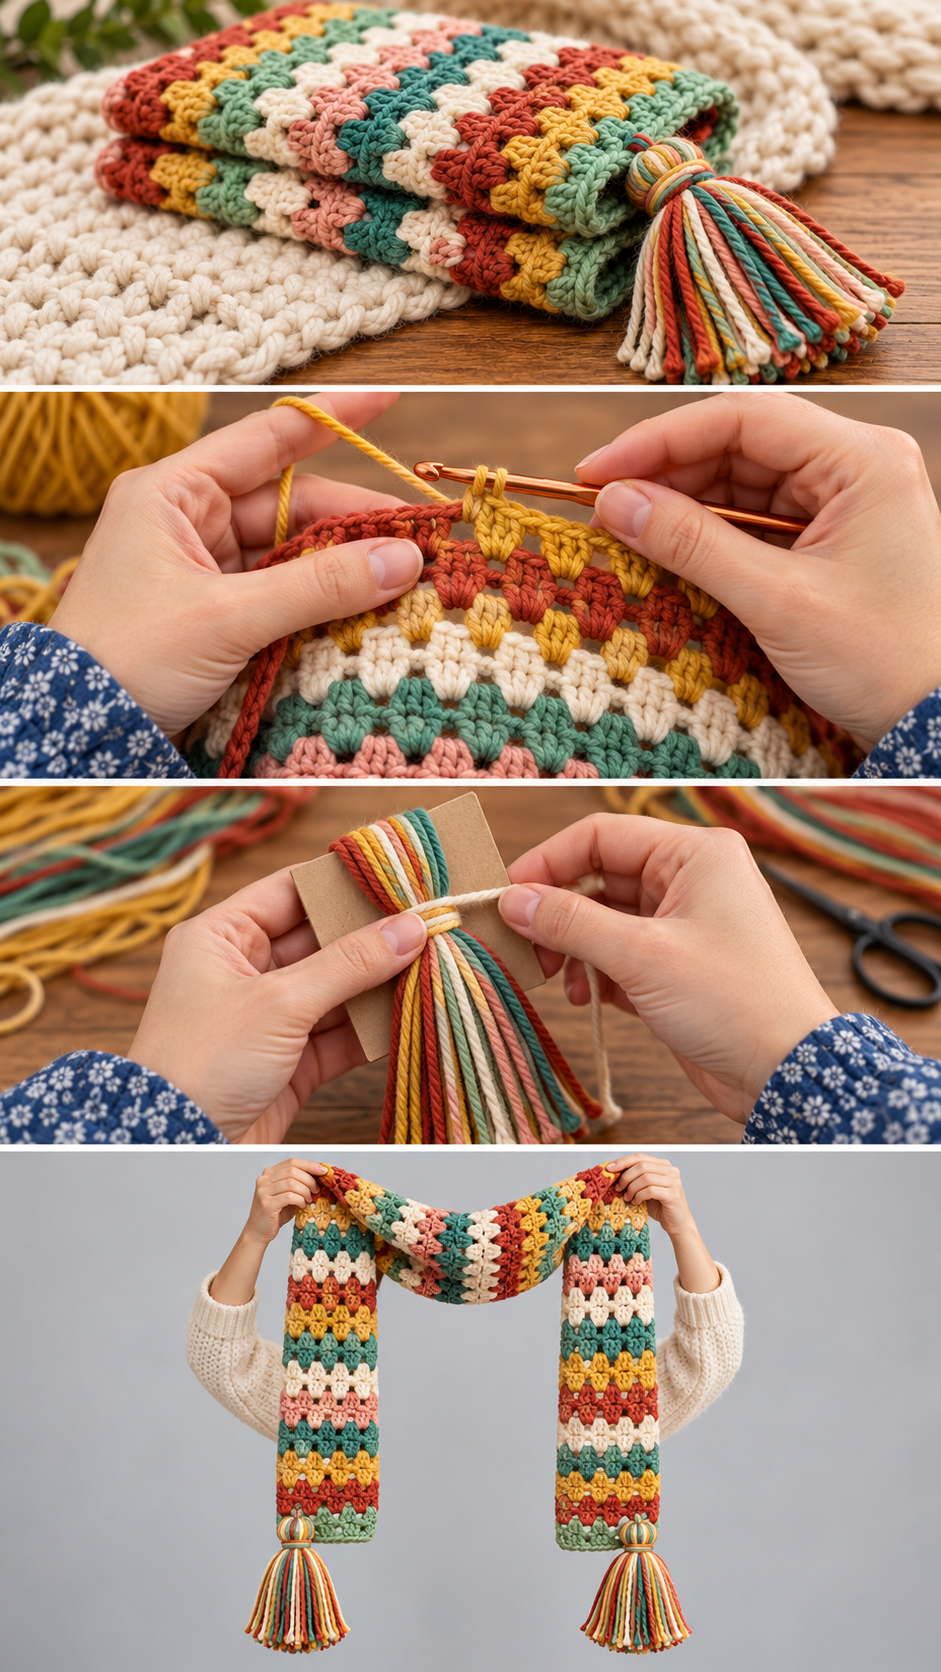
The granny stripe is the simplest of all granny stitches. Instead of squares, you work straight rows of three double crochets into the spaces between the groups of the row below. Change colour every two rows and the stripes appear by themselves.
This scarf is perfect for beginners. There are two rows to learn, and the clusters of stitches make it very easy to see where to put the next group.
Why this crochet scarf works
In a granny stripe, every group of three double crochets sits in the gap between two groups below it. The rows interlock like bricks, which makes a light, drapey fabric with tiny gaps that let it breathe. It is warm without being bulky, so it suits autumn and spring as well as winter.
The half groups at the start and end of alternate rows keep the edges perfectly straight. And because each colour stripe is only two rows, you never work long enough in one colour to get bored.
The honest trade-off: changing colour every two rows means lots of yarn ends. Crochet over the tails as you go, as explained below, and you will save an hour of sewing at the end.
Materials you will need
- Yarn: about 700 yards of worsted weight (#4) yarn in total — about 120 yards each of rust, mustard, sage, cream, dusty pink and teal
- Hook: 5 mm (H-8)
- Notions: tapestry needle, scissors, a 5″ piece of card for the tassels
Gauge and finished size
In granny stripe with a 5 mm hook, 4 groups and 9 rows make about 4″. The finished scarf is about 10″ wide and 65″ long, not counting the tassels.
Abbreviations
- ch = chain: yarn over and pull through the loop on your hook.
- sl st = slip stitch: insert hook, pull a loop through the stitch and the loop on your hook together.
- sc = single crochet: insert hook, yarn over and pull up a loop (2 loops on hook), yarn over and pull through both.
- hdc = half double crochet: yarn over, insert hook, pull up a loop (3 loops), yarn over and pull through all 3.
- dc = double crochet: yarn over, insert hook, pull up a loop (3 loops), yarn over and pull through 2, yarn over and pull through the last 2.
- st(s) = stitch(es); sp = space; tch = turning chain; BLO = back loop only.
- group = 3 dc worked into the same space.
Pattern notes
- The scarf is worked flat in rows, turning at the end of each row.
- The ch 3 at the beginning of each row counts as a dc.
- Change colour at the end of every second row: work the last dc until 2 loops remain, then pull through the new colour.
- Lay the tails of the old and new colours along the top of the row and work the next stitches over them, so they are hidden inside the stitches.
Step by step
Setting up
With rust, ch 40.
Row 1: Dc in the 4th ch from the hook (the skipped chains count as a dc, making a half group). *Skip 2 ch, 3 dc in the next ch*; repeat from * 10 more times. Skip 2 ch, 2 dc in the last ch. Turn. (11 groups + 2 half groups)
Row 2: Ch 3 (counts as dc). 3 dc in each space between groups across — there are 12 spaces. Dc in the top of the turning chain. Turn. (12 groups)
Row 3: Ch 3, dc in the first st (half group made). 3 dc in each space between groups across — there are 11 spaces. 2 dc in the top of the turning chain. Turn. (11 groups + 2 half groups)
Rows 4 onwards: Repeat Rows 2 and 3, changing colour every 2 rows.
Colour sequence
Work 2 rows of each colour in this order: rust, mustard, sage, cream, dusty pink, teal. Repeat the sequence 12 times (144 rows), then work 2 more rows in rust so the scarf starts and ends with the same colour. That is 146 rows and about 65″. Fasten off.
The tassels (make 2)
Wrap all six colours together around the 5″ piece of card 8 times. Slide a 10″ strand of rust under the wraps at the top and tie it tightly. Cut through the wraps at the bottom. Wrap another strand around the tassel about ¾″ below the top, tie it tightly and hide the ends inside the tassel. Trim the ends level. Gather each short end of the scarf slightly by running a strand of yarn through the stitches and pulling it up, then sew a tassel to the centre of each end.
Prefer a fringe? Cut 10″ strands in mixed colours, fold three in half, and knot them through every space along each short end.
Choosing colours for a granny stripe
The easiest way to choose colours that work together is to pick one theme: autumn (rust, mustard, olive, cream), coastal (navy, teal, sand, white) or pastel (blush, mint, lilac, butter). Include one light neutral like cream: it separates the stronger colours and makes each stripe stand out. Lay all your balls in a row and take a black-and-white photo — if two colours look the same shade of grey, put a light colour between them.
Variations
- Two-colour stripes: alternate cream and one bold colour for a modern look.
- Ombre: work through five shades of the same colour, light to dark and back.
- Scrap scarf: use any leftover worsted yarn in random order.
- Wider wrap: add chains in multiples of 3 for more groups per row.
How long should a crochet scarf be?
There is no single right length, but these measurements are a good guide. A child’s scarf is about 40–48″ long. An adult scarf that wraps once with the ends hanging down the front is about 60–65″. A long scarf that wraps twice, or can be tied in a loose knot, is about 70–80″. A good rule of thumb is to make the scarf roughly as long as the wearer is tall, minus about a foot.
Width matters just as much. A slim scarf of 6–7″ is neat under a coat collar. An everyday scarf is 8–10″. Anything 12″ or wider becomes a wrap or blanket scarf that can be worn over the shoulders. Every pattern in this collection gives the stitch multiple, so you can make it wider or narrower.
Choosing yarn for a scarf
A scarf sits right against the neck and face, so softness matters more than for almost any other project. Hold a skein against your neck in the shop before you buy it. Wool and wool blends are the warmest and the most forgiving — they bounce back after wear and block beautifully. Merino is the softest wool and rarely itches. Acrylic is affordable, machine washable and comes in every colour, which makes it a practical choice for gifts and for children. Alpaca and alpaca blends are very warm and silky but can stretch a little with wear.
Avoid stiff cottons for a winter scarf: they are not very warm and can feel heavy. And for textured stitches like waffle, cluster and moss stitch, choose a smooth, plied yarn rather than a fuzzy or bouclé one — the texture shows up far better.
Always buy all the yarn for one scarf from the same dye lot. A scarf is one long piece, and a change in shade halfway through is very easy to see.
Common problems and fixes
The edges are wavy.
You are missing the half group on Row 3, or the single dc at the end of Row 2. Check the first and last stitches of every row.
The scarf is getting wider.
You have worked a group into the top of a dc instead of into a space. Groups only go into spaces.
The colour changes are messy.
Change colour on the last yarn over of the previous stitch, not at the start of the new row.
Blocking and finishing
Blocking makes a big difference to a scarf: it evens out the stitches, straightens the edges and gives the fabric a lovely drape. For wool and wool blends, soak the scarf in cool water for twenty minutes, squeeze out the water gently (never wring), roll it in a towel, then lay it flat on blocking mats or a clean towel, pat it to the right width and length, and leave it to dry completely. For acrylic, lay the scarf flat, pin it to shape and hover a steam iron just above it — never press the iron onto acrylic, or it will go flat and shiny for good.
Caring for your scarf
Hand wash wool scarves in cool water with a wool wash, and dry them flat. Acrylic scarves can usually go in the washing machine on a gentle cycle inside a mesh bag, then dry flat. Never hang a crochet scarf to dry — the weight of the wet yarn will stretch it. To store, fold it rather than hanging it on a hook, and keep wool scarves with a cedar block over the summer to keep moths away.
More crochet scarf patterns in this collection
This is one of six free crochet scarf patterns, each in a completely different stitch and style — from a squishy textured waffle to a boho granny stripe with tassels. Pick the one that suits your skill, your yarn and the look you want, or make a few as winter gifts.
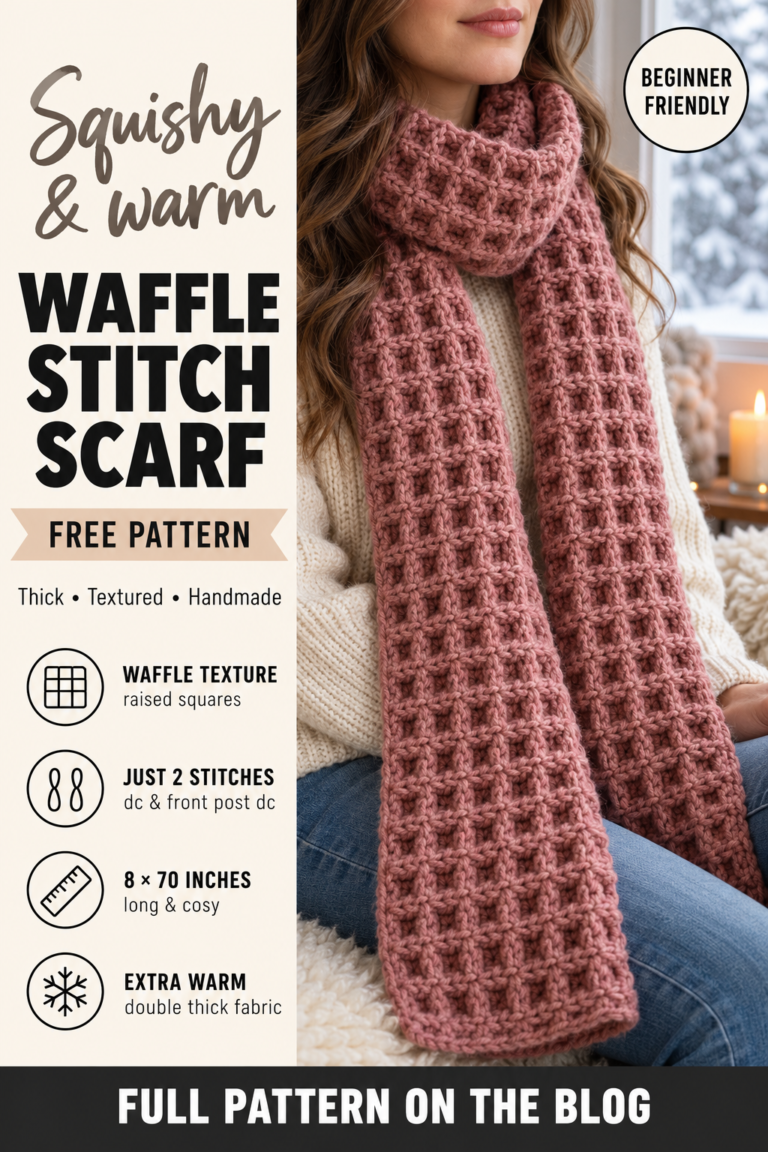
- Waffle Stitch Scarf
- Chunky Cluster Stitch Scarf
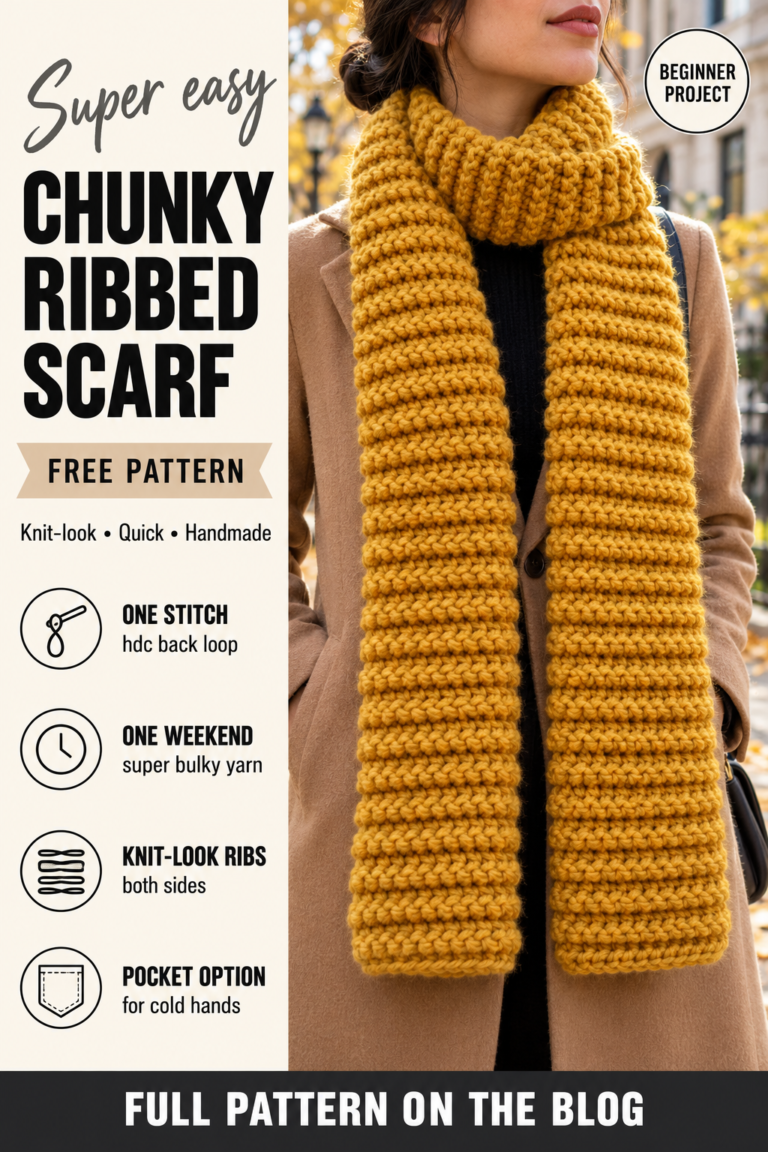
- Chunky Ribbed Scarf
- Granny Stripe Tassel Scarf — you are here
- Moss Stitch Infinity Scarf
- Striped Chevron Scarf
Frequently asked
How long does a granny stripe scarf take?
About 10 to 12 hours, plus half an hour for the tassels.
Can I use different yarn weights in the same scarf?
It is best not to. Different weights make the stripes uneven in width and the edges wavy.
Before you start
Choose your six colours and lay them out in order. Then it is just two rows over and over. More scarves and hats are in Hats & Scarves.