Puff Stitch Pumpkin Crochet Coaster – Free Halloween Pattern
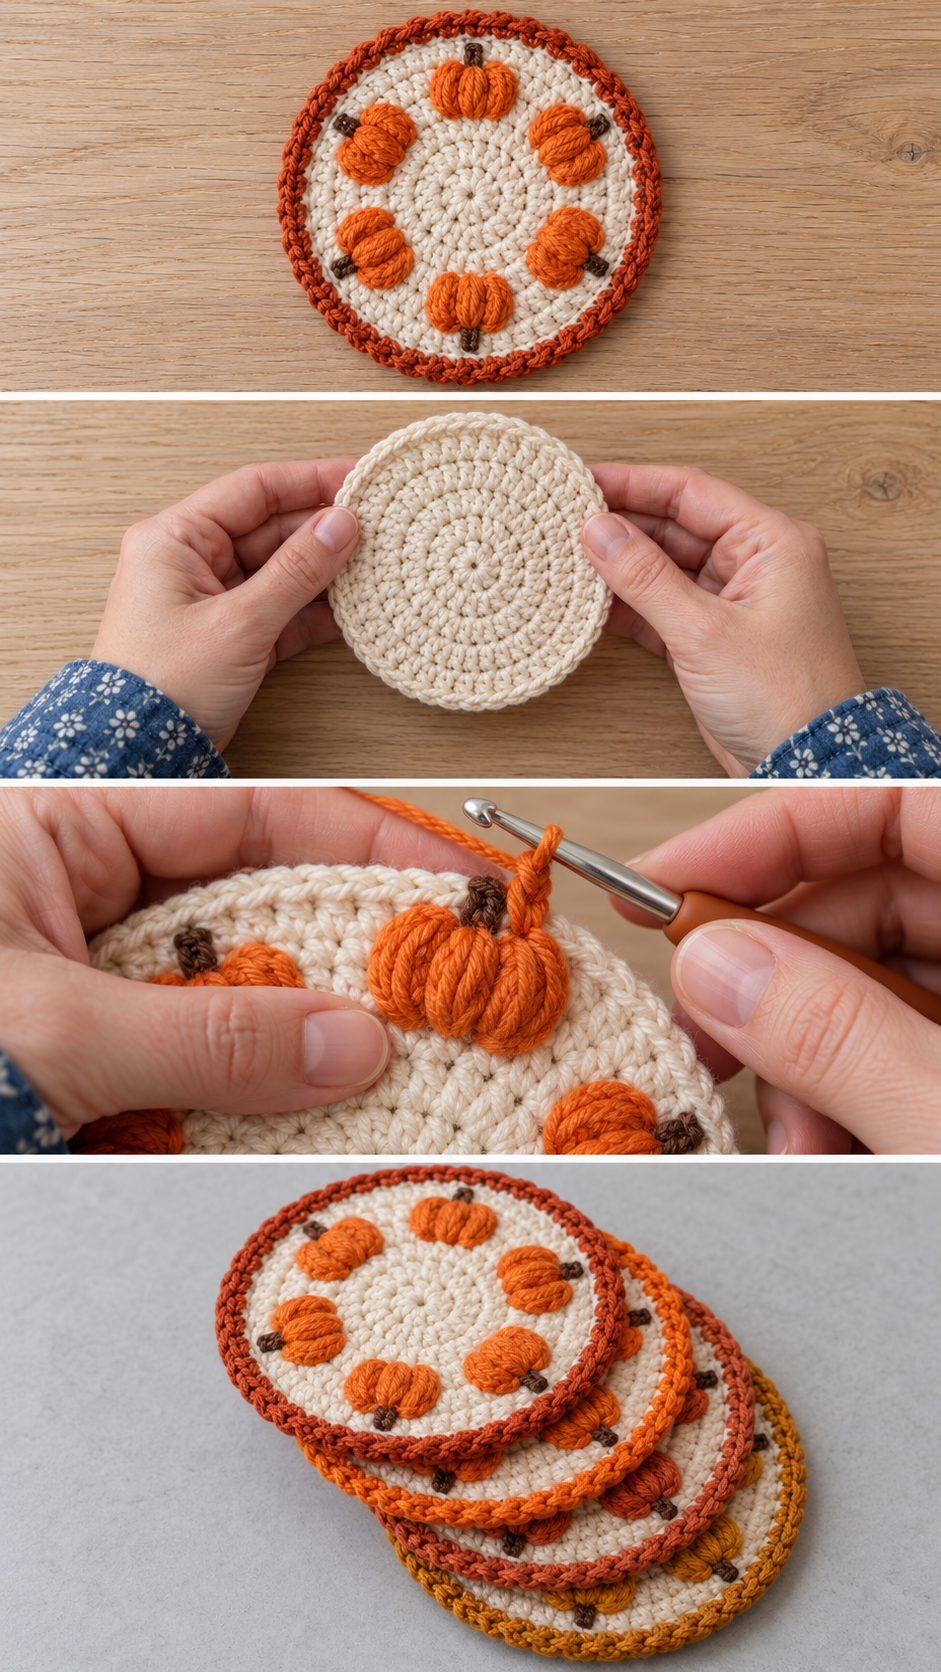
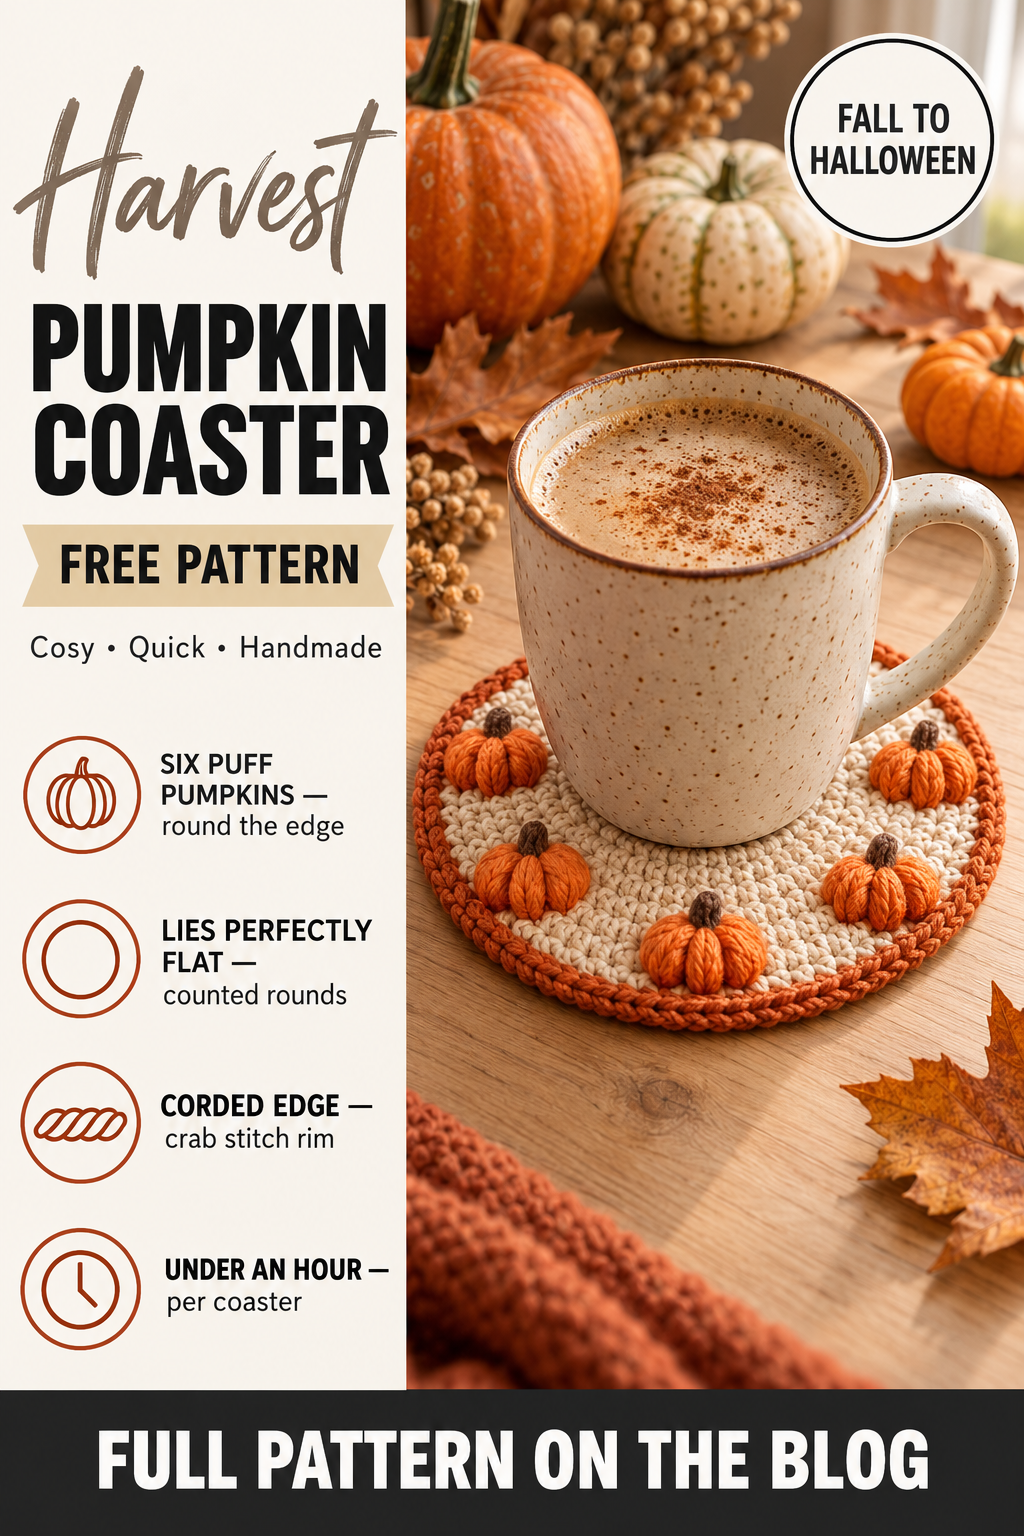
A pumpkin crochet coaster is the quickest way to bring autumn to a coffee table. This one has a soft cream centre and a ring of six tiny pumpkins made from clusters of puff stitches, each with a little embroidered stem, finished with a corded edge in a warm harvest colour. Set it under a mug of something spiced and it instantly feels like October.
It works for Halloween and right through to Thanksgiving, which makes it one of the most useful seasonal makes there is. A set of four takes an evening or two, and it is one of those handmade gifts people actually use.
You need double crochet, single crochet and the puff stitch. If you have not made a puff stitch before, this is a gentle place to learn it — you only need eighteen of them.
Why this pumpkin crochet coaster works
The centre is a flat circle in double crochet that grows by twelve stitches a round: 12, 24, 36. That is the number that keeps a double crochet circle perfectly flat, and it makes every round easy to check.
The pumpkins come from three puff stitches worked into one stitch. Each puff is plump and rounded, and three of them side by side, separated by a single chain, look exactly like the lobes of a small pumpkin. Six of these clusters, spaced evenly around the circle, make the ring.
The honest trade-off: puff stitches leave small gaps between the clusters, so this coaster is slightly open at the edge. That is part of its charm, but if you want a fully solid coaster under a dripping glass, add the extra round of single crochet explained below.
Materials you will need
- Cream yarn: about 15 yards of worsted weight cotton for the centre
- Orange yarn: about 8 yards for the pumpkins
- Brown or rust yarn: about 8 yards for the edge, plus a little for the stems
- Hook: 4.0 mm (G-6)
- Notions: tapestry needle, scissors
Use 100% cotton. It absorbs condensation, takes the heat of a hot mug without softening, and shows puff stitches beautifully.
Finished size
About 4½″ across in worsted cotton on a 4.0 mm hook.
Abbreviations
- MR = magic ring: a loop you work the first round into, then pull tight to close.
- ch = chain.
- sc = single crochet: insert hook, yarn over and pull up a loop (2 loops on hook), yarn over and pull through both.
- dc = double crochet: yarn over, insert hook, yarn over and pull up a loop (3 loops), yarn over and pull through 2, yarn over and pull through the last 2.
- inc = 2 dc in the same stitch.
- sl st = slip stitch.
- rev sc = reverse single crochet, or crab stitch: sc worked from left to right, giving a corded edge.
- puff = puff stitch: (yarn over, insert hook into the stitch, yarn over and pull up a loop to the height of a dc) three times — 7 loops on hook — then yarn over and pull through all 7 loops. Ch 1 to close.
Pattern notes
- Worked in joined rounds with the right side facing.
- The ch 3 at the start of a round counts as the first dc.
- When working a puff, pull each loop up to the same height before finishing, so the puffs look even.
- Count every round; the centre grows by twelve each time.
Step by step
Part 1: The cream centre
With cream:
Round 1: Make a MR. Ch 3 (counts as first dc), work 11 dc into the ring. Pull closed and join with a sl st to the top of the ch 3. (12)
Round 2: Ch 3, dc in the same st. Inc in each remaining st around. Join. (24)
Round 3: Ch 3, dc in the same st, dc in the next st. *Inc in the next st, dc in the next st*; repeat around. Join. (36)
Fasten off cream.
Part 2: The pumpkin round
Join orange in any stitch.
Round 4: *Ch 2, skip 2 sts, then in the next st work (puff, ch 1, puff, ch 1, puff). Ch 2, skip 2 sts, sl st in the next st.* Repeat from * around. (6 pumpkins)
Each repeat uses six stitches of the centre, so the 36 stitches give exactly six pumpkins, evenly spaced. Fasten off orange.
Part 3: The edge
Join brown or rust in a ch-2 space.
Round 5: Ch 1. Work 1 sc in each ch-2 space; over each pumpkin, work 1 sc in each puff and 1 sc in each ch-1 space between them; and 1 sc in each sl st. Join to the first sc. (48 sc — 8 per repeat)
Round 6: Ch 1, rev sc in each st around. Join and fasten off.
The crab-stitch edge gives a firm, rope-like rim that frames the pumpkins and stops the coaster curling.
Part 4: The stems
With a short length of brown yarn on a tapestry needle, make one small straight stitch just above the centre puff of each pumpkin, pointing outward. Two stitches side by side make a thicker stem.
Making it solid
For a fully solid coaster, add one more round before the crab stitch: ch 1 and work 1 sc in each st around (48). It closes the small gaps at the edge and makes the coaster slightly larger.
Colour ideas
Classic pumpkins are orange with a brown edge, but mixing colours looks wonderful: make each of the six pumpkins a different autumn shade — burnt orange, mustard, rust, cinnamon, gold and terracotta — for a harvest effect. For Halloween, try black pumpkins on a purple centre, or white “ghost” pumpkins on black.
Making a set
A set of four looks lovely stacked on a table. Change the colour of the pumpkins on each coaster and keep the centre and edge the same, so the set is clearly related but each one is slightly different.
Finishing and care
Weave in ends through the back of the stitches. Machine wash cool in a laundry bag and dry flat. Press with a warm iron through a cloth if the edge curls.
Frequently asked
My puffs look flat.
The loops were not pulled up high enough. Pull each loop to the height of a double crochet before the final yarn over.
My coaster ruffles.
Tension tightened in the centre or loosened at the edge. Count Round 5: it should be 48.
Can I make a bigger mat?
Add more double crochet rounds to the centre, twelve stitches more each time, then space the pumpkins evenly — each one always uses six stitches.
Why cotton is the right yarn for coasters
Coasters have two jobs: protecting a table from heat and soaking up the drips from a cold glass. Cotton does both better than any other fibre. It absorbs moisture instead of letting it run off, and it tolerates the heat of a hot mug without softening, melting or going shiny the way some acrylics can. It also washes well again and again, which matters for something that sits under coffee every day.
Look for plain worsted-weight kitchen cotton or a recycled cotton. Mercerised cotton has a lovely sheen and crisp stitches but absorbs a little less; it is perfect for decorative coasters and party tables.
Blocking coasters flat
Even a well-made coaster can curl slightly at the edge. Blocking fixes it in minutes. Wet the coaster, press out the water in a towel, lay it flat, pat it into shape and leave it to dry. For a quicker result, lay a damp cloth over it and press with a warm iron, lifting rather than sliding. Cotton responds very well to steam, and once blocked the coaster stays flat through many washes.
Turning it into a gift
A set of four pumpkin coasters makes a thoughtful autumn gift for a host, a teacher or a neighbour. Stack them, tie them with a length of jute twine or a strip of orange ribbon, and tuck a small kraft tag under the bow. Pair them with a bag of good coffee or a packet of spiced tea and it becomes a complete little present.
Styling an autumn table
Use the coasters under candle jars as well as mugs, and scatter a few small crochet pumpkins between them. A runner of cream linen, a few dried leaves and some LED candles finish the look. Because the coasters carry the pumpkin theme, the rest of the table can stay simple.
How long it takes
One pumpkin coaster takes about forty minutes once you are comfortable with the puff stitch: twenty for the centre, ten for the pumpkin round and ten for the edge and stems. A set of four is a relaxed evening or two.
Before you start
Practise one puff stitch on a scrap. Once it looks plump and even, the coaster will come together quickly. More Halloween makes are in Halloween.