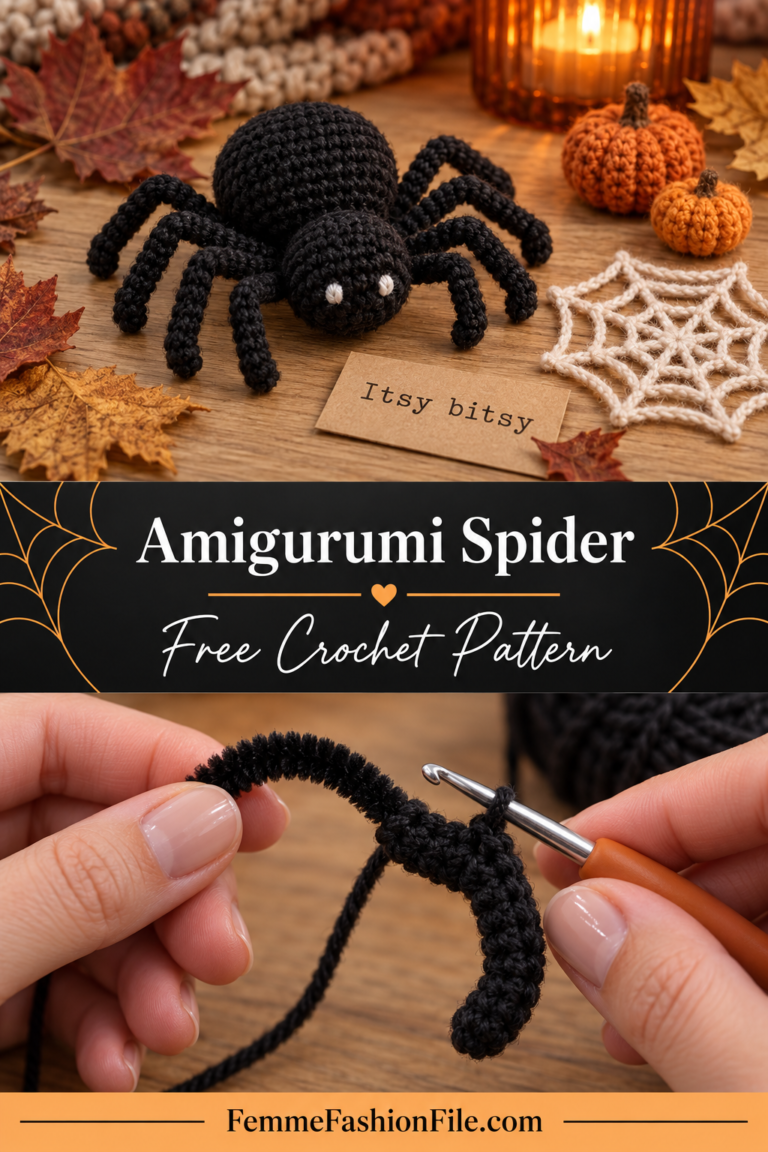
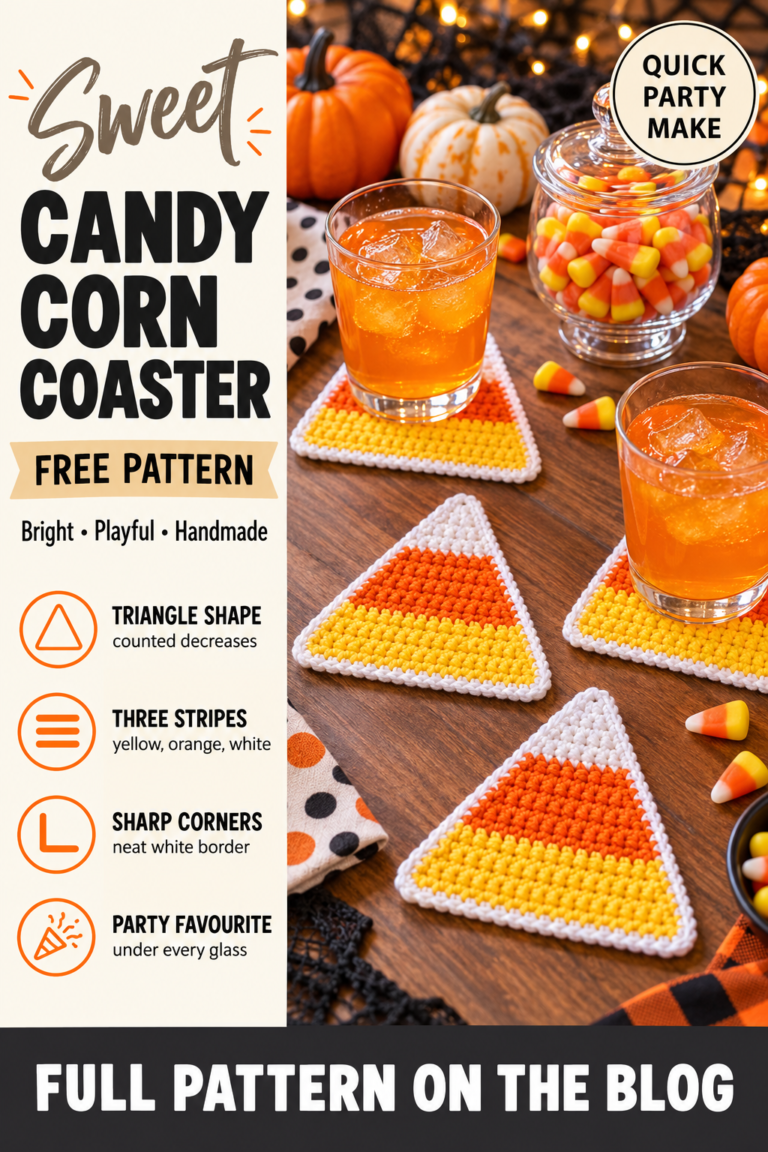
Crochet Snowman Ornament with a Top Hat – Free Christmas Pattern
A crochet snowman ornament is the one everyone reaches for first when the decorations box comes out. Two plump white balls, a little black top hat, a bright carrot nose and twig arms — it is cheerful, a little bit silly, and instantly says Christmas. Hang one on the tree, sit one on a shelf, or tie one to a present and it will be kept long after the wrapping paper is gone.
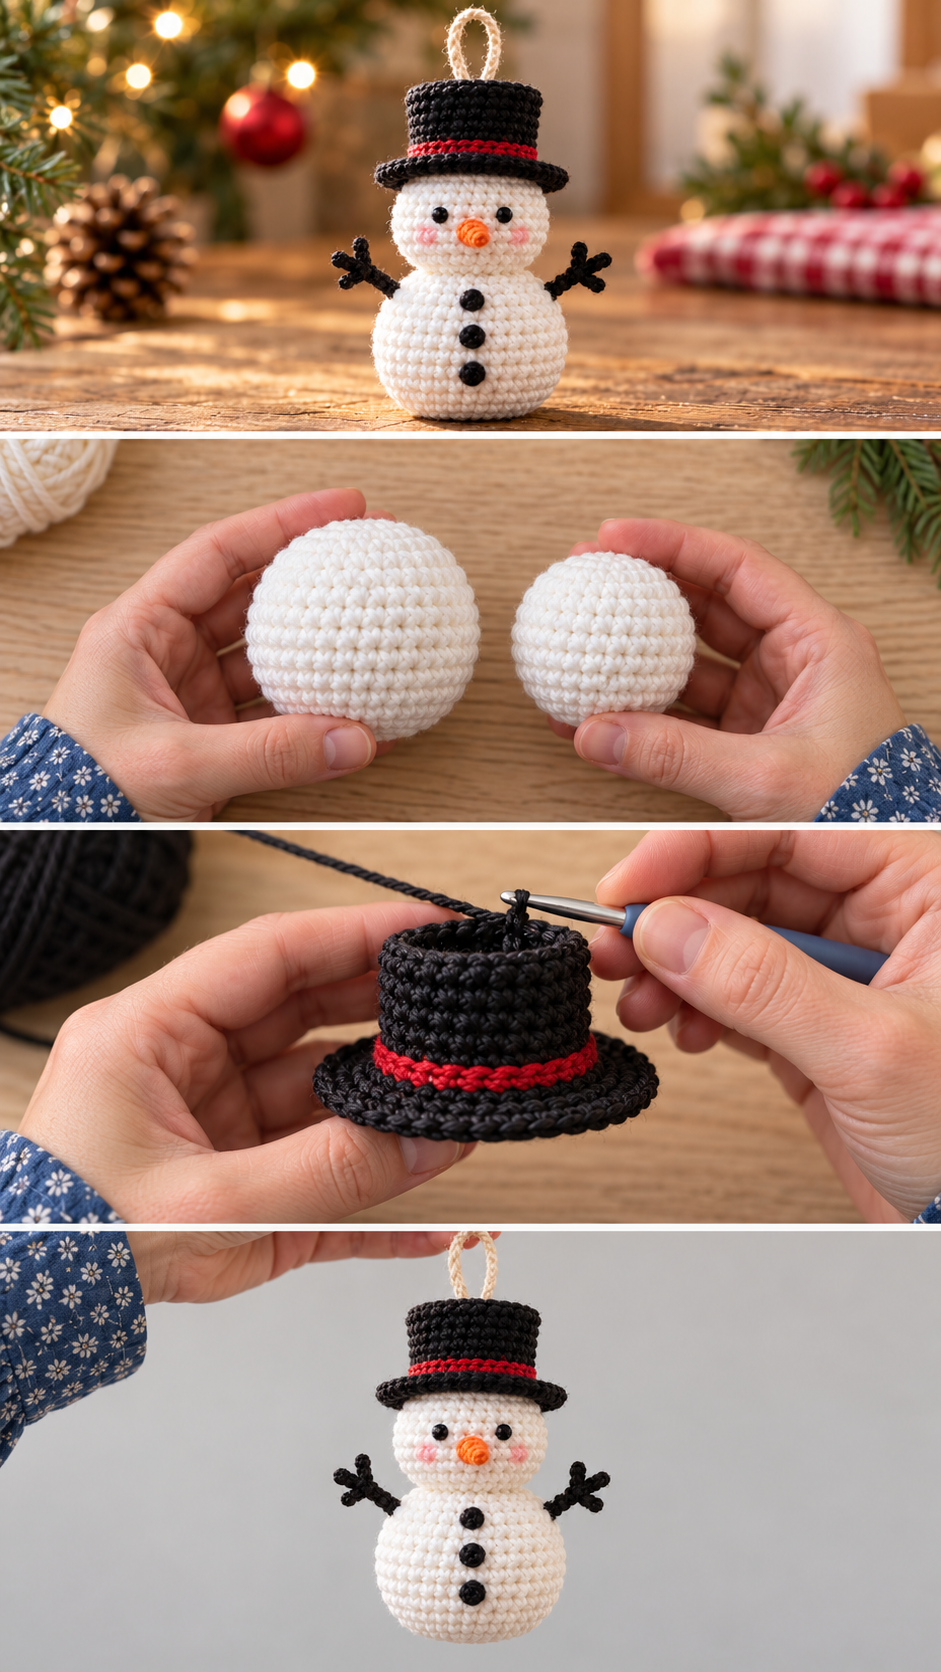
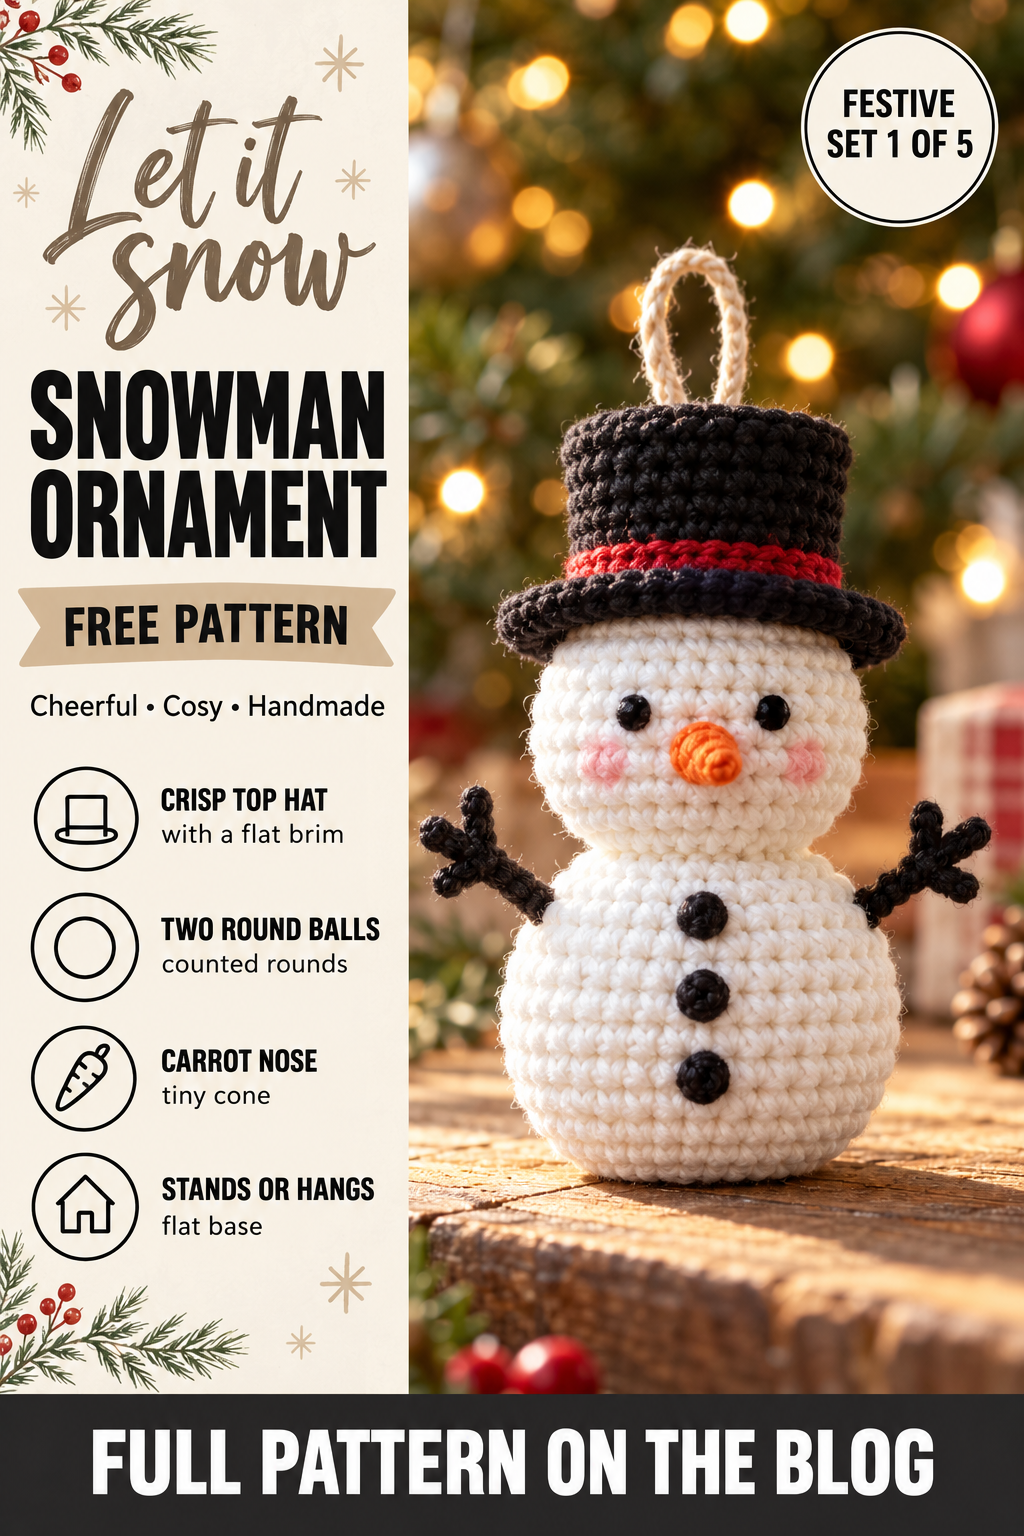
This snowman is the first ornament in the Festive Christmas Tree Ornament Set. It is made from two simple amigurumi spheres, a top hat with a crisp brim, a cone-shaped nose and chain-stitch arms, all sewn together. It stands on its own on a shelf and hangs straight from a loop on the top of its hat.
You need a magic ring, single crochet, increases and decreases. If you have made any amigurumi ball before, you already know every stitch here.
Why this crochet snowman works
Every round part of the snowman is a sphere that grows by six stitches a round, works straight for a few rounds and closes by six stitches a round. The body stops increasing at 30 stitches and the head at 24, which gives the classic snowman proportion: a head about four-fifths the width of the body. Every round is a multiple of six, so you can check each one as you go.
The body has a flat bottom, made by working one round into the back loops only before decreasing. That is what lets the snowman stand up on a shelf as well as hang from the tree. The top hat uses the same trick twice: a back-loop round turns the flat top into straight sides, and a front-loop round at the bottom kicks the brim out flat.
The honest trade-off: a snowman made from two separate balls has a seam at the neck. Sewing the head on firmly, all the way round twice, is what stops it wobbling. A scarf, which is optional below, hides the join completely.
Materials you will need
- White yarn: about 25 yards of worsted weight cotton
- Black yarn: about 8 yards for the hat, plus a little for the eyes and buttons
- Orange yarn: about 1 yard for the nose
- Brown or black yarn: about 2 yards for the arms
- Optional: a few yards of red or green for a scarf, and a little pink for cheeks
- Hook: 3.5 mm (E-4) — smaller than the yarn label suggests, so stuffing cannot show
- Stuffing: a small handful of fibrefill
- Notions: stitch marker, tapestry needle, scissors
Finished size
About 4″ tall including the hat, in worsted cotton on a 3.5 mm hook.
Abbreviations
- MR = magic ring: a loop of yarn you work the first round into, then pull tight to close the centre.
- ch = chain: yarn over and pull through the loop on your hook.
- sl st = slip stitch: insert hook, pull a loop through the stitch and the loop on your hook together.
- sc = single crochet: insert hook, yarn over and pull up a loop (2 loops on hook), yarn over and pull through both.
- hdc = half double crochet: yarn over, insert hook, pull up a loop (3 loops), yarn over and pull through all 3.
- dc = double crochet: yarn over, insert hook, pull up a loop (3 loops), yarn over and pull through 2, yarn over and pull through the last 2.
- inc = increase: 2 sc in the same stitch.
- dec / sc2tog = decrease: pull up a loop in each of the next two stitches (3 loops on hook), yarn over and pull through all 3. In amigurumi, work it through the front loops only for an invisible decrease.
- BLO / FLO = back loop only / front loop only.
Pattern notes
- All the round pieces are worked in continuous spiral rounds. Do not join or chain up.
- Place a marker in the first stitch of each round and move it up as you go.
- Counts are given in brackets at the end of each round.
- Stuff each piece before the opening gets small.
Step by step
Part 1: The body
With white:
Round 1: 6 sc into a MR. Pull tight. (6)
Round 2: Inc in each st around. (12)
Round 3: *Sc in next st, inc*; repeat around. (18)
Round 4: *Sc in next 2 sts, inc*; repeat around. (24)
Round 5: *Sc in next 3 sts, inc*; repeat around. (30)
Rounds 6 to 9: Sc in each st around. (30 per round — four rounds)
Round 10: Working in BLO, sc in each st around. (30)
This back-loop round makes the flat base the snowman stands on.
Round 11: *Sc in next 3 sts, dec*; repeat around. (24)
Round 12: *Sc in next 2 sts, dec*; repeat around. (18)
Stuff firmly, pushing stuffing out to the sides so the body is round.
Round 13: *Sc in next st, dec*; repeat around. (12)
Round 14: Dec around. (6)
Fasten off, weave the tail through the front loops of the last six stitches, pull closed and hide the end. The end you started at, with the magic ring, is the top of the body; the back-loop round is at the bottom.
Part 2: The head
With white:
Round 1: 6 sc into a MR. (6)
Round 2: Inc in each st around. (12)
Round 3: *Sc in next st, inc*; repeat around. (18)
Round 4: *Sc in next 2 sts, inc*; repeat around. (24)
Rounds 5 to 7: Sc in each st around. (24 per round — three rounds)
Round 8: *Sc in next 2 sts, dec*; repeat around. (18)
Round 9: *Sc in next st, dec*; repeat around. (12)
Stuff firmly.
Round 10: Dec around. (6)
Fasten off, leaving a 12″ tail for sewing.
Part 3: The top hat
With black:
Round 1: 6 sc into a MR. (6)
Round 2: Inc in each st around. (12)
Round 3: *Sc in next st, inc*; repeat around. (18)
Round 4: Working in BLO, sc in each st around. (18)
This turns the flat top of the hat into straight sides.
Rounds 5 and 6: Sc in each st around. (18)
Round 7: Working in FLO, inc in each st around. (36)
This kicks the brim out flat.
Round 8: Sc in each st around. Sl st into the next st and fasten off, leaving a tail for sewing. (36)
Part 4: The nose
With orange:
Round 1: 4 sc into a MR. (4)
Round 2: *Sc in next st, inc*; repeat twice. (6)
Round 3: Sc in each st around. (6)
Fasten off with a tail. The magic ring end is the pointed tip of the carrot; the open end is sewn to the face.
Part 5: The arms (make 2)
With brown or black: ch 7. Sl st in the 2nd ch from hook and the next 2 ch. Ch 3, sl st in the 2nd ch from hook and the next ch (this is a little twig finger). Sl st in each of the remaining 3 ch back to the start. Fasten off with a tail.
Part 6: Assembly
Place the head on top of the body so the closed end of the head sits on the top of the body. Sew all the way around the join, then go round a second time — two passes stop the head wobbling.
Sew the hat to the top of the head, slightly tilted for a cheerful look. Sew the nose to the centre of the face, about a third of the way down. Push one end of each arm into the sides of the body, at the height of the second round below the neck, and stitch them through firmly.
Part 7: The face and buttons
With black yarn, make two French knots for the eyes just above the nose, and five small French knots below it in a gentle smile for a coal mouth. Add three French knots down the front of the body for buttons. A short stitch of pink on each cheek is a lovely touch. Use black yarn split into two plies if your knots look too big.
If this ornament is going anywhere near small children, always embroider the eyes rather than using safety eyes.
Part 8: The hanging loop and scarf
Join black yarn at the centre of the hat crown, ch 15 and sl st back into the same stitch. Fasten off and weave the end down into the hat.
Scarf (optional): with red or green, ch 36. Hdc in the 3rd ch from hook and in each ch across. Fasten off. Wrap it around the neck, cross the ends at the front and tack them down with a stitch. Snip the ends into a little fringe.
Choosing yarn for Christmas ornaments
Ornaments hang in warm rooms near lights for weeks, get packed away and unpacked year after year, and are handled by small hands. That makes yarn choice more important than it looks. Worsted weight cotton or a cotton blend is the best all-rounder: it holds a firm shape, shows every stitch clearly, does not fuzz or pill with handling, and is not affected by the warmth of tree lights.
Acrylic is softer and cheaper and comes in every Christmas colour, but it can look slightly fuzzy after a few seasons. Wool looks beautiful and traditional but can attract moths in storage, so pack wool ornaments with a cedar block. For sparkle, use a gold metallic yarn or hold a fine metallic thread together with your main yarn for halos, trims and hanging loops — it catches the tree lights without making the whole ornament look busy.
Variations
- Green hat: make the hat in green with a red band — work Round 6 in red.
- Bobble hat: skip the top hat and make a beanie: a 6-12-18 circle, then three rounds of 18, finished with a tiny pom-pom.
- Earmuffs: two small red circles of 6 sc joined by a chain across the top of the head.
- Family set: make a smaller snowman by stopping the body at 24 stitches and the head at 18.
Common mistakes and how to fix them
The snowman will not stand up
The base is rounded. Press it firmly flat while you close the last round, and do not overstuff the bottom of the body.
The head flops forward
It was sewn on with too few stitches, or only once around. Sew a second full round, pulling each stitch snug.
The hat brim curls up
Steam it flat, or work Round 8 a little more loosely.
A note on safety
Hand-crocheted ornaments are decorations. If young children or pets will be near the tree, embroider the faces instead of using safety eyes, sew every part on very firmly, skip any wire or beads, and hang the ornaments on higher branches. Never hang yarn ornaments where they touch bulbs that get hot, and use LED tree lights where you can.
Storing ornaments so they last
At the end of the season, make sure each ornament is completely dry and dust-free. Wrap each one in tissue paper and pack them in a shoebox or an egg box, which stops rounded ornaments getting squashed and keeps halos and wings in shape. Store the box somewhere cool and dry, with a cedar block or a lavender sachet if any are wool. Packed this way, crochet ornaments come out looking new every December.
Making the whole set in one go
The five ornaments in this set share their techniques, so it is quickest to make them together in stages rather than one at a time. Make all the spheres first — the snowman’s two balls, the angel’s head and the bauble — then all the flat pieces: the stars, the stocking pieces and the angel’s wings. Do all the stuffing and closing in one sitting, then all the embroidery, and finally all the hanging loops. Working this way you change hooks and colours far less often, and every ornament comes out the same scale as the others.
The Festive Christmas Tree Ornament Set
This pattern is one of five matching ornaments designed to hang together on the same tree: a snowman, an angel, a striped stocking, an embroidered bauble and a gold-edged star. They all use the same yarn weight, the same hook and the same palette of red, forest green, white, cream and gold, so a mix of all five looks like a planned collection rather than a handful of odds and ends.
- Snowman — you are here
- Angel ornament
- Striped Stocking ornament
- Embroidered Bauble ornament
- Gold-Edged Star ornament
Frequently asked
How long does it take?
About two hours: an hour for the two balls, half an hour for the hat, nose and arms, and half an hour for sewing and the face.
Can I make it in fluffy white yarn?
Yes — a brushed or fluffy white looks like real snow. It hides the stitches, so count carefully.
Before you start
Make the body first and check that it stands up on its own. Once it does, the rest of the snowman is easy. More festive makes are in Christmas & Winter.