Embroidered Crochet Christmas Bauble Ornament – Free Pattern
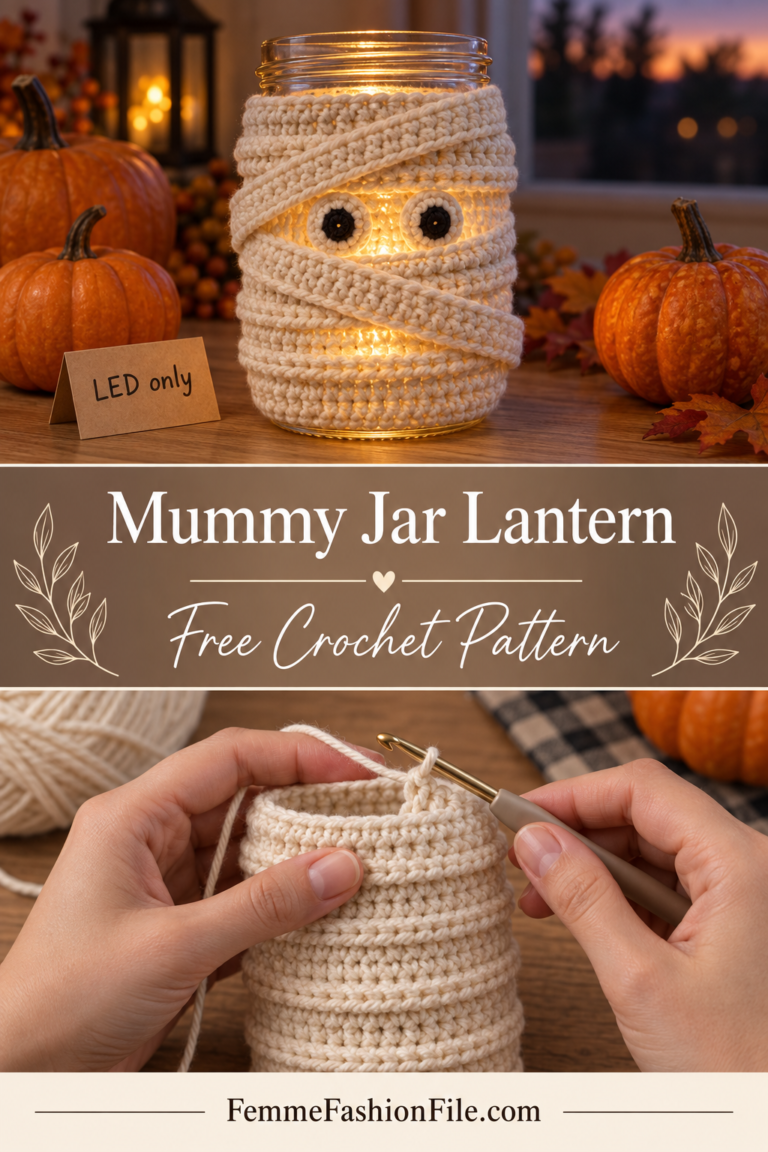
A crochet Christmas bauble is the ornament that makes a tree look handmade in the best possible way. It is round and plump like a glass bauble, but soft, unbreakable and quiet. This one is worked in deep green or red, then embroidered with gold lines and a small motif in each section, so it looks like a vintage hand-decorated bauble.
This embroidered bauble is the fourth ornament in the Festive Christmas Tree Ornament Set. It is a simple sphere worked in rounds, with a gold cap and hanging loop at the top. The decoration is added afterwards with a needle, so you can make every bauble a little different.
You need a magic ring, single crochet, increases and decreases, and a few simple embroidery stitches. If you have made any amigurumi ball before, you already know the crochet.
Why this crochet bauble works
A sphere in crochet grows by six stitches every round, works straight for a few rounds, and then closes by six stitches every round. Because the increase and decrease rounds mirror each other, the ball comes out properly round. Every round is a multiple of six — 6, 12, 18, 24, 30 — so you can check each one as you finish it.
The six increases in each round also give you a built-in guide for the embroidery. They stack into six faint lines running from the top to the bottom of the ball, like the segments of an orange. Stitching gold along those lines divides the bauble into six even sections, with no measuring needed.
The honest trade-off: embroidery on a stuffed ball takes a little patience, because the needle has to go in and out of a curved surface. Take your time, keep the stitches loose enough not to dimple the ball, and the result looks beautifully hand-finished.
Materials you will need
- Main yarn: about 20 yards of worsted weight cotton in forest green or red
- Gold metallic yarn or thread: about 3 yards for the lines, cap and loop
- Red or white yarn: about 2 yards for the motifs
- Hook: 3.5 mm (E-4)
- Stuffing: a small handful of fibrefill
- Notions: stitch marker, tapestry needle with a sharp-ish point, scissors
Finished size
About 2½″ across, not counting the cap and loop.
Abbreviations
- MR = magic ring: a loop of yarn you work the first round into, then pull tight to close the centre.
- ch = chain: yarn over and pull through the loop on your hook.
- sl st = slip stitch: insert hook, pull a loop through the stitch and the loop on your hook together.
- sc = single crochet: insert hook, yarn over and pull up a loop (2 loops on hook), yarn over and pull through both.
- hdc = half double crochet: yarn over, insert hook, pull up a loop (3 loops), yarn over and pull through all 3.
- dc = double crochet: yarn over, insert hook, pull up a loop (3 loops), yarn over and pull through 2, yarn over and pull through the last 2.
- inc = increase: 2 sc in the same stitch.
- dec / sc2tog = decrease: pull up a loop in each of the next two stitches (3 loops on hook), yarn over and pull through all 3. In amigurumi, work it through the front loops only for an invisible decrease.
- BLO / FLO = back loop only / front loop only.
Step by step
Part 1: The bauble
With green or red:
Round 1: 6 sc into a MR. Pull tight. (6)
Round 2: Inc in each st around. (12)
Round 3: *Sc in next st, inc*; repeat around. (18)
Round 4: *Sc in next 2 sts, inc*; repeat around. (24)
Round 5: *Sc in next 3 sts, inc*; repeat around. (30)
Rounds 6 to 10: Sc in each st around. (30 per round — five rounds)
Round 11: *Sc in next 3 sts, dec*; repeat around. (24)
Round 12: *Sc in next 2 sts, dec*; repeat around. (18)
Stuff firmly and evenly, pushing the stuffing out to the sides.
Round 13: *Sc in next st, dec*; repeat around. (12)
Round 14: Dec around. (6)
Fasten off, close the opening and hide the end.
Part 2: The gold lines
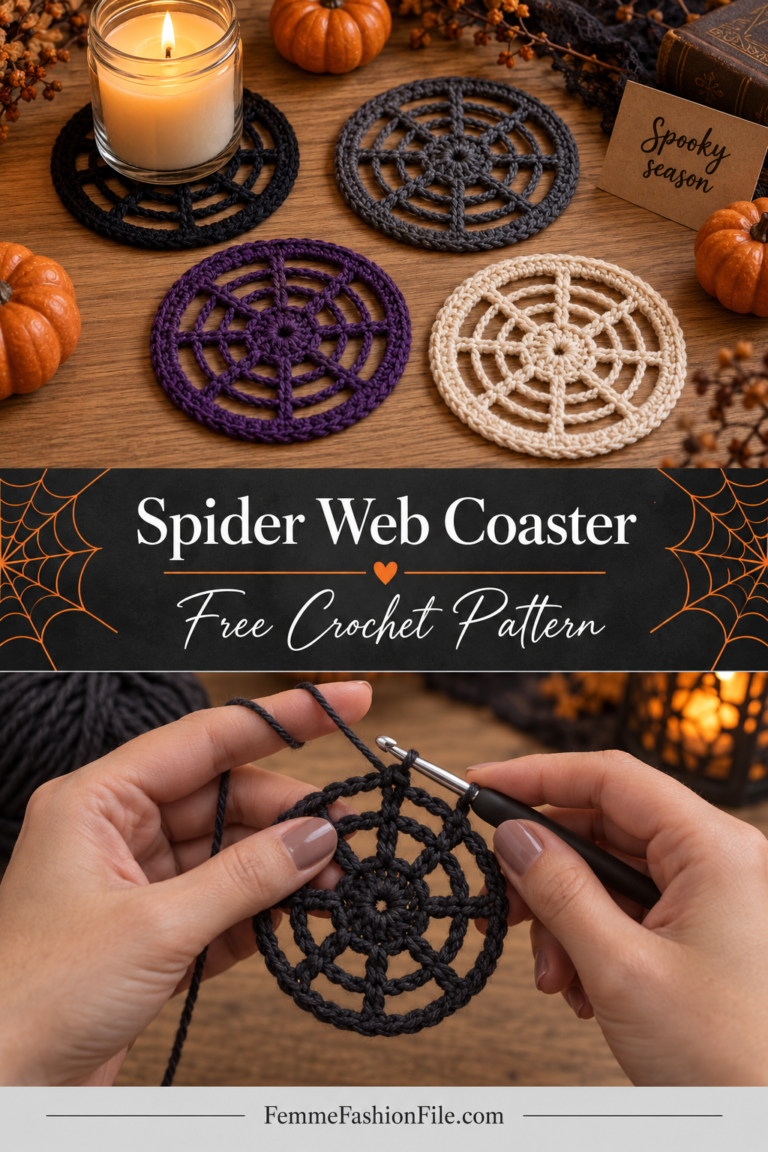
Thread gold metallic yarn on the needle. Bring it out at the top centre of the ball, lay it down the outside along one of the six increase lines to the bottom centre, push the needle in there and bring it back out at the top. Pull just snug. Repeat for all six lines, so the bauble is divided into six equal sections like a beach ball.
To keep each long line from slipping sideways, take a tiny stitch over it halfway down, at the widest part of the ball.
Part 3: The motifs
In the middle of every other section — three in total — embroider a small motif:
- Bow: in red, two small loops of lazy daisy stitch side by side, with two short straight stitches hanging below for the tails.
- Star: in gold, three straight stitches crossing at the centre, like an asterisk.
- Snowflake: in white, an asterisk with a tiny V at the end of each arm.
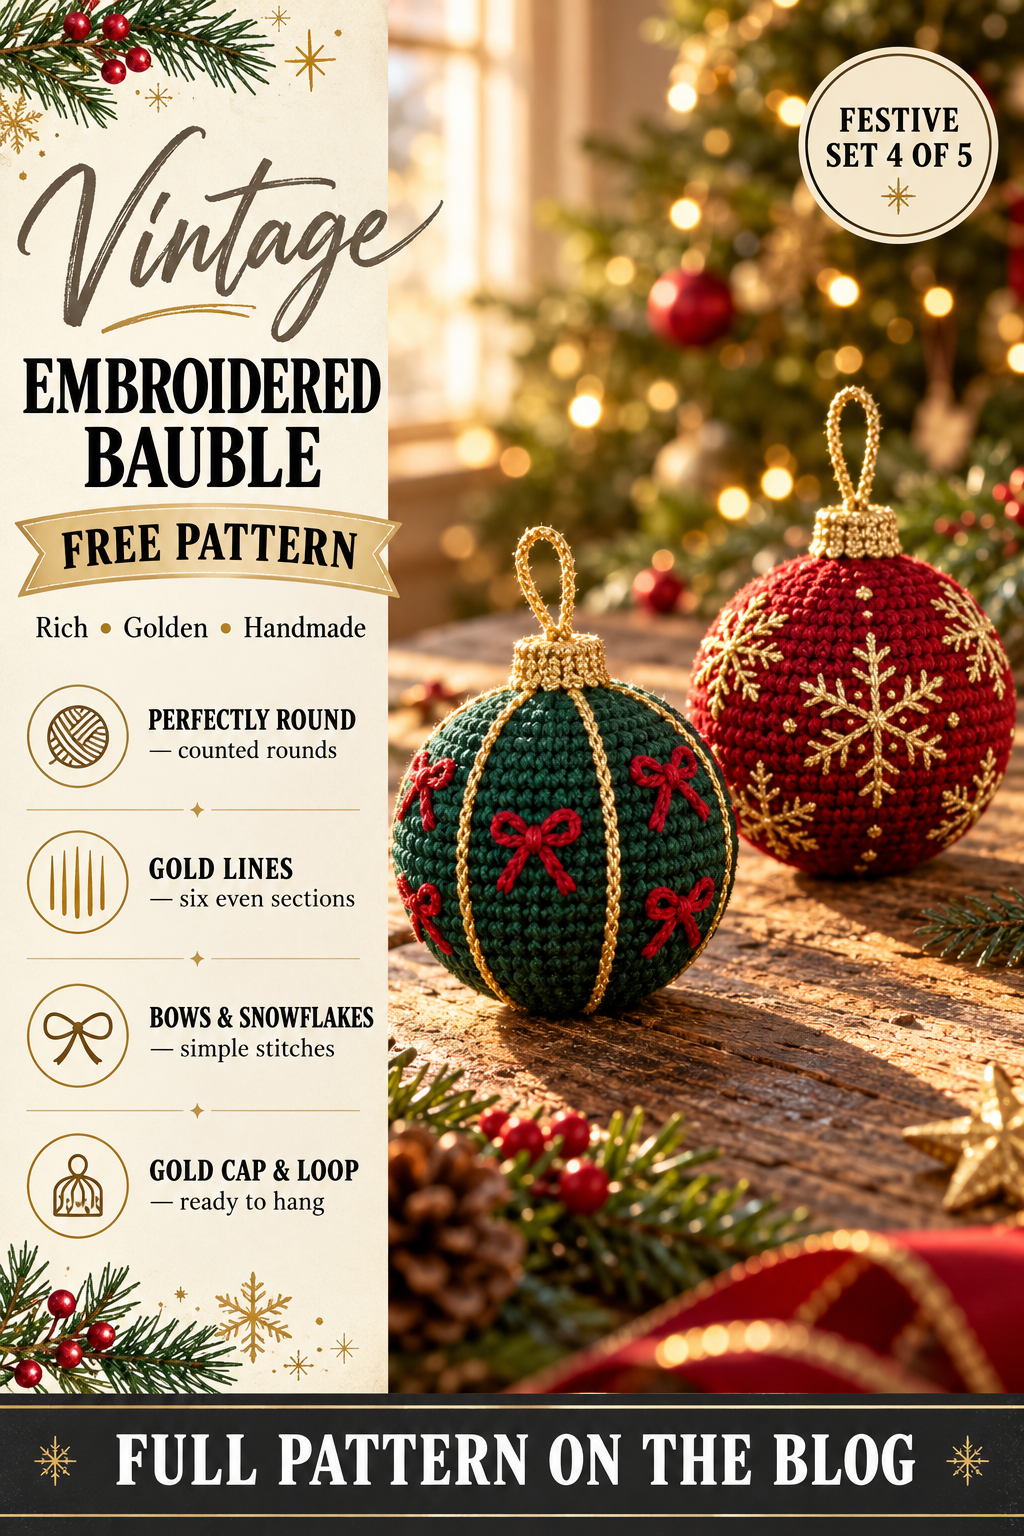
On the red bauble in the photo, gold snowflakes on red look rich and festive; on the green bauble, red bows and gold crosses look traditional.
Part 4: The gold cap
With gold metallic yarn:
Round 1: 6 sc into a MR. (6)
Round 2: Inc in each st around. (12)
Round 3: Working in BLO, sc in each st around. (12)
Round 4: Sc in each st around. Sl st into the next st and fasten off, leaving a tail. (12)
Sew the cap over the top of the bauble, where the six gold lines meet, so it covers their starting point neatly.
Part 5: The hanging loop
Join gold at the centre of the cap, ch 15 and sl st back into the same stitch. Fasten off and weave the end into the bauble.
Choosing yarn for Christmas ornaments
Ornaments hang in warm rooms near lights for weeks, get packed away and unpacked year after year, and are handled by small hands. That makes yarn choice more important than it looks. Worsted weight cotton or a cotton blend is the best all-rounder: it holds a firm shape, shows every stitch clearly, does not fuzz or pill with handling, and is not affected by the warmth of tree lights.
Acrylic is softer and cheaper and comes in every Christmas colour, but it can look slightly fuzzy after a few seasons. Wool looks beautiful and traditional but can attract moths in storage, so pack wool ornaments with a cedar block. For sparkle, use a gold metallic yarn or hold a fine metallic thread together with your main yarn for halos, trims and hanging loops — it catches the tree lights without making the whole ornament look busy.
Embroidery tips for a curved surface
Embroidering a stuffed ball is easier than it looks. Use a needle with a slightly sharper point than a blunt tapestry needle so it slides between stitches. Keep the stuffing firm — a soft ball dimples when you pull the thread. Bring the needle up and down between stitches rather than through the yarn itself, so the embroidery sits on top. And travel inside the ball between motifs, so no long strands show on the outside.
Colour ideas
- Green and gold: red bows and gold crosses — traditional.
- Red and gold: gold snowflakes — rich and festive.
- Cream and gold: gold stars — elegant and quiet.
- Striped: change colour every two rounds instead of embroidering, for a quick bauble.
A note on safety
Hand-crocheted ornaments are decorations. If young children or pets will be near the tree, embroider the faces instead of using safety eyes, sew every part on very firmly, skip any wire or beads, and hang the ornaments on higher branches. Never hang yarn ornaments where they touch bulbs that get hot, and use LED tree lights where you can.
Storing ornaments so they last
At the end of the season, make sure each ornament is completely dry and dust-free. Wrap each one in tissue paper and pack them in a shoebox or an egg box, which stops rounded ornaments getting squashed and keeps halos and wings in shape. Store the box somewhere cool and dry, with a cedar block or a lavender sachet if any are wool. Packed this way, crochet ornaments come out looking new every December.
Making the whole set in one go
The five ornaments in this set share their techniques, so it is quickest to make them together in stages rather than one at a time. Make all the spheres first — the snowman’s two balls, the angel’s head and the bauble — then all the flat pieces: the stars, the stocking pieces and the angel’s wings. Do all the stuffing and closing in one sitting, then all the embroidery, and finally all the hanging loops. Working this way you change hooks and colours far less often, and every ornament comes out the same scale as the others.
The Festive Christmas Tree Ornament Set
This pattern is one of five matching ornaments designed to hang together on the same tree: a snowman, an angel, a striped stocking, an embroidered bauble and a gold-edged star. They all use the same yarn weight, the same hook and the same palette of red, forest green, white, cream and gold, so a mix of all five looks like a planned collection rather than a handful of odds and ends.
- Snowman ornament
- Angel ornament
- Striped Stocking ornament
- Embroidered Bauble — you are here
- Gold-Edged Star ornament
Frequently asked
My bauble is egg-shaped.
Too many straight rounds, or uneven stuffing. Keep exactly five rounds of 30, and stuff in small pieces.
I can’t see the increase lines.
Place six stitch markers at the increases on Round 5 as you crochet; they show you where to stitch the gold lines later.
Before you start
Make the plain bauble first and check that it is round. The embroidery is the fun part, and it is easier on a firm, even ball. More festive makes are in Christmas & Winter.