Crochet Pumpkin Patch: Spiral Pumpkins in 5 Sizes for Fall Décor
One crochet pumpkin is cute. A patch of them in different sizes and colours is a fall display that looks like it came from a boutique. The magic is all in the mix: tall and squat, large and tiny, cream next to rust next to sage.
This guide gives you a size chart for the spiral swirl pumpkin from mini to large, colour palettes that always work together, and the simple display tricks that make a group look designed rather than random.
How the size works
Every spiral pumpkin is made from one flat piece worked on the bias. Two numbers control its size: the length of the foundation chain sets the height, and the number of rows sets how far it reaches around. Change those two numbers and you change the pumpkin.
A reliable rule is to work about twice as many rows as you have stitches in a row. That makes a pleasingly round pumpkin. Fewer rows make it taller and narrower; more rows make it flatter and wider.
The size chart
These sizes are for worsted weight yarn on a 5.0 mm hook. In bulky yarn, the same counts make pumpkins roughly half as big again.
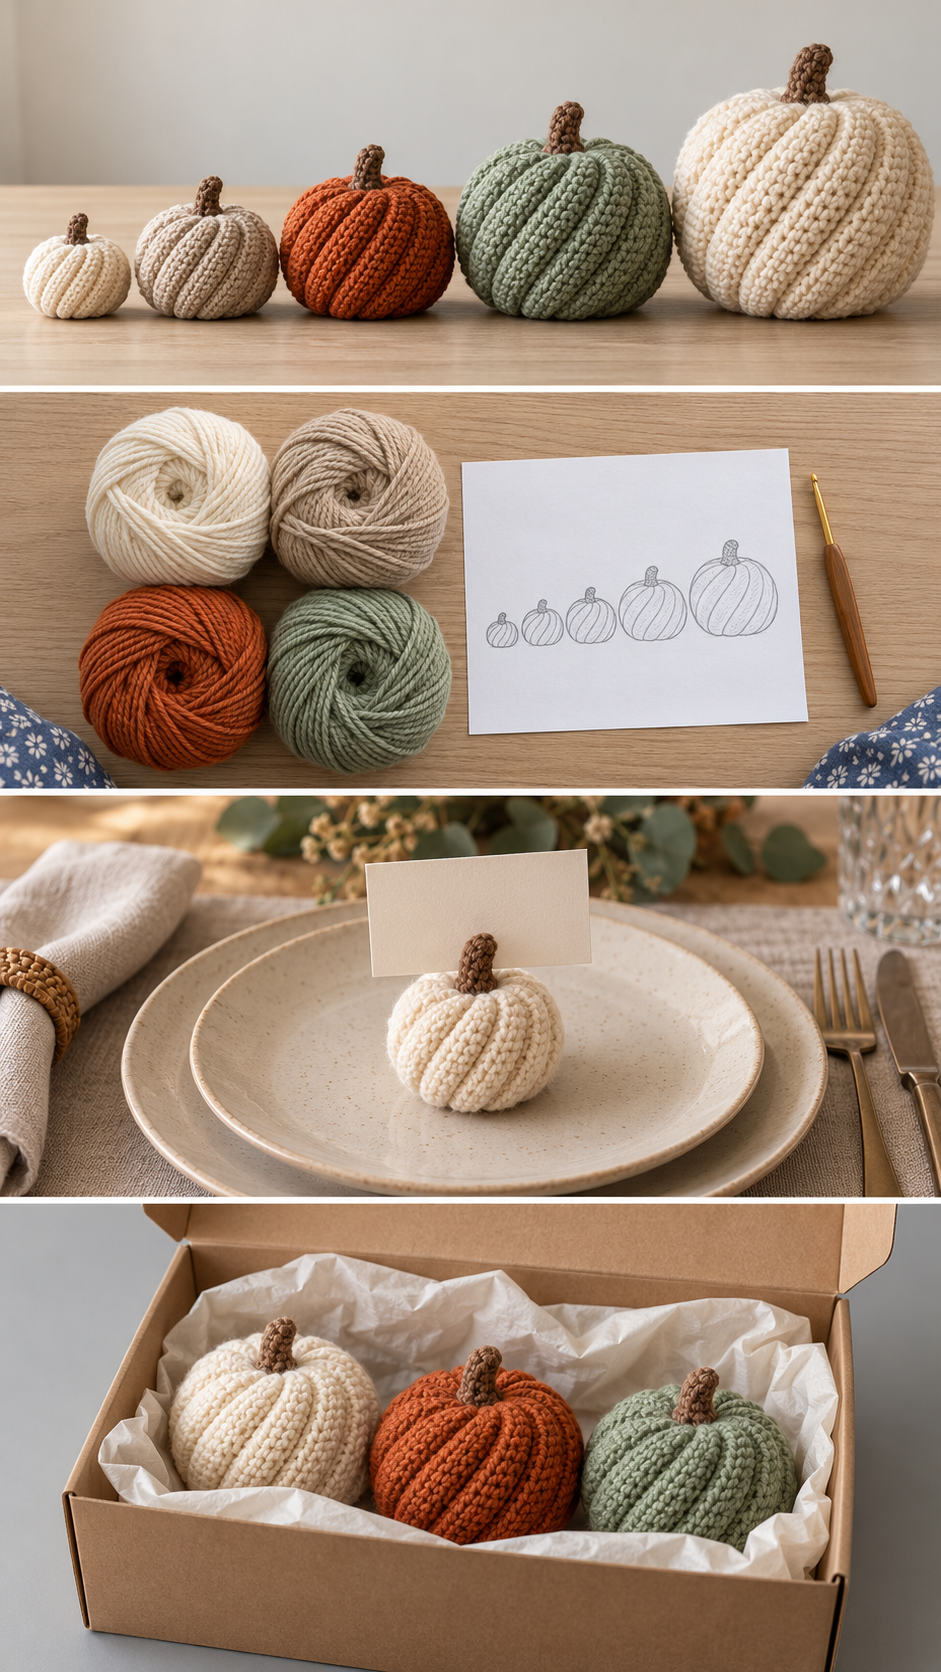
- Mini: chain 13, 24 rows — about 2½″ across. Perfect for place settings and gift toppers.
- Small: chain 17, 32 rows — about 3½″ across.
- Medium: chain 23, 44 rows — about 4–5″ across. The pattern size.
- Large: chain 29, 56 rows — about 6″ across.
- Giant: chain 37, 72 rows — about 8″ across. A statement piece for a doorstep or hearth.
Each chain is one more than the stitches in a row, so the mini has 12 stitches per row, the medium 22, the giant 36. Every row keeps that same count.
Because the spiral slants the fabric, these pumpkins come out a little squatter than straight-ribbed ones of the same counts. That is part of their charm.
How much yarn each size needs
The easiest way to know is to weigh your medium pumpkin once it is finished and use that as a guide. As a rough idea in worsted weight: a mini uses around 15 yards, a medium about 60, and a giant well over 200. Because the giant is so much bigger in every direction, it uses far more than its chain length suggests.
Colour palettes that always work
A pumpkin patch looks best when the colours relate to each other. These palettes never fail:
- Classic harvest: burnt orange, rust, mustard and a cream accent.
- Soft neutral: cream, oatmeal, warm grey and a single sage.
- Moody autumn: deep rust, plum, olive and charcoal.
- Nordic: white, pale grey, soft blue-grey and natural wool.
- Blush harvest: dusty pink, terracotta, cream and peach.
Pick three or four colours from one palette, and make the largest pumpkin in the most neutral colour. A big bright pumpkin overpowers a group; a big calm one anchors it.
Display ideas
The odd-number rule
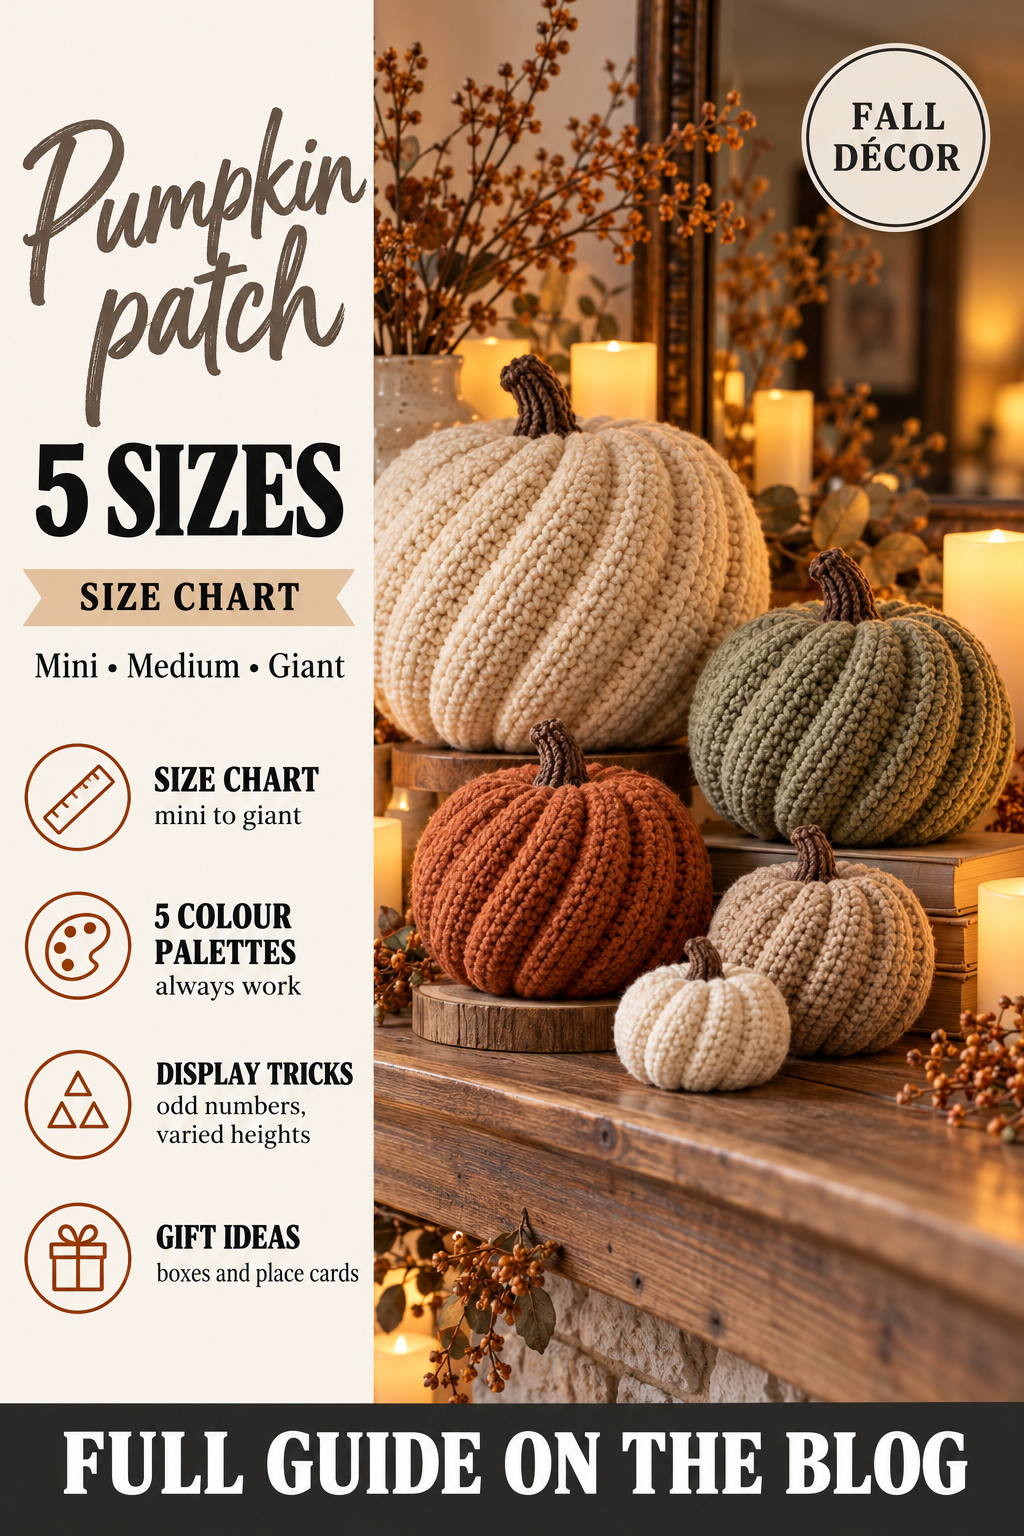
Groups of three or five look more natural than groups of two or four. Arrange them in a loose triangle, with the tallest at the back and the smallest at the front.
Vary the heights
Set one pumpkin on a stack of books or an upturned bowl. Different heights make a group look deliberate.
Mix the textures
Combine spiral pumpkins with straight-ribbed ones, a velvet pumpkin, and real gourds or dried leaves. The contrast makes each piece stand out.
Places that work
- A mantelpiece, with candles and dried branches
- A dining table centrepiece on a linen runner
- A bookshelf, tucked between books
- A front doorstep, with a giant pumpkin and a few smaller ones
- A wooden crate or a basket by the door
Making a patch efficiently
If you are making a whole group, work in batches. Make all the bias pieces first, then do all the seaming, then all the cinching and stuffing, then all the wrapping, then all the stems. Repeating one task many times is faster than switching between them, and the pumpkins come out more consistent.
Keep a note of the chain and row counts for each size you like, so you can make more to match next year.
Choosing the right yarn for each size
Different sizes look best in different yarns. Mini and small pumpkins look crisp and neat in worsted cotton, which shows the spiral clearly even at a tiny scale. Medium pumpkins work in almost any smooth yarn. Large and giant pumpkins look most impressive in a bulky or chenille yarn, which makes them plump and soft and saves a lot of time.
Mixing yarn types within one patch is a good idea. A large velvet pumpkin beside small cotton ones creates a lovely contrast in texture and makes the whole group more interesting to look at.
Stuffing pumpkins of different sizes
Small pumpkins need firm stuffing so they keep a round shape and do not look deflated. Large and giant pumpkins need a lighter hand: if you overstuff a big pumpkin, the wraps cannot pull in deep enough to define the spiral valleys, and it looks like a ball. Stuff a large pumpkin until it is just full, then add the wraps and adjust.
For a giant pumpkin that will sit on the floor, put a small bag of rice or dried beans in a sealed freezer bag inside the base before stuffing. The weight keeps it from tipping over and stops it being blown about on a doorstep.
Making a patch on a budget
A pumpkin patch can use up a lot of yarn, especially the large sizes. Some ways to keep costs down:
- Use leftover yarn for the mini and small pumpkins — they need very little.
- Make only one large pumpkin and fill the group out with smaller ones.
- Choose acrylic or cotton-acrylic blends for the larger sizes.
- Buy one colour in a large ball and make several sizes from it, then add one or two accent colours.
Matching your home
A pumpkin patch looks best when it suits the room it sits in. In a light, Scandinavian-style home, cream, white and soft grey pumpkins look calm and elegant. In a warm, rustic room with wood and leather, burnt orange, rust and mustard feel right. In a modern home with bold colours, a moody palette of plum, olive and charcoal looks stylish and unexpected.
If in doubt, choose colours that pick up something already in the room — a cushion, a rug, a vase — and the pumpkins will look as if they belong there.
Keeping them for years
Crochet pumpkins last for many seasons if stored well. At the end of autumn, check each one for dust, spot clean any marks, and let them air. Store them in a box rather than a plastic bag, with tissue around the stems and vines so they keep their shape. A cedar block or a lavender sachet in the box keeps moths away from any wool.
Add one or two new pumpkins each year in a new colour, and over time your patch grows into a collection with a story.
Pumpkins as gifts
A small group of three pumpkins in a box lined with tissue makes a lovely autumn gift for a friend, a teacher or a new neighbour. Choose colours to suit their home, finish each with a different stem and a twine bow, and tuck in a small tag. Mini pumpkins are also perfect as place-card holders at an autumn dinner: tie a small name card to each stem, and guests take theirs home as a keepsake.
Planning your patch in five minutes
Before you start, sketch your patch on a scrap of paper. Draw a large pumpkin at the back, a medium and a small in front of it, and two minis tucked in at the sides. Write a colour next to each, using one palette. Then add up roughly how much yarn you need for each colour using the guide above. It takes five minutes, saves you from buying the wrong amount of yarn, and means the finished group looks planned rather than accidental.
Swapping sizes for different spaces
Match the sizes to the space. A narrow windowsill suits a row of small and mini pumpkins. A wide mantelpiece can take one large pumpkin with smaller ones on either side. A dining table centrepiece looks best kept low, with small and medium pumpkins, so guests can still see each other across the table. A doorstep or hearth is the place for a giant pumpkin, where its size makes an impression from across the room.
Before you start
Choose a palette and decide on three sizes for a first patch — a small, a medium and a large always looks good. Then finish them with the stems and vines from 8 ways to finish your pumpkin.