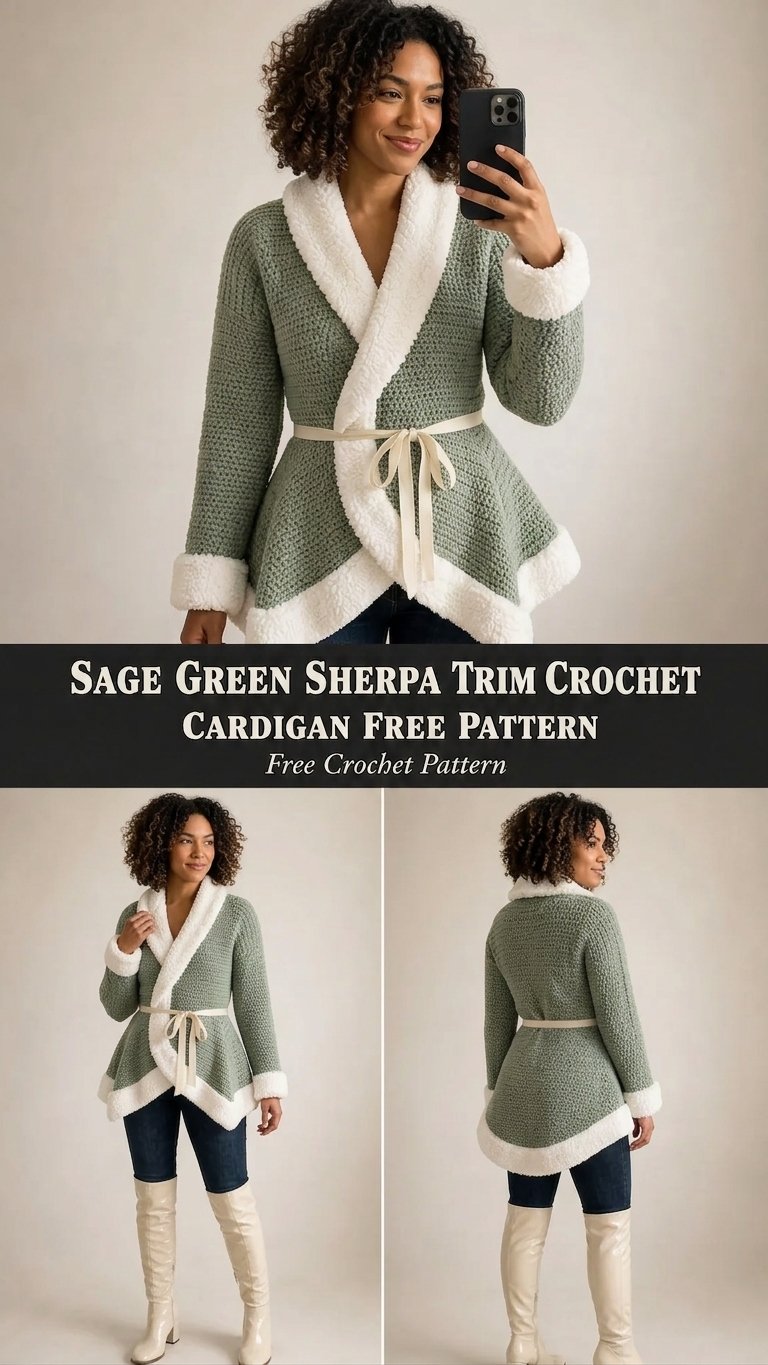
Sage Green Cardigan with Sherpa Trim – Free Crochet Pattern
A cardigan was the first thing I wanted to make and the last thing I actually attempted, because garments felt like a different sport. They are not. This sage green cardigan is five rectangles and two seams, and the shaping comes from where you sew rather than from anything clever with your hook.
The trim is what makes it. A round of chunky sherpa or faux-fur yarn along the fronts, cuffs and hem turns a plain sage rectangle into something that reads as deliberate. It also hides a slightly uneven edge, which is the real reason I started doing it.
If you can work half double crochet in rows and sew a straight seam, you can make this.
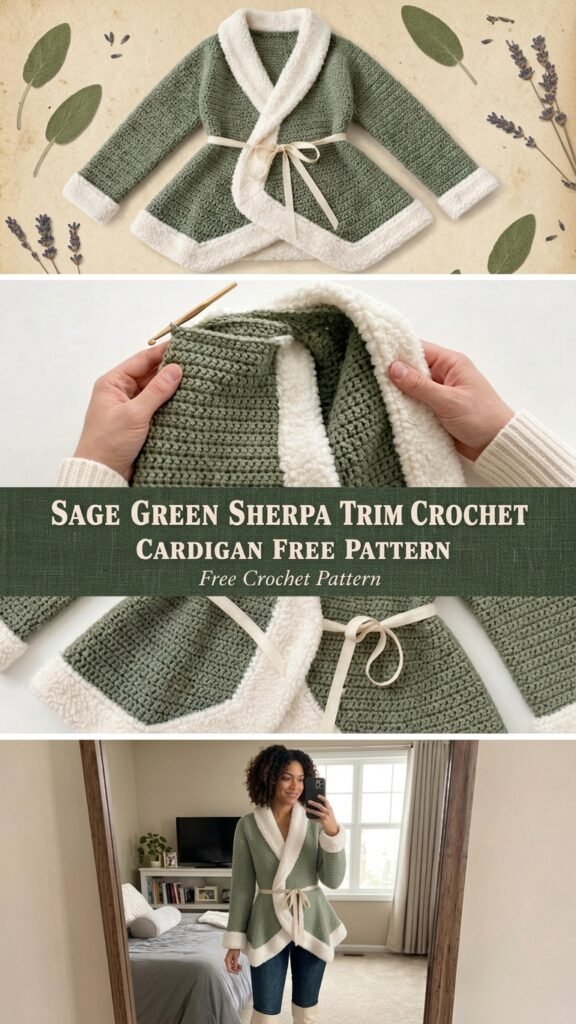
Why this sage green cardigan works
Most beginner cardigan failures come from shaping worked into the fabric — armhole decreases, set-in sleeves, a neckline curve. Get one of those wrong and you cannot tell until the whole thing is assembled. Rectangles remove that problem entirely. If your gauge is right, the pieces are right.
The trade-off is honest: this is a relaxed, drop-shoulder cardigan. It hangs straight and the shoulder seam sits below your actual shoulder. That is the look. If you want a fitted garment with a set-in sleeve, this is not that pattern.
Materials you will need
Main yarn: worsted weight (category 4), roughly 1,000–1,500 yards depending on your size. A wool-acrylic blend drapes better here than pure acrylic, which tends to hang stiff in a piece this large.
Trim yarn: one to two skeins of chunky sherpa, teddy or faux-fur yarn. You only need enough for a single round on each edge.
- Hook: 5.5 mm (I-9) for the body, 6.5 mm (K) for the trim
- Notions: tapestry needle, stitch markers, tape measure
Buy the main yarn all at once and check the dye lot. A cardigan is big enough that a lot change shows across the back panel.
Gauge — read this part
Gauge is not optional on a garment. It is the entire sizing system for this pattern.
Work a swatch at least 6″ wide in half double crochet, then measure the middle 4″. Write down two numbers: stitches per inch and rows per inch. Every piece below is calculated from those two numbers, so they do not have to match mine — they only have to be accurate.
My swatch came out at 3 stitches and 2.5 rows per inch on a 5.5 mm hook. Yours will differ.
Sizing
Take your full bust measurement and add 4–6″ of ease. That total is your finished chest. A relaxed cardigan wants that room; without it the fronts will not meet.
- Back panel width = finished chest ÷ 2
- Each front panel width = finished chest ÷ 4
- Body length = shoulder to where you want the hem (mine: 24″)
- Sleeve length = shoulder to wrist, minus 2″ for the trim
- Sleeve width = around your upper arm, plus 3″
Multiply each width by your stitches per inch to get a starting chain. Multiply each length by your rows per inch to get a row count. Round to whole numbers.
Abbreviations
- ch = chain: yarn over, pull through the loop on your hook. One loop stays on the hook.
- hdc = half double crochet: yarn over, insert hook, yarn over and pull up a loop (3 loops on hook), yarn over and pull through all 3. A dense, slightly springy stitch.
- sc = single crochet: insert hook, yarn over, pull up a loop (2 loops), yarn over and pull through both. Short and tight.
- sl st = slip stitch: insert hook, pull a loop through both the stitch and the loop on your hook.
Pattern notes
- Worked in rows, turning at the end of each. Nothing is worked in the round.
- The turning ch 1 at the start of a row does not count as a stitch.
- Work into both loops throughout unless a step says otherwise.
- Keep a note of your row counts. The two front panels must match each other exactly.
- Measure your work flat every ten rows rather than trusting the count alone.
Step by step
Part 1: The back panel
This is the largest piece and the one that sets your width. Take the time to measure it before moving on.
Row 1: Ch (back panel width × stitches per inch) + 1. Hdc in the 2nd ch from hook and in each ch across. Turn.
Row 2: Ch 1, hdc in each st across. Turn.
Rows 3 to end: Repeat Row 2 until the panel measures your full body length. Fasten off.
Check: lay it flat and measure the width at the bottom, middle and top. If it is narrowing, you are losing the last stitch of a row — the most common mistake in flat crochet.
Part 2: The front panels (make 2)
Same method, half the width, identical row count to the back.
Row 1: Ch (front panel width × stitches per inch) + 1. Hdc in the 2nd ch from hook and in each ch across. Turn.
Rows 2 to end: Ch 1, hdc in each st across. Repeat until this panel has exactly the same number of rows as the back panel. Fasten off.
Make the second front panel identically.
Part 3: The sleeves (make 2)
Row 1: Ch (sleeve width × stitches per inch) + 1. Hdc in the 2nd ch from hook and in each ch across. Turn.
Rows 2 to end: Ch 1, hdc in each st across. Repeat until the piece measures your sleeve length. Fasten off, leaving a long tail for seaming.
Part 4: Assembly
Lay the back panel flat. Place a front panel on top of it, right sides together, lining up one side edge. Seam the top edge inward from the outer corner for about 4″ — that is your shoulder. Leave the rest of the top edge open for the neck. Repeat on the other side with the second front panel.
Now open the piece out flat. Fold each sleeve in half lengthways and mark its centre. Match that centre to the shoulder seam, then sew the long edge of the sleeve to the body along the armhole opening.
Finally, seam each side: from the hem up the body, then continuing along the underside of the sleeve to the cuff, in one line.
Try it on now, before the trim. This is the last easy moment to adjust a seam.
Part 5: The sherpa trim
Switch to the 6.5 mm hook and the sherpa yarn. Join at the bottom corner of one front panel.
Work sc evenly up the front edge, around the back neck and down the other front edge. Along the row ends, roughly 2 sc for every 3 rows keeps the edge flat — but watch the fabric rather than the count. If it ruffles, you are adding too many; if it pulls in, add more.
Fasten off. Repeat around each cuff and along the hem.
Sherpa yarn hides your stitches almost completely, which is forgiving — but it also means you cannot see where you are working. Count by feel and go slowly.
[IMAGE 3 — close-up of the sherpa trim against the sage body]
Finishing and care
Weaving in: weave ends into the seams rather than the panels, where they will show less.
Blocking: wet block the main panels before seaming if you can. It evens out the fabric and relaxes the hdc noticeably. Do not block the sherpa trim — it flattens the pile and does not recover.
Washing: hand wash cool, press the water out rather than wringing, and dry flat. A wet cardigan hung on a hanger will stretch and stay stretched.
Frequently asked
Can I use a different yarn weight?
Yes. Because every measurement here comes from your own gauge swatch, the pattern adapts automatically. A DK yarn will need more stitches for the same width and will produce a lighter cardigan; a bulky yarn will need fewer and will be much warmer.
Why are my front panels different lengths?
Almost always an uncounted row rather than a tension change. Count rows on both panels before seaming. If they are off by one or two, add rows to the shorter one; any more and it is worth reworking.
How much yarn will I actually need?
It depends on your size and gauge, so treat 1,000–1,500 yards as a starting estimate rather than a promise. Weigh your gauge swatch, work out the yards per square inch, and multiply by the total area of your five panels for a real number.
Is this really beginner friendly?
The stitches are. It is a lot of plain hdc and two basic seams. What makes it an intermediate project is the scale — it is many hours of work, and a gauge error compounds across the whole garment. Swatch properly and the rest is patience.
Before you start
Make the gauge swatch. It is twenty minutes against a week of work, and on a garment this size it is the difference between something you wear and something you fold away.
If you make one, I would love to see it.