Granny Square Crochet Jacket – Free Pattern
A granny square crochet jacket is the most satisfying garment you can make, because every evening you finish something. Instead of one long piece that seems to take forever, you make one small square at a time, and each one is complete in about half an hour. Stack them up, lay them out like a puzzle, and a jacket appears.
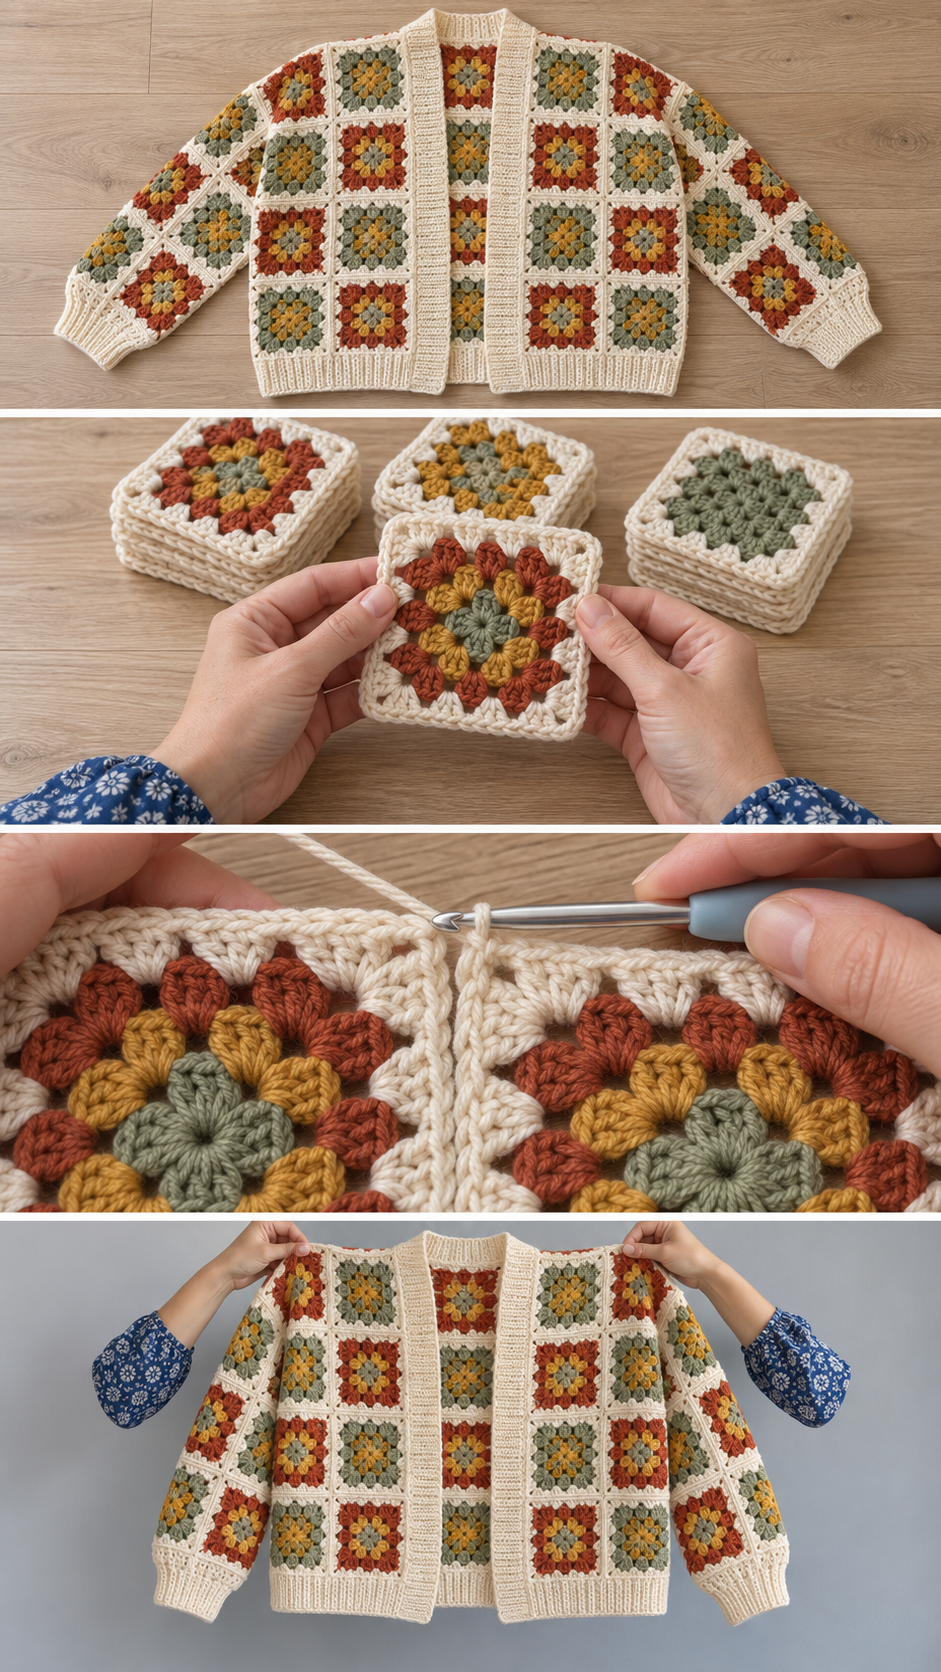
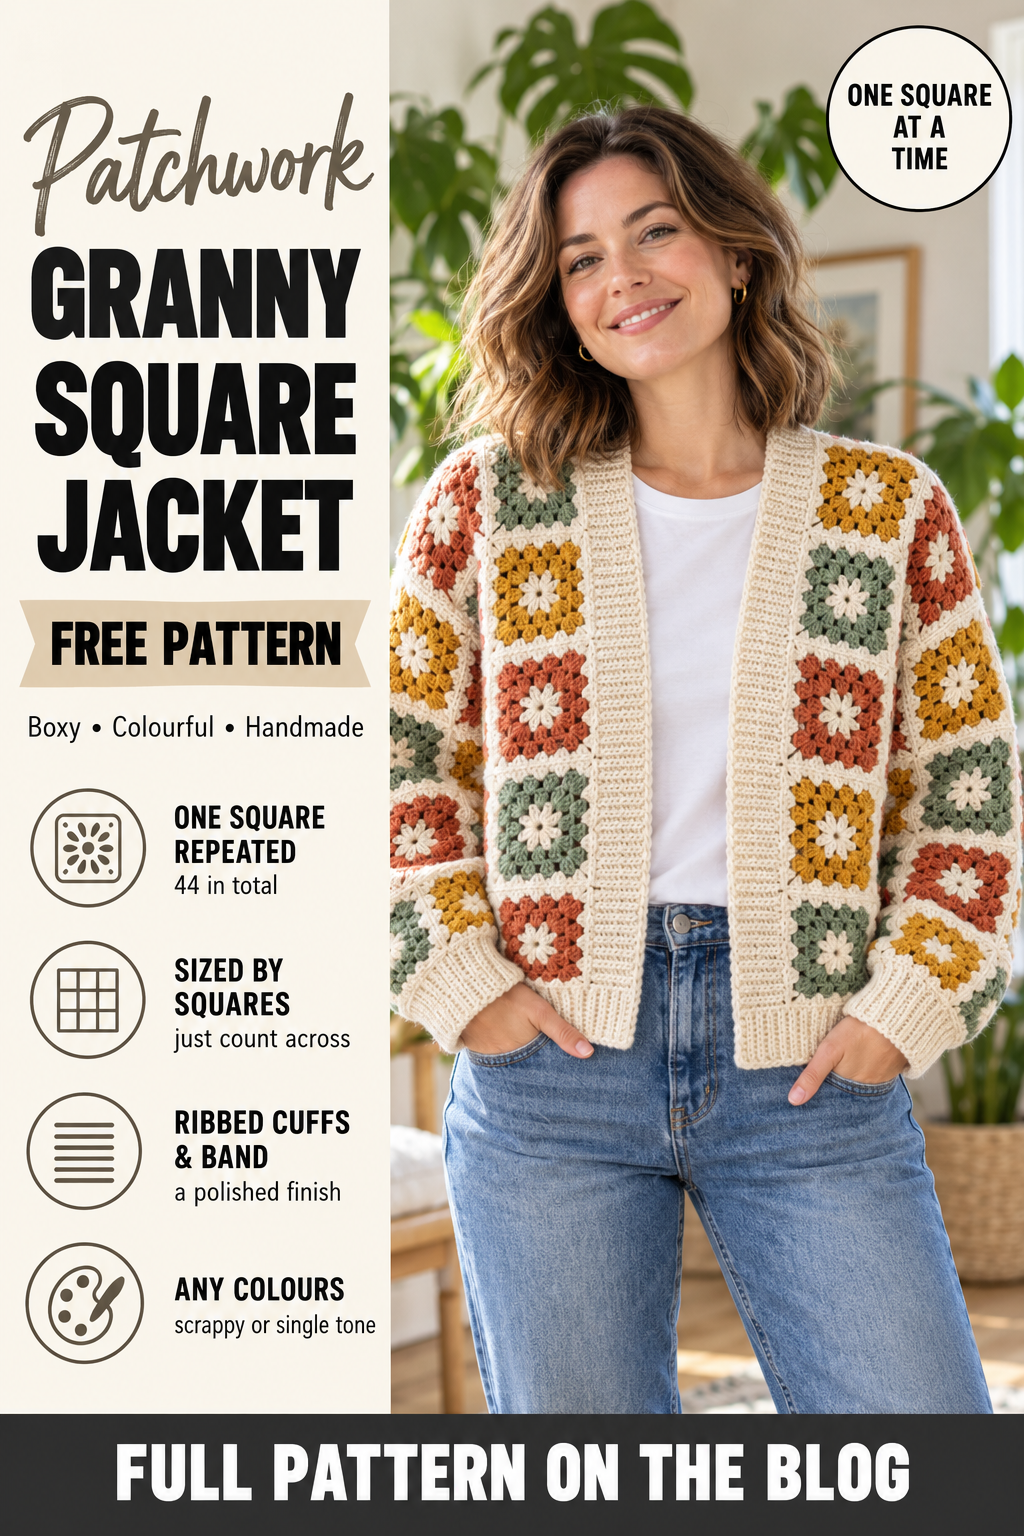
This one is a boxy, drop-shoulder jacket made from a single six-round granny square repeated 44 times, with a wide ribbed band around the fronts and neck, ribbed cuffs and a ribbed hem. Worn open over a T-shirt and jeans it looks relaxed and current; in soft neutrals it looks calm and grown-up; in bright colours it is pure fun.
You need a chain, double crochet and single crochet, plus some patience for joining. There is no shaping anywhere. The size comes from how big your squares are and how many you put across.
Why this crochet jacket works
A granny square grows by exactly twelve double crochet every round. Round one has 12, round six has 72, every time. That makes the squares self-checking, and it means every square you make comes out the same size as the last, as long as your hook and yarn stay the same. Identical squares are what make a patchwork garment lie flat and fit.
Because the whole jacket is made of one repeated piece, the sizing becomes simple arithmetic. Measure your finished square, decide how wide you want the jacket, and divide. You never have to work out increases, armholes or necklines.
The honest trade-off: a granny square jacket is boxy by nature. It hangs straight from the shoulders and does not follow the curve of the body. That is the look — but if you want a fitted, shaped jacket, this is not the construction for it. The other trade-off is the joining. Forty-four squares means a lot of seams, and how neatly you join them decides how polished the jacket looks.
Materials you will need
- Yarn: worsted weight (category 4), roughly 1,400–1,900 yards for an adult jacket, depending on size and length. Work out your own amount from one finished square — see below.
- Hooks: 5.0 mm (H-8) for the squares; 4.5 mm (7) for the ribbing
- Notions: tapestry needle, stitch markers, pins or clips, tape measure
- Optional: a few large buttons or a single toggle
A wool blend or a soft acrylic gives the best drape. Cotton makes crisp, colourful squares, but a jacket of 44 cotton squares is heavy and will stretch longer as it is worn, so choose a cotton blend rather than pure cotton if you love that look.
The granny square
Make one square first and measure it before anything else. Everything in the jacket is built from this one measurement.
Round 1: Make a magic ring. Ch 3 (counts as first dc), 2 dc into the ring, ch 2, *3 dc into the ring, ch 2*; repeat twice more. Join with a sl st to the top of the ch 3. (12 dc, 4 corners)
Round 2: Sl st to the first corner. Ch 3, 2 dc, ch 2, 3 dc in the same corner. *In the next corner work 3 dc, ch 2, 3 dc*; repeat twice. Join. (24 dc)
Round 3: Sl st to the next corner and work a corner. *3 dc in the gap between groups, then a corner in the next corner space*; repeat around, ending with 3 dc in the last gap. Join. (36 dc)
Rounds 4 to 6: Work a corner in each corner space and 3 dc in every gap along each side. Each side gains one group per round. (48, 60, 72 dc) Fasten off, leaving a 10″ tail for joining.
Check: on Round 6 each side has five groups between the corners. If a side has four or six, a gap was missed or doubled along it.
Block the square and measure it edge to edge. In worsted yarn on a 5.0 mm hook it usually comes out about 6″. Write your number down.
Sizing your jacket
Take your bust measurement and add 6–10″ of ease for a relaxed, boxy fit. That is your finished chest.
- Back: finished chest ÷ 2 ÷ your square size, rounded to the nearest whole square. That is how many squares wide the back is.
- Each front: half the number of back squares.
- Length: how many squares tall, from shoulder to just above the hem ribbing.
- Sleeves: each sleeve is a strip of squares joined into a tube.
A worked example, with 6″ squares: a 40″ bust plus 8″ of ease gives a 48″ finished chest. The back is 48 ÷ 2 ÷ 6 = 4 squares wide. Each front is 2 squares wide. A body 4 squares tall gives 24″ plus the hem rib. Each sleeve is 3 squares around (18″, a roomy oversized armhole) and 2 squares long, finished with a deep ribbed cuff.
That makes 16 squares for the back, 8 for each front and 6 for each sleeve: 44 squares in total.
Fine-tuning: if the numbers do not divide neatly, change the size of the square rather than the number. Adding a seventh round makes each square about an inch bigger; going down a hook size makes it smaller. The jacket stays perfectly in proportion either way.
Abbreviations
- ch = chain.
- dc = double crochet: yarn over, insert hook, yarn over and pull up a loop (3 loops), yarn over and pull through 2, yarn over and pull through the last 2.
- sc = single crochet: insert hook, yarn over and pull up a loop (2 loops), yarn over and pull through both.
- sl st = slip stitch.
- BLO = back loop only. In sc, this makes ribbing.
- corner = 3 dc, ch 2, 3 dc worked into one corner space.
Step by step
Part 1: Make the squares
Make all the squares you need, blocking each one as you go so they are exactly the same size. Weave in the starting tail of each square, but keep the long finishing tail for joining.
Part 2: Lay out the panels
On a large table or the floor, lay out the back as a grid (4 × 4 in the example), each front as a narrower grid (2 × 4), and each sleeve as a strip (3 squares across, 2 down). This is the moment to arrange your colours. Step back and look: if two similar squares sit side by side, swap one.
Take a photo of the layout so you can find each square’s place again.
Part 3: Join the squares
Join each panel separately. Work all the horizontal seams first, then all the vertical ones, so the grid stays square.
The neatest join is a flat slip stitch join: hold two squares right sides up, side by side, and slip stitch through the back loops of matching stitches, alternating from one square to the other. It makes a flat, almost invisible seam. A single crochet join through both squares held wrong sides together makes a raised ridge instead, which can look lovely as a deliberate outline in a contrast colour.
Part 4: Assemble the jacket
- Shoulders: place each front on the back, right sides together. Join the top edge of each outer front square to the outer back square above it. The middle back squares form the back neck, and the inner front squares stay free to make the front neckline.
- Sleeves: fold each sleeve strip into a tube along its length and join it. Then match the centre of the sleeve top to the shoulder join and sew the sleeve into the side of the body.
- Sides: join the side seams from the bottom of the body up to the sleeve.
Part 5: Ribbed cuffs and hem
With the 4.5 mm hook, join yarn at a sleeve seam and work one round of sc evenly around the cuff edge, then work rounds of sc in the back loops only until the cuff is about 3″ deep. To gather the wide sleeve into a snug cuff, skip roughly one stitch in every four on the first round.
Work the hem the same way along the bottom of the body, about 2½″ deep, without gathering.
Part 6: The front and neck band
This band is what turns a set of squares into a jacket. Starting at the bottom of the right front, work sc evenly up the front, around the neck and down the left front. Then work rows of sc in the back loops only until the band is about 2½″ wide.
Around the back neck, work slightly tighter, skipping a stitch every so often. This pulls the wide granny neckline in so it sits close to the body instead of gaping. For buttons, ch 2 and skip 2 on a middle row of the band where each button will go.
Choosing colours
The colours make a granny square jacket. Three popular approaches all work well. One colour throughout looks calm and modern, and lets the texture of the squares show. A neutral with one accent — say every centre round in rust and the rest in cream — looks deliberate and stylish. Scrappy, where every square uses different leftover colours tied together by one joining colour, looks joyful and vintage.
Whatever you choose, use the same colour for the outer round of every square and for all the joins and bands. That single shared colour is what pulls a busy jacket together.
How much yarn you need
Weigh one finished, blocked square. Multiply by the total number of squares, then add about 25% for the ribbing, bands and joins. Divide by the weight of one ball and round up. If you are making a single-colour jacket, buy it all from one dye lot.
Finishing and care
Weave in every end along a seam. Give the finished jacket a final light block, wet or steamed depending on your fibre, and lay it flat to dry. Store it folded, never on a hanger — 44 squares of yarn are heavy, and hanging will stretch the shoulders.
Frequently asked
Can I make it cropped?
Yes. Make the body three squares tall instead of four. A cropped granny jacket looks especially good over high-waisted jeans or a dress.
Why are my squares different sizes?
Tension changes as you relax into a project. Block every square to the same size before joining, and keep the same hook throughout.
Can I use half squares?
Yes. If the length needs a little more, make half squares — triangles worked in rows from a corner — to add half a square of height. It is an advanced touch but gives you finer control over fit.
Is it beginner friendly?
The squares are a perfect beginner project. The joining and assembly take more patience, but nothing is technically difficult.
Before you start
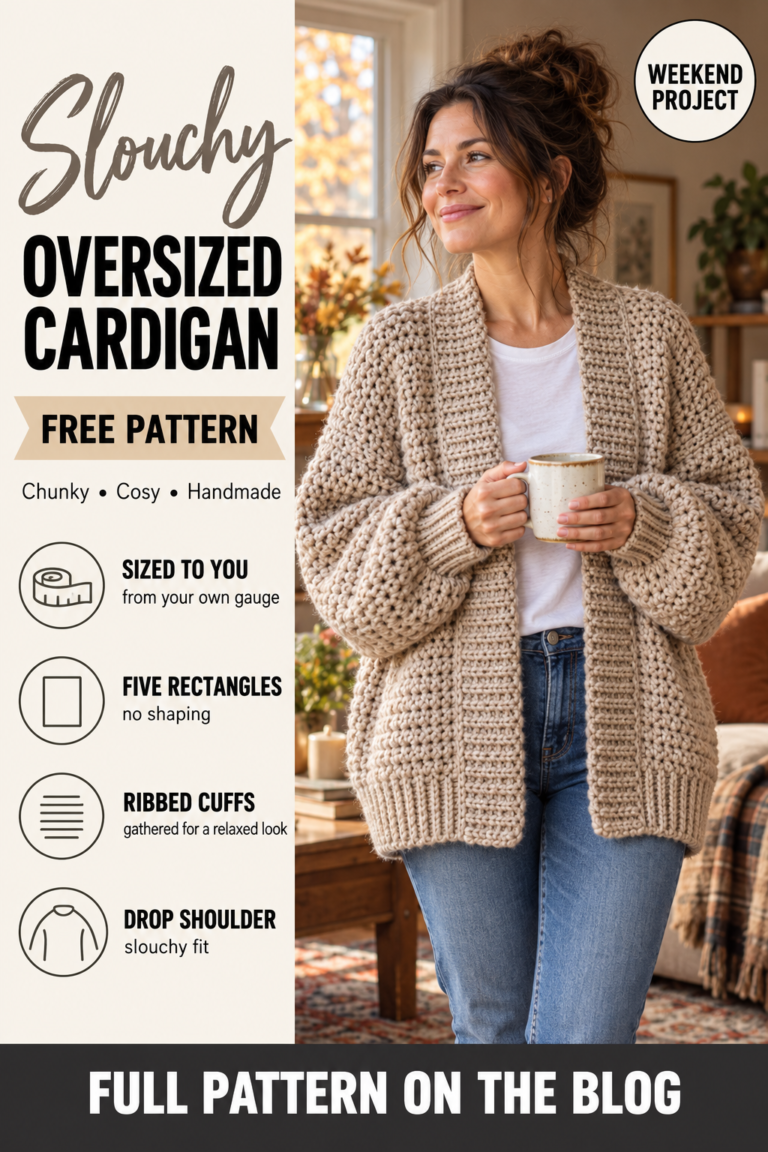
Make one square, block it and measure it. That single number sizes the whole jacket. More wearable makes are in Clothing & Wearables, including the chunky oversized cardigan.