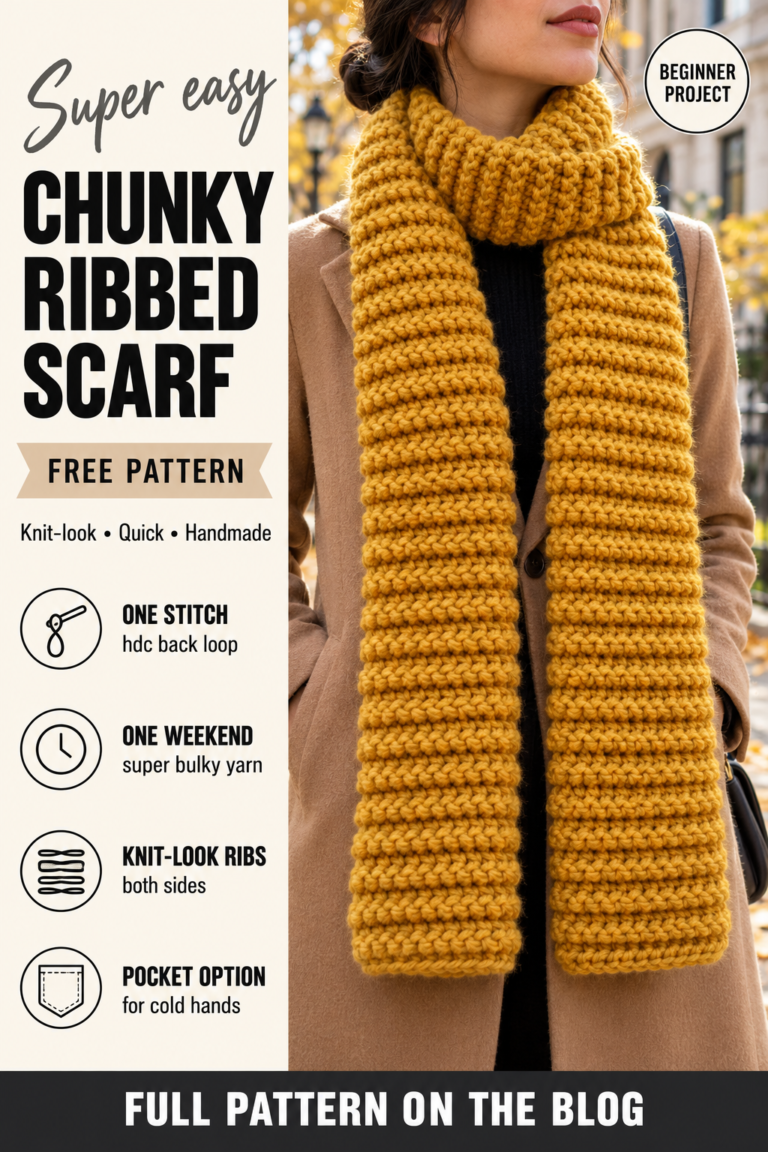
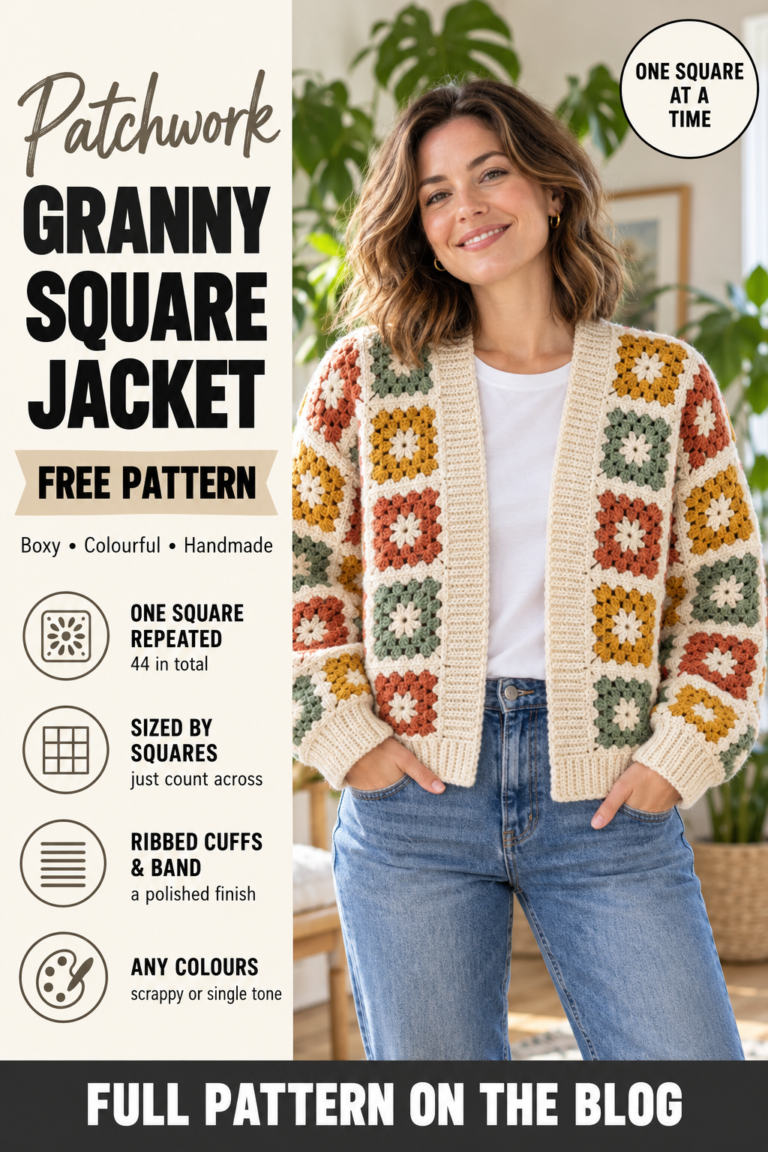
Crochet Hooded Jacket with a Simple Rectangle Hood – Free Pattern
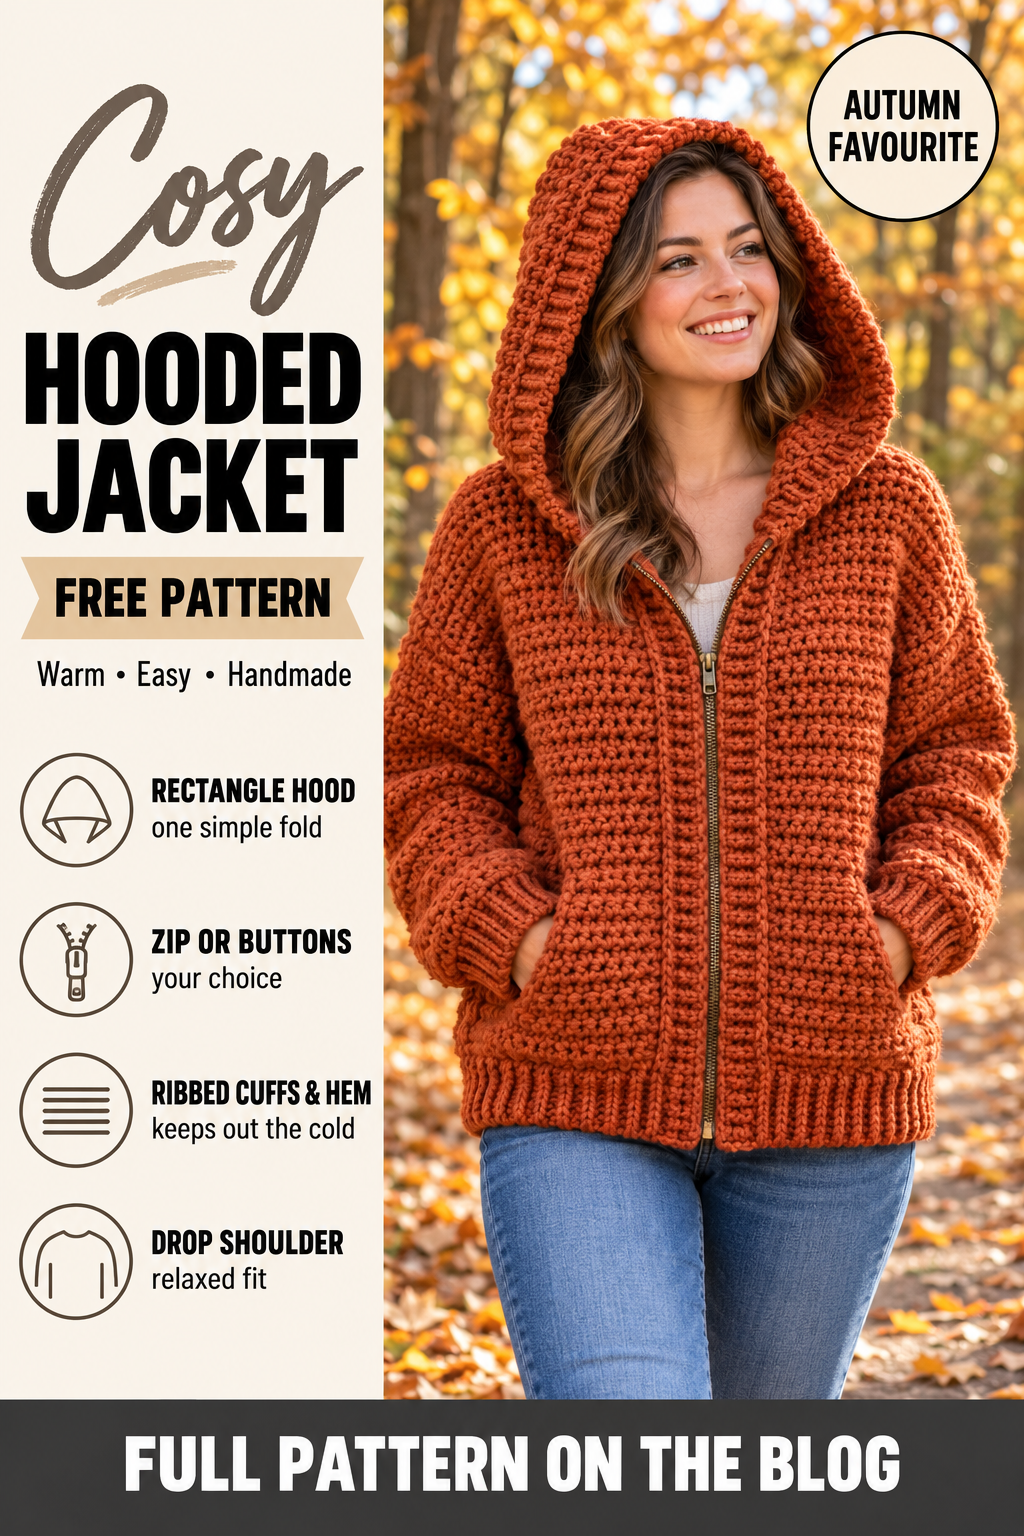
A crochet hooded jacket is the one you grab on the way out of the door. It is the handmade version of a favourite hoodie: easy to throw on, cosy around the neck, and with a hood for when the weather turns. In a soft, chunky yarn it is warm enough for autumn walks and relaxed enough for a lazy weekend.
The body is the simple drop-shoulder construction of five rectangles, and the hood is the clever part. It is one rectangle, folded in half and seamed along one edge, and it fits around the head beautifully with no shaping at all.
You need half double crochet, single crochet and back-loop ribbing. You can finish the front with buttons or sew in a separating zip; both are explained.
Why this crochet hooded jacket works
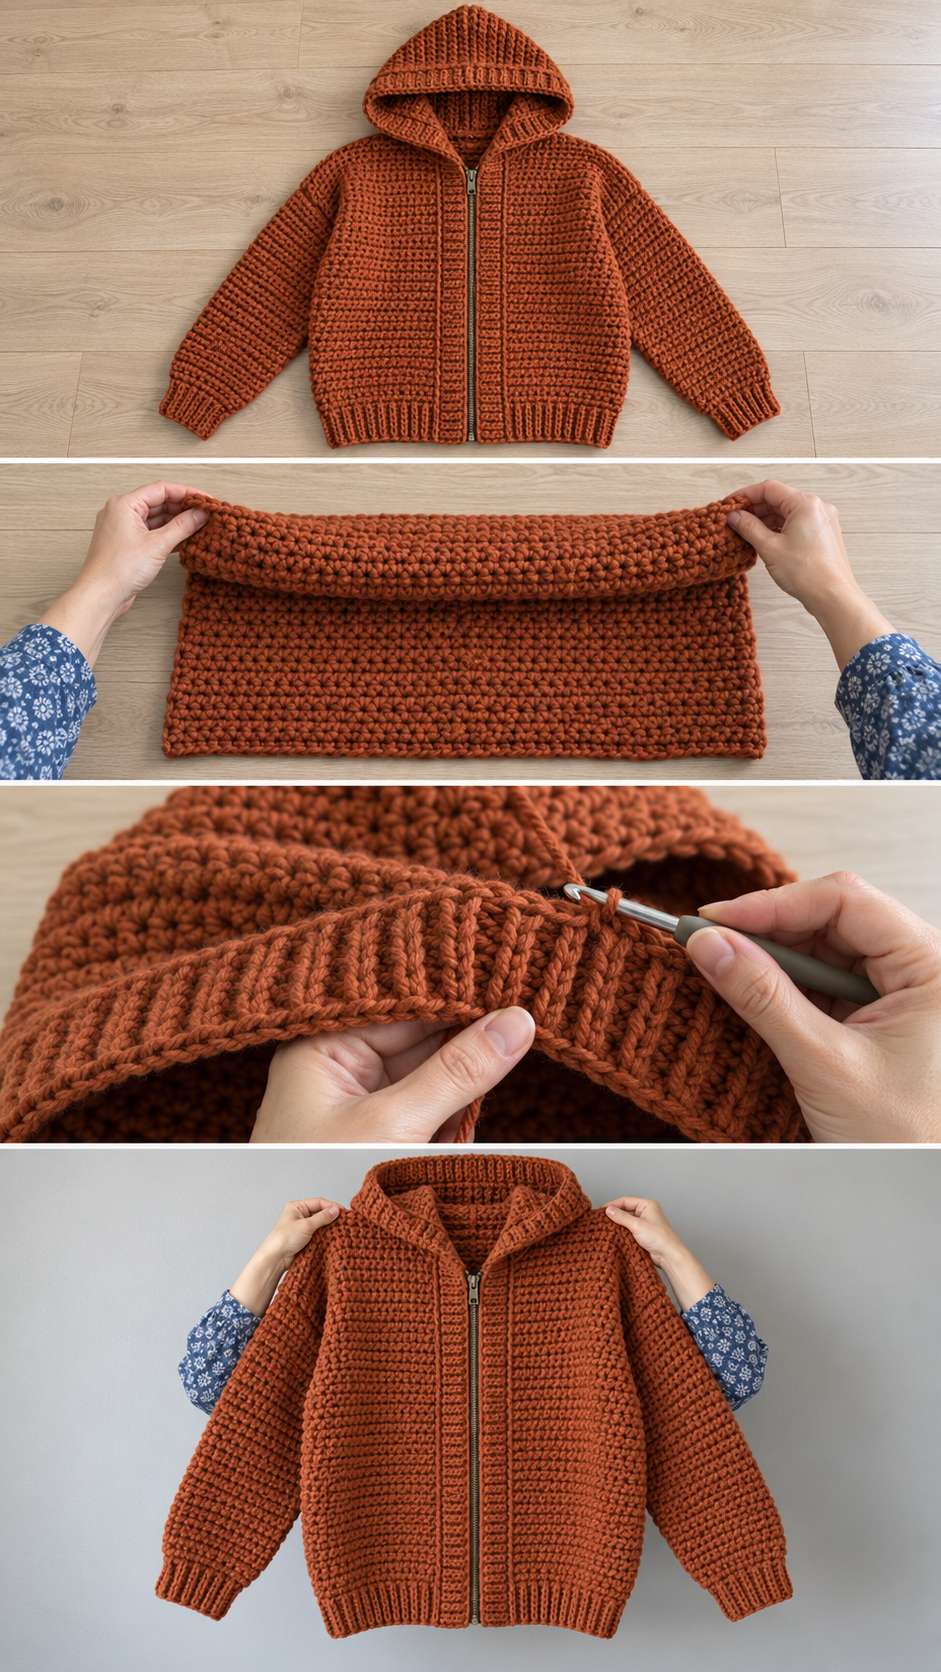
A hood looks complicated, but its shape comes from a simple fold. Take a rectangle, fold it in half, and sew one short edge closed. The fold runs over the top of the head, the sewn edge runs down the back, and the open edge frames the face. The bottom edge, now twice as long, is sewn to the neckline of the jacket.
Because a hood is just a rectangle, it is sized with two measurements, and it can be made deeper, longer or roomier simply by changing them. No increases, no curves.
The honest trade-off: a rectangle hood has a slight point at the back, where the seam meets the fold. Many people like it — it gives a cosy, pixie-hood look. If you prefer a rounded back, you can ease the top of the seam into a curve, which is explained below.
Materials you will need
- Yarn: bulky weight (category 5), roughly 1,300–1,800 yards for an adult jacket with hood. A soft wool or acrylic blend is ideal.
- Hooks: 8.0 mm (L) for the body, sleeves and hood; 6.5 mm (K) for the ribbing
- Notions: tapestry needle, stitch markers, pins, and either 5–6 large buttons or a separating zip the length of the front edge, with sewing thread and needle
Gauge and sizing
Make a 6″ swatch in hdc, block it, and note stitches and rows per inch. Add 6–10″ of ease to your bust. Then:
- Back width = finished chest ÷ 2
- Each front width = finished chest ÷ 4, minus half the front band width
- Body length = shoulder to hip, minus the hem rib
- Sleeve length = centre-back-to-wrist − (back width ÷ 2) − cuff
- Sleeve width = about 17–19″
Sizing the hood
The hood rectangle has two measurements:
- Hood length = from the top of one shoulder, over the top of the head, to the top of the other shoulder. For most adults, about 24–28″.
- Hood depth = from the forehead to the back of the neck, plus 1–2″ of ease. About 10–12″.
When the hood is folded, its bottom edge is twice the depth. Check that this is close to the length of your jacket’s neckline; a difference of an inch or two is easily eased in when you sew it on.
Abbreviations
- ch = chain.
- hdc = half double crochet.
- sc = single crochet.
- BLO = back loop only. In sc, this makes ribbing.
- sl st = slip stitch.
Step by step
Part 1: Back, fronts and sleeves
For each piece, ch the width in stitches + 2, hdc in the 3rd ch from hook and across, then work rows of hdc (ch 2 to turn, not counted as a stitch) until the piece reaches its length. Make the back, two fronts and two sleeves.
Part 2: The hood
Ch the hood depth in stitches + 2. Work rows of hdc until the piece reaches the hood length. Fasten off with a long tail.
Fold the rectangle in half so the two short ends meet. Choose one long side to be the back, and sew the two layers together along that side, from the fold down to the bottom. That is the back seam. The other long side stays open for the face.
For a rounded back: instead of sewing straight to the fold, curve the seam slightly inward for the top 2″. It removes the point.
Part 3: Assembly
Join the shoulders, leaving the neck open. Set in the sleeves, matching the centre of each sleeve top to a shoulder seam. Sew the side and underarm seams.
Pin the bottom edge of the hood to the neckline, matching the hood’s back seam to the centre of the back neck and the hood’s front corners to the front edges. Ease any difference evenly between the pins. Sew it on.
Part 4: Ribbed cuffs and hem
With the smaller hook, work a round of sc around each cuff, gathering slightly by skipping about one stitch in four, then rounds of sc in the back loops only until the cuff is about 3″ deep. Work the hem the same way, without gathering, for about 2½″.
Part 5: The front and hood band
Join yarn at the bottom of the right front. Work sc evenly up the front, around the whole face opening of the hood, and down the left front. Work rows of sc in the back loops only until the band is about 2″ wide. Work buttonholes into the right front section if you are using buttons.
The band around the hood is what gives it a neat, finished face opening that keeps its shape.
Part 6: Adding a zip (optional)
If you prefer a zip, work the front band only 1″ wide with no buttonholes. Pin a separating zip behind each front edge so the teeth sit just inside the band, and sew it in by hand with small backstitches through the inside layer only. Pinning carefully and sewing slowly keeps the front from rippling.
A safety note for hoods
Do not add a drawstring to the hood. Cords around the neck and hood are a known strangulation hazard, especially for children, which is why many children’s clothing standards forbid them. The ribbed band keeps the hood’s shape without one.
Finishing and care
Weave in ends along seams, block the finished jacket lightly, and store it folded rather than hung. A bulky hooded jacket is heavy, and a hanger stretches the shoulders.
Frequently asked
My hood is too shallow and falls back.
Increase the hood depth by an inch or two. A deeper hood sits further forward over the forehead.
My hood is too big and covers my eyes.
Reduce the hood length, so there is less fabric over the top of the head.
Can I add pockets?
Yes. A large kangaroo pocket — a rectangle sewn on along the top and bottom with the sides left open — suits a hooded jacket perfectly.
Choosing yarn for a hooded jacket
A hood sits against your face and hair, so softness matters more here than in almost any other garment. Merino, soft wool blends and good-quality acrylics are all comfortable. Avoid scratchy rustic wools for the hood, even if you love them for the body. A slightly lighter yarn for the hood than for the body is also an option — it makes the hood drape softly instead of standing stiffly around the face.
Styling it
Worn open with the hood down, the jacket looks relaxed and casual. Zipped up with the hood raised, it becomes a cosy outer layer for a walk. In a neutral colour it goes with everything; in a bold colour such as rust, forest green or mustard, it becomes a favourite statement piece. Add a large kangaroo pocket and it turns into a proper handmade hoodie.
Common mistakes
The hood pulls the jacket backwards: the hood is too heavy for the neckline. Make the hood a little shorter, or use a lighter yarn for it. The zip ripples: the band stretched while sewing. Pin the zip every inch before sewing, and sew with the jacket lying flat. The neckline gapes: ease the hood onto the neckline evenly, pinning at the centre back and the front corners first.
Making it for someone else
If the jacket is a gift, you can size it from a hoodie the person already wears. Lay it flat and measure the chest, body length and sleeve, and measure their hood from shoulder over the top to shoulder. Those numbers already include the fit they like.
How long it takes
In bulky yarn, the body and sleeves come together quickly — often in a couple of weeks of evenings. The hood adds an evening or two, and fitting a zip takes an unhurried hour. Set aside a calm afternoon for the final assembly so the hood and front go on neatly.
Before you start
Measure for the hood before you begin. It is the part people notice most, and getting its two measurements right makes it fit beautifully. More wearable makes are in Clothing & Wearables.