Crochet Cup Cozy with Embroidered Flowers – Free Pattern
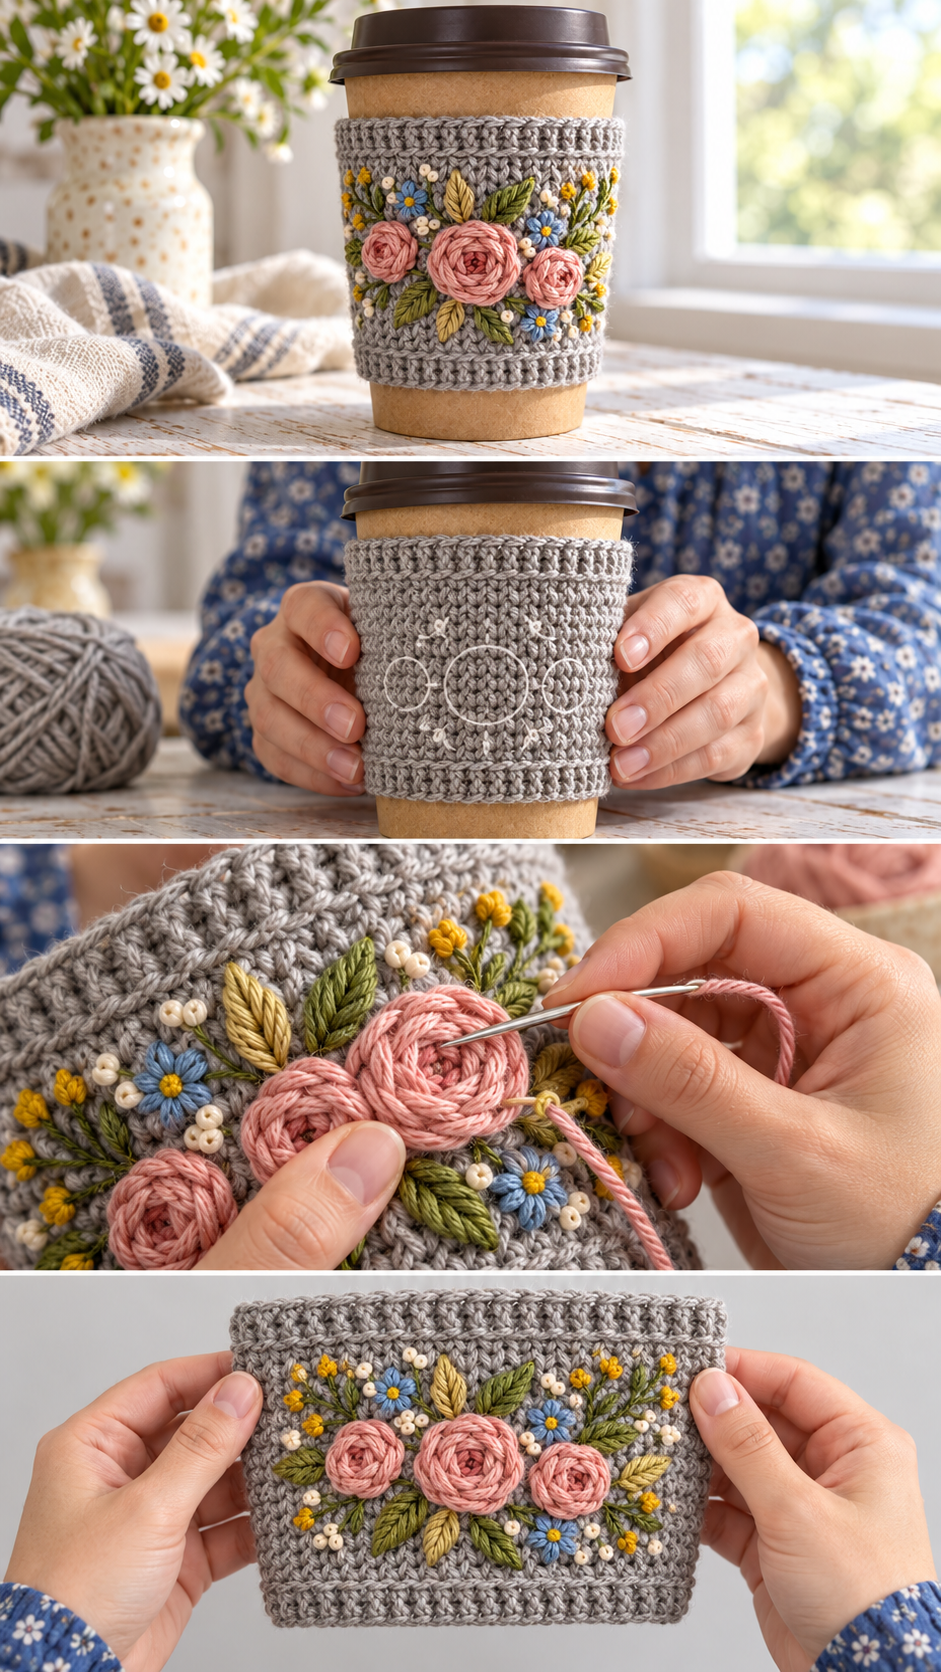
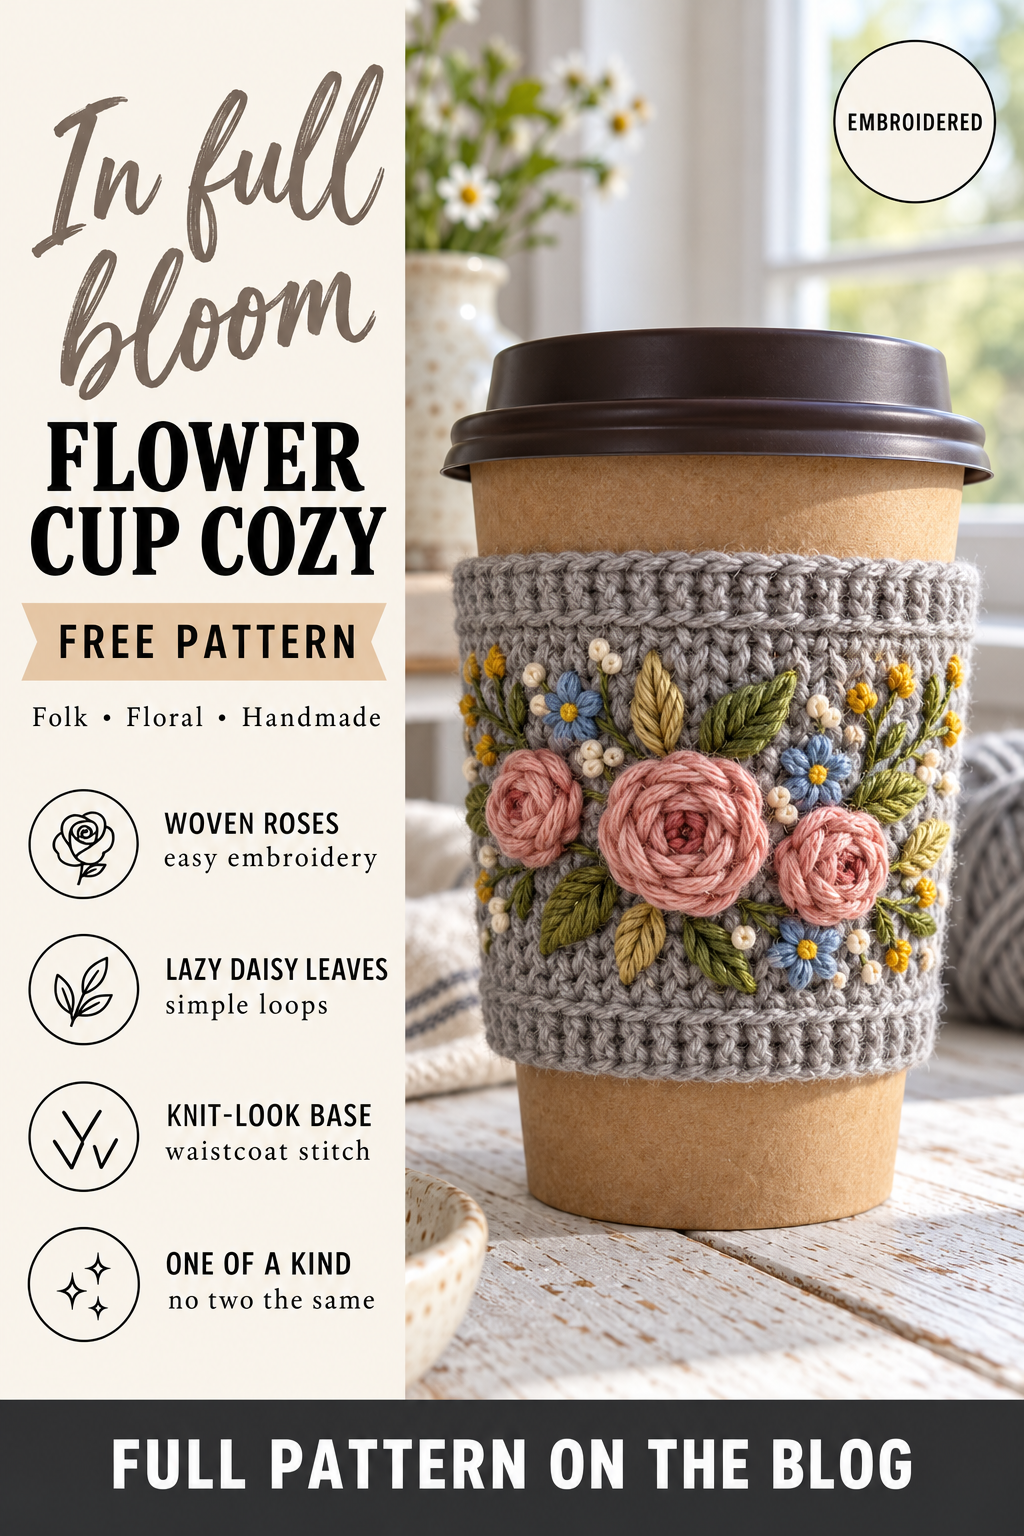
A soft grey cup cozy covered in a band of embroidered flowers looks like a piece of folk art you would find at a Scandinavian market. Pink roses, golden leaves and little blue blooms spill across the front. It is the most decorative cozy in this collection, and the most fun to make, because once the crochet is done you get to paint with thread.
The crochet part is simple: a knit-look tube in waistcoat stitch with ribbed edges. The flowers are added afterwards with a tapestry needle, using four easy embroidery stitches. If you have never embroidered before, this is a good first project.
Because the embroidery goes on last, you can make the plain cozy now and decide on your flowers later — and no two cozies ever look the same.
Why this cup cozy works
Waistcoat stitch is a single crochet worked into the middle of the stitch below. It makes straight columns of Vs that look like knitted stocking stitch and gives a dense, smooth fabric — perfect for embroidery, because there are no big holes for the stitches to fall into and the grid of Vs helps you space the flowers evenly.
The ribbed edges are made with front post and back post double crochet, which gives the top and bottom the stretchy, ridged look of a knitted rib cuff and helps the cozy grip the cup.
The honest trade-off: embroidery takes time. Allow about an hour for the cozy and another hour for the flowers.
Materials you will need
- Heather grey yarn: about 50 yards of worsted weight (#4) wool blend or cotton blend
- Embroidery yarn: small lengths of DK or worsted yarn, or tapestry wool, in rose pink, pale pink, mustard, olive green and cornflower blue
- Hooks: 5.5 mm (I-9) and 6 mm (J-10)
- Blunt tapestry needle with an eye big enough for the yarn
- Tailor’s chalk to mark the flowers
- Notions: stitch marker, scissors
Gauge and finished size
In waistcoat stitch with the 5.5 mm hook, 16 sts and 18 rounds make a 4″ square. The cozy is about 9″ around at the bottom and 10″ at the top, and 3½″ tall.
Abbreviations
- ch = chain: yarn over and pull through the loop on your hook.
- sl st = slip stitch: insert hook, pull a loop through the stitch and the loop on your hook together.
- sc = single crochet: insert hook, yarn over and pull up a loop (2 loops on hook), yarn over and pull through both.
- hdc = half double crochet: yarn over, insert hook, pull up a loop (3 loops), yarn over and pull through all 3.
- dc = double crochet: yarn over, insert hook, pull up a loop (3 loops), yarn over and pull through 2, yarn over and pull through the last 2.
- st(s) = stitch(es); sp = space; BLO = back loop only.
- Waistcoat stitch (also called the knit stitch or centre single crochet): instead of inserting your hook under the top two loops, insert it between the two “legs” of the V of the stitch below, right in the middle of the stitch, then work a normal sc. The result is a column of Vs that looks just like stocking stitch knitting.
- FPdc = front post double crochet: yarn over, insert hook from front to back to front around the post of the stitch below, and complete a dc.
- BPdc = back post double crochet: yarn over, insert hook from back to front to back around the post of the stitch below, and complete a dc.
Step by step
Part 1: The bottom rib
With grey and the 5.5 mm hook, ch 36. Join with a sl st to the first ch, being careful not to twist.
Round 1: Ch 2 (does not count as a st), dc in each ch around. Join to first dc. (36)
Round 2: Ch 2, *FPdc around next st, BPdc around next st*; repeat around. Join. (36)
Part 2: The knit-look body
Round 3: Ch 1, sc in each st around. Join. (36)
Rounds 4–7: Ch 1, ws in each st around. Join. (36)
Round 8: Ch 1, *ws in next 8 sts, 2 ws in next st*; repeat around. Join. (40)
Rounds 9–12: Ch 1, ws in each st around. Join. (40)
Part 3: The top rib
Round 13: Ch 2, dc in each st around. Join. (40)
Round 14: Ch 2, *FPdc around next st, BPdc around next st*; repeat around. Join. Fasten off and weave in the ends. (40)
Put the cozy on a cup. Now it is ready to decorate.
Part 4: The embroidery
Keep the cozy on a cup while you embroider so the fabric is stretched to its working size. Mark the flower positions with chalk: one large rose in the centre front, two smaller roses either side, and blue and pale pink flowers filling the gaps, all within a band about 2″ deep across the middle of the cozy. Leave the back plain or carry a few small flowers round.
Start each piece of embroidery by bringing the needle up from the inside of the cozy, leaving a 3″ tail inside. Finish by taking the needle back through to the inside and weaving the tail through the backs of a few stitches.
- Woven roses (pink): with pink, make 5 straight stitches about ½″ long, radiating out from a centre point like the spokes of a wheel. Bring the needle up close to the centre and weave over one spoke and under the next, round and round, without going through the fabric, until the spokes are covered. Pull gently so the rose puffs up. Use a darker pink at the centre and a paler pink for the outer rounds for a two-tone rose.
- Lazy daisy leaves (mustard and olive): bring the needle up at the base of the leaf, take it back down in the same hole, leaving a loop, then bring it up at the tip of the leaf inside the loop and take a tiny stitch over the loop to hold it. Fan two or three leaves out from each rose.
- Lazy daisy flowers (blue): work five lazy daisy petals in a circle around a centre point.
- French knots (yellow or white): bring the needle up, wrap the yarn twice around the needle, and take it back down right next to where it came up, holding the wraps snug as you pull through. Use a French knot for each flower centre and to fill small gaps.
Variations
- Wildflower band: work small lazy daisy flowers all the way round instead of a central cluster.
- Christmas: embroider red holly berries and green holly leaves on a cream cozy.
- Colours: try navy with white and yellow flowers, or oatmeal with dusty rose and sage.
How to make any cup cozy fit your cup
Paper takeaway cups and reusable travel cups are tapered: narrower at the bottom than at the top. A cozy that is a straight tube will either slide down or bunch up. Every pattern in this collection deals with that the same way — it starts at the bottom with fewer stitches and either adds a few stitches or moves up a hook size halfway, so the finished cozy flares gently to match the cup.
The patterns are written for a standard 12 oz or 16 oz paper coffee cup, which is about 9″ around where the cozy sits at the bottom and about 10½″ around at the top. To check your own cup, wrap a strip of paper around it about 1″ up from the base, mark where it overlaps, and measure. Do the same about 4″ up. If your numbers are close to 9″ and 10½″, follow the pattern as written. If your cup is wider, add stitches in the multiple the pattern gives; if it is narrower, take them away.
A cozy should fit snugly but not tightly. Aim for it to be about ¼″ smaller around than the cup — crochet stretches, and a slightly snug cozy grips the cup instead of sliding down when you pick it up.
Choosing yarn for a cup cozy
A cup cozy has two jobs: protect your hand from heat, and survive being washed when coffee drips down the side. Worsted weight cotton is the best choice for both. It does not melt or go shiny with heat, it is firm enough to hold the cozy’s shape, and it can go in the washing machine. A cotton–acrylic blend is a good second choice, a little softer and a little more forgiving of uneven tension.
Pure acrylic works and comes in every colour, but it is a poorer insulator against heat and can go limp after a few washes. Wool is beautifully warm and gives the most knitted-looking fabric, but it can felt in a hot wash, so keep wool cozies for hand washing. Whatever you choose, use a smooth yarn rather than a very fluffy one — texture stitches like shells, puffs and cables show up best in a yarn with good stitch definition.
Common problems and fixes
The embroidery puckers the cozy.
You stitched with the cozy off the cup. Always embroider with the cozy stretched on a cup of the right size.
The roses are flat.
Use an odd number of spokes — five or seven — so the over-and-under weaving alternates on each round.
The yarn frays as I embroider.
Use shorter lengths, no more than 18″, and a smooth yarn.
Washing and caring for your cozy
Slip the cozy off the cup before you throw the cup away — it is easy to forget. Rinse any coffee drips out under cool water straight away so they do not stain. Cotton cozies can go in the washing machine on a gentle 30°C cycle inside a mesh laundry bag; wool cozies should be hand washed in cool water. Either way, press out the water in a towel, reshape the cozy around a clean cup or a jar of the same size, and let it dry there so it keeps its taper.
Turning it into a gift
A cup cozy is one of the best small crochet gifts: it takes an evening, it costs very little, and the person actually uses it every day. Slip it onto a reusable travel cup, tuck a coffee shop gift card or a few tea bags inside, and tie a kraft paper tag on with twine. For teachers, colleagues or a craft fair table, make a batch in the same pattern in three or four colours — they look lovely lined up together.
The Cosy Café Cup Cozy Collection
This pattern is part of a collection of seven cup cozy posts: six free patterns that all use the same worsted weight yarn, the same 5 mm hook and the same sizing method, plus a guide to choosing between them. Make one for your own morning coffee, or make a mix as a set of gifts — they all fit the same cups.
- Shell Stitch Cup Cozy
- Puff Stitch Cup Cozy
- Daisy Mug Cozy
- Cable-Look Monogram Cup Cozy
- Heart Cup Cozy (coming soon)
- Embroidered Flower Cup Cozy — you are here
- Best Crochet Coffee Cup Holder Patterns (coming soon)
Frequently asked
Can I use embroidery floss instead of yarn?
Yes. Use all six strands of the floss together so the flowers are bold enough to show up on the crochet.
Will the embroidery survive washing?
Yes, if every tail is woven in well on the inside. Hand wash or use a gentle cycle in a mesh bag.
Before you start
Practise each embroidery stitch once on a scrap of crochet fabric before stitching on your finished cozy. More home projects are in Home & Decor.