Crochet Cable Cup Cozy with Monogram – Free Pattern
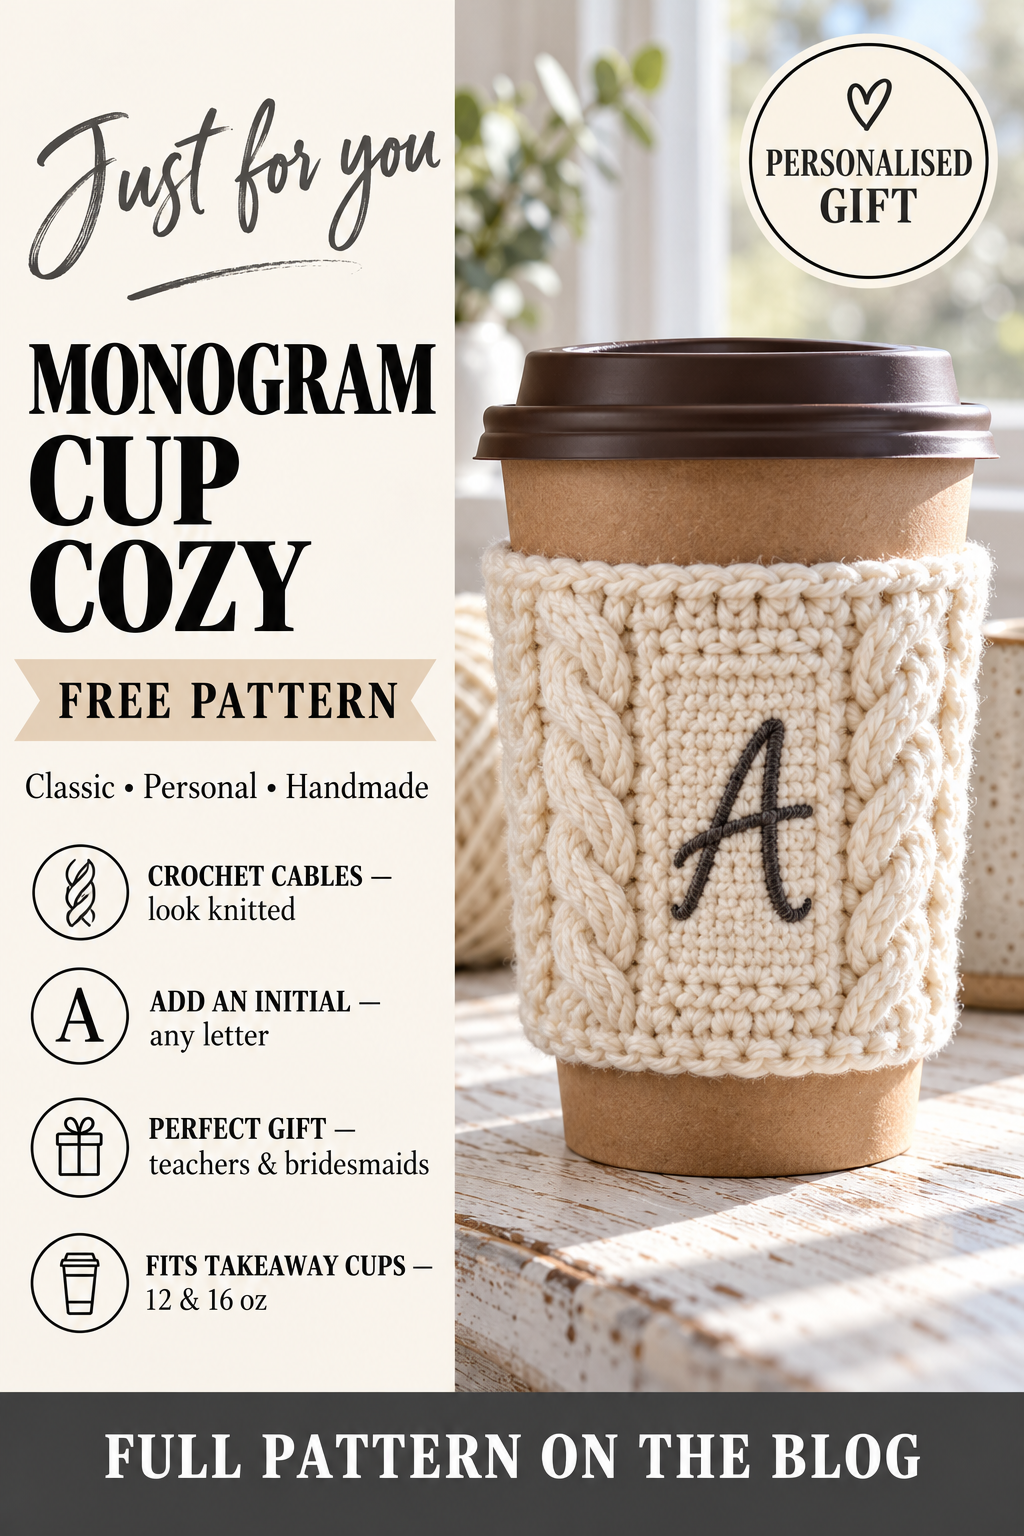
A cream cable cup cozy with a single initial in dark grey looks like something from an expensive café gift shop. It is classic, it suits everyone, and the monogram makes it personal — a gift for a friend, a teacher or a bridesmaid that is unmistakably theirs.
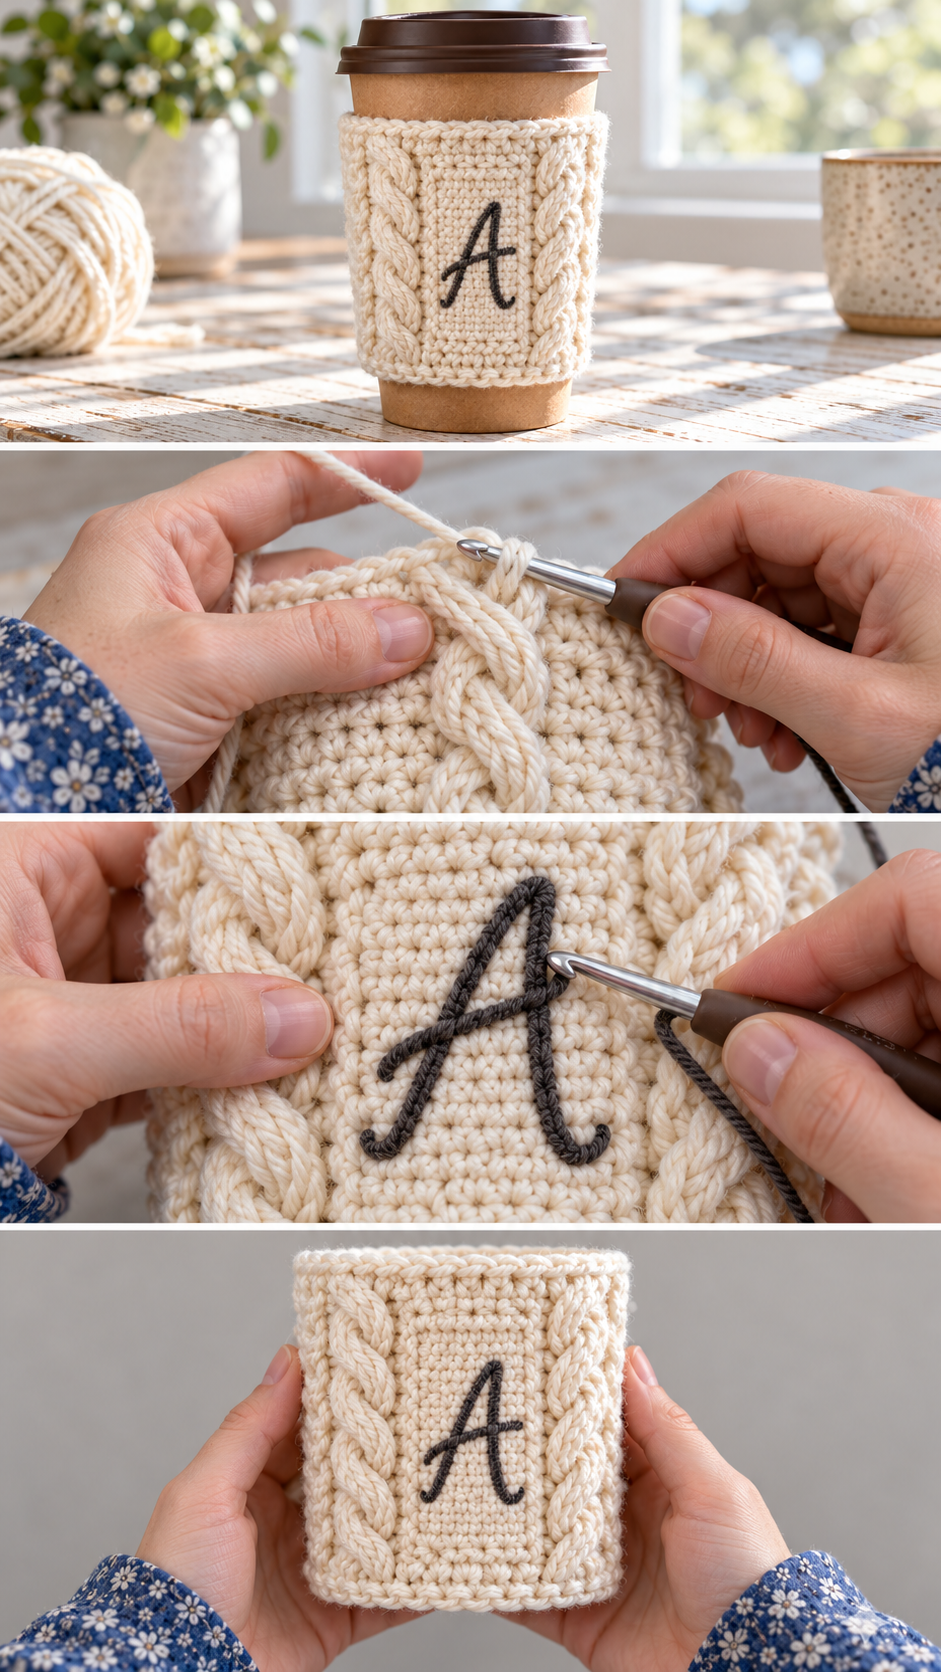
This crochet cable-look cup cozy is worked in the round from the bottom up. Front post stitches make raised cables that look knitted, and a smooth front panel gives the initial a clean place to sit. The letter is added at the end with surface slip stitch, which is like drawing on the cozy with yarn.
You need to be comfortable with double crochet. Front post and back post stitches are explained below, and crossed cables are easier than they look: you skip two stitches, work two, and then go back for the ones you skipped.
Why this cup cozy works
Post stitches are worked around the post (the upright body) of the stitch below instead of into its top. Working around the front pushes the stitch forward; working around the back pushes it back. Alternating them creates deep vertical ridges, and crossing pairs of front post stitches every few rounds makes the twisted rope of a knitted cable.
All that texture pulls the fabric in, so a post stitch cozy hugs the cup firmly and is thick enough to protect your hand. The front panel is worked in plain double crochet, which keeps it flat and smooth so the initial is easy to read.
The honest trade-off: cables use a lot of yarn and are slower than plain stitches. Expect about two hours, and keep count of your rounds — it is easy to lose track of which round is a crossing round.
Materials you will need
- Cream yarn: about 60 yards of worsted weight (#4) cotton blend or wool blend
- Charcoal yarn: about 3 yards for the initial
- Hooks: 5 mm (H-8) and 5.5 mm (I-9)
- Tailor’s chalk or a water-soluble pen to draw the letter
- Notions: stitch markers, tapestry needle, scissors
Gauge and finished size
In plain dc with the 5 mm hook, 14 sts and 8 rounds make a 4″ square. Post stitch fabric pulls in, so the cozy measures about 9″ around at the bottom and 10½″ at the top, and about 3½″ tall.
Abbreviations
- ch = chain: yarn over and pull through the loop on your hook.
- sl st = slip stitch: insert hook, pull a loop through the stitch and the loop on your hook together.
- sc = single crochet: insert hook, yarn over and pull up a loop (2 loops on hook), yarn over and pull through both.
- hdc = half double crochet: yarn over, insert hook, pull up a loop (3 loops), yarn over and pull through all 3.
- dc = double crochet: yarn over, insert hook, pull up a loop (3 loops), yarn over and pull through 2, yarn over and pull through the last 2.
- st(s) = stitch(es); sp = space; BLO = back loop only.
- FPdc = front post double crochet: yarn over, insert hook from front to back to front around the post of the stitch below, and complete a dc.
- BPdc = back post double crochet: yarn over, insert hook from back to front to back around the post of the stitch below, and complete a dc.
- FPtr = front post treble crochet: yarn over twice, insert hook around the front of the post of the stitch below, and complete a treble (yarn over and pull through 2 loops three times).
- Cable cross = skip the next 2 sts, FPtr around each of the next 2 sts, then working in front of the stitches just made, FPtr around each of the 2 skipped sts.
Pattern notes
- The cozy is worked in joined rounds, right side facing, without turning.
- The beginning ch 2 does not count as a stitch. Join to the first real stitch.
- The stitch count is 36: a 12-stitch front panel and four 6-stitch cable repeats.
- Place a marker either side of the front panel so you always know where it is.
Step by step
Part 1: Foundation
With cream and the 5 mm hook, ch 36. Join with a sl st to the first ch, being careful not to twist.
Round 1: Ch 2, dc in each ch around. Join. (36)
Round 2 (set-up): Ch 2, dc in each of the first 12 sts (front panel). *BPdc around next 2 sts, FPdc around next 4 sts*; repeat from * 3 more times. Join. (12 dc + 4 cable repeats)
Round 3: Ch 2, dc in each of the first 12 sts. *BPdc around next 2 sts, FPdc around next 4 sts*; repeat 3 more times. Join.
Part 2: The cables
Round 4 (cross): Ch 2, dc in each of the first 12 sts. *BPdc around next 2 sts, cable cross over the next 4 sts*; repeat 3 more times. Join.
Change to the 5.5 mm hook.
Round 5: Repeat Round 3.
Round 6: Repeat Round 3.
Round 7 (cross): Repeat Round 4.
Try the cozy on your cup. The cables should twist twice and the cozy should reach about 3″ up.
Part 3: The top edge
Round 8: Ch 1, sc in each st around, and at the same time work 2 sc in the first st of each cable repeat. Join. (40)
Round 9: Ch 1, working from left to right, rev sc in each st around (crab stitch — insert hook in the next stitch to the right, pull up a loop, yarn over and pull through both). Join. Fasten off. (40)
Turn the cozy upside down and work one round of sc and one round of crab stitch along the bottom foundation chain the same way, without the increases, for a matching bottom edge.
Part 4: The monogram
With tailor’s chalk, draw the initial in the middle of the front panel, about 1¾″ tall. A simple script letter with smooth curves works best. Put the cozy on a cup so the fabric is stretched to its working size while you stitch.
With charcoal yarn and the 5 mm hook, hold the yarn behind the cozy. Insert the hook from front to back at the start of the line, pull up a loop, then insert the hook a short distance along the line, pull up a loop and pull it through the loop on the hook. That is one surface slip stitch. Keep going along the line, making each stitch about ¼″ long. For a thicker downstroke, work a second line right next to the first. At the end of the letter, cut the yarn, pull it to the front, take it back through to the inside, and weave in the ends on the inside.
If you prefer, embroider the initial with a tapestry needle in chain stitch instead — it gives the same look.
Variations
- All cables: skip the front panel and work six cable repeats around (36 sts) for a cozy with no initial.
- Name or date: fit a short name in the panel using small block letters, or a wedding date for a bridesmaid gift.
- Colour: forest green with a cream initial, or navy with a gold metallic initial for Christmas.
How to make any cup cozy fit your cup
Paper takeaway cups and reusable travel cups are tapered: narrower at the bottom than at the top. A cozy that is a straight tube will either slide down or bunch up. Every pattern in this collection deals with that the same way — it starts at the bottom with fewer stitches and either adds a few stitches or moves up a hook size halfway, so the finished cozy flares gently to match the cup.
The patterns are written for a standard 12 oz or 16 oz paper coffee cup, which is about 9″ around where the cozy sits at the bottom and about 10½″ around at the top. To check your own cup, wrap a strip of paper around it about 1″ up from the base, mark where it overlaps, and measure. Do the same about 4″ up. If your numbers are close to 9″ and 10½″, follow the pattern as written. If your cup is wider, add stitches in the multiple the pattern gives; if it is narrower, take them away.
A cozy should fit snugly but not tightly. Aim for it to be about ¼″ smaller around than the cup — crochet stretches, and a slightly snug cozy grips the cup instead of sliding down when you pick it up.
Choosing yarn for a cup cozy
A cup cozy has two jobs: protect your hand from heat, and survive being washed when coffee drips down the side. Worsted weight cotton is the best choice for both. It does not melt or go shiny with heat, it is firm enough to hold the cozy’s shape, and it can go in the washing machine. A cotton–acrylic blend is a good second choice, a little softer and a little more forgiving of uneven tension.
Pure acrylic works and comes in every colour, but it is a poorer insulator against heat and can go limp after a few washes. Wool is beautifully warm and gives the most knitted-looking fabric, but it can felt in a hot wash, so keep wool cozies for hand washing. Whatever you choose, use a smooth yarn rather than a very fluffy one — texture stitches like shells, puffs and cables show up best in a yarn with good stitch definition.
Common problems and fixes
The cozy leans to one side.
Make sure every cable cross goes the same way — the second pair always crosses in front of the first.
Holes appear next to the cables.
That happens when the back post stitches are pulled too tight. Relax your tension on the BPdc.
The letter puckers the fabric.
Your surface stitches are too short. Make each stitch a little longer and keep the cozy stretched on a cup while you work.
Washing and caring for your cozy
Slip the cozy off the cup before you throw the cup away — it is easy to forget. Rinse any coffee drips out under cool water straight away so they do not stain. Cotton cozies can go in the washing machine on a gentle 30°C cycle inside a mesh laundry bag; wool cozies should be hand washed in cool water. Either way, press out the water in a towel, reshape the cozy around a clean cup or a jar of the same size, and let it dry there so it keeps its taper.
Turning it into a gift
A cup cozy is one of the best small crochet gifts: it takes an evening, it costs very little, and the person actually uses it every day. Slip it onto a reusable travel cup, tuck a coffee shop gift card or a few tea bags inside, and tie a kraft paper tag on with twine. For teachers, colleagues or a craft fair table, make a batch in the same pattern in three or four colours — they look lovely lined up together.
The Cosy Café Cup Cozy Collection
This pattern is part of a collection of seven cup cozy posts: six free patterns that all use the same worsted weight yarn, the same 5 mm hook and the same sizing method, plus a guide to choosing between them. Make one for your own morning coffee, or make a mix as a set of gifts — they all fit the same cups.
- Shell Stitch Cup Cozy
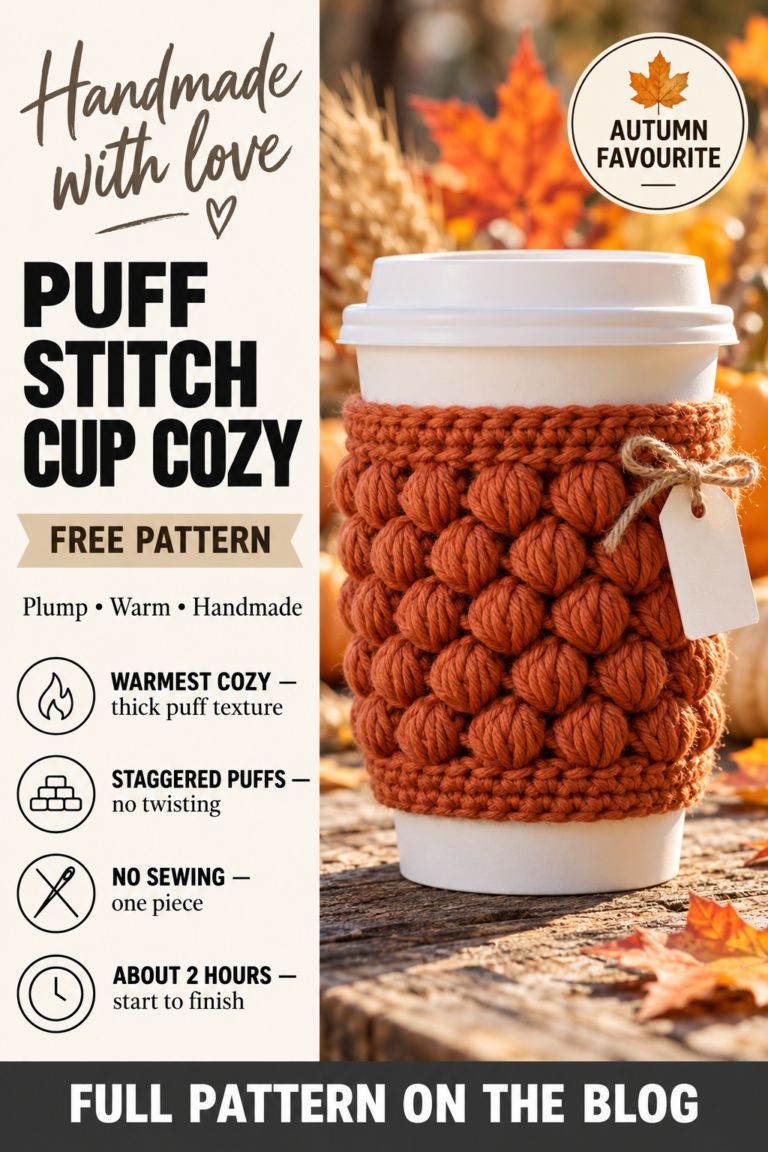
- Puff Stitch Cup Cozy
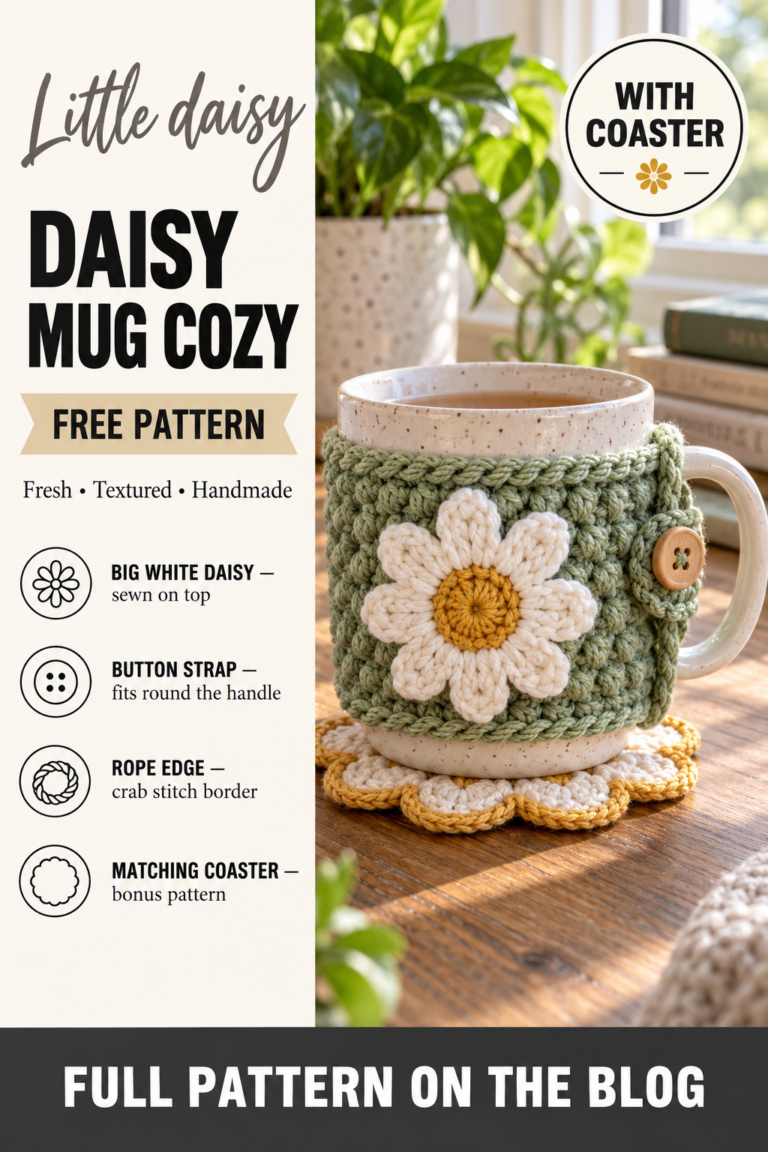
- Daisy Mug Cozy
- Cable-Look Monogram Cup Cozy — you are here
- Heart Cup Cozy (coming soon)
- Embroidered Flower Cup Cozy
- Best Crochet Coffee Cup Holder Patterns (coming soon)
Frequently asked
Is this knitted or crocheted?
It is crocheted. Post stitches and crossed cables give crochet a knitted look that most people cannot tell apart.
Can a beginner make it?
A confident beginner can. Practise four FPdc and one cable cross on a small swatch first.
Before you start
Mark both sides of the 12-stitch front panel. It is the reference point for every round. More home projects are in Home & Decor.