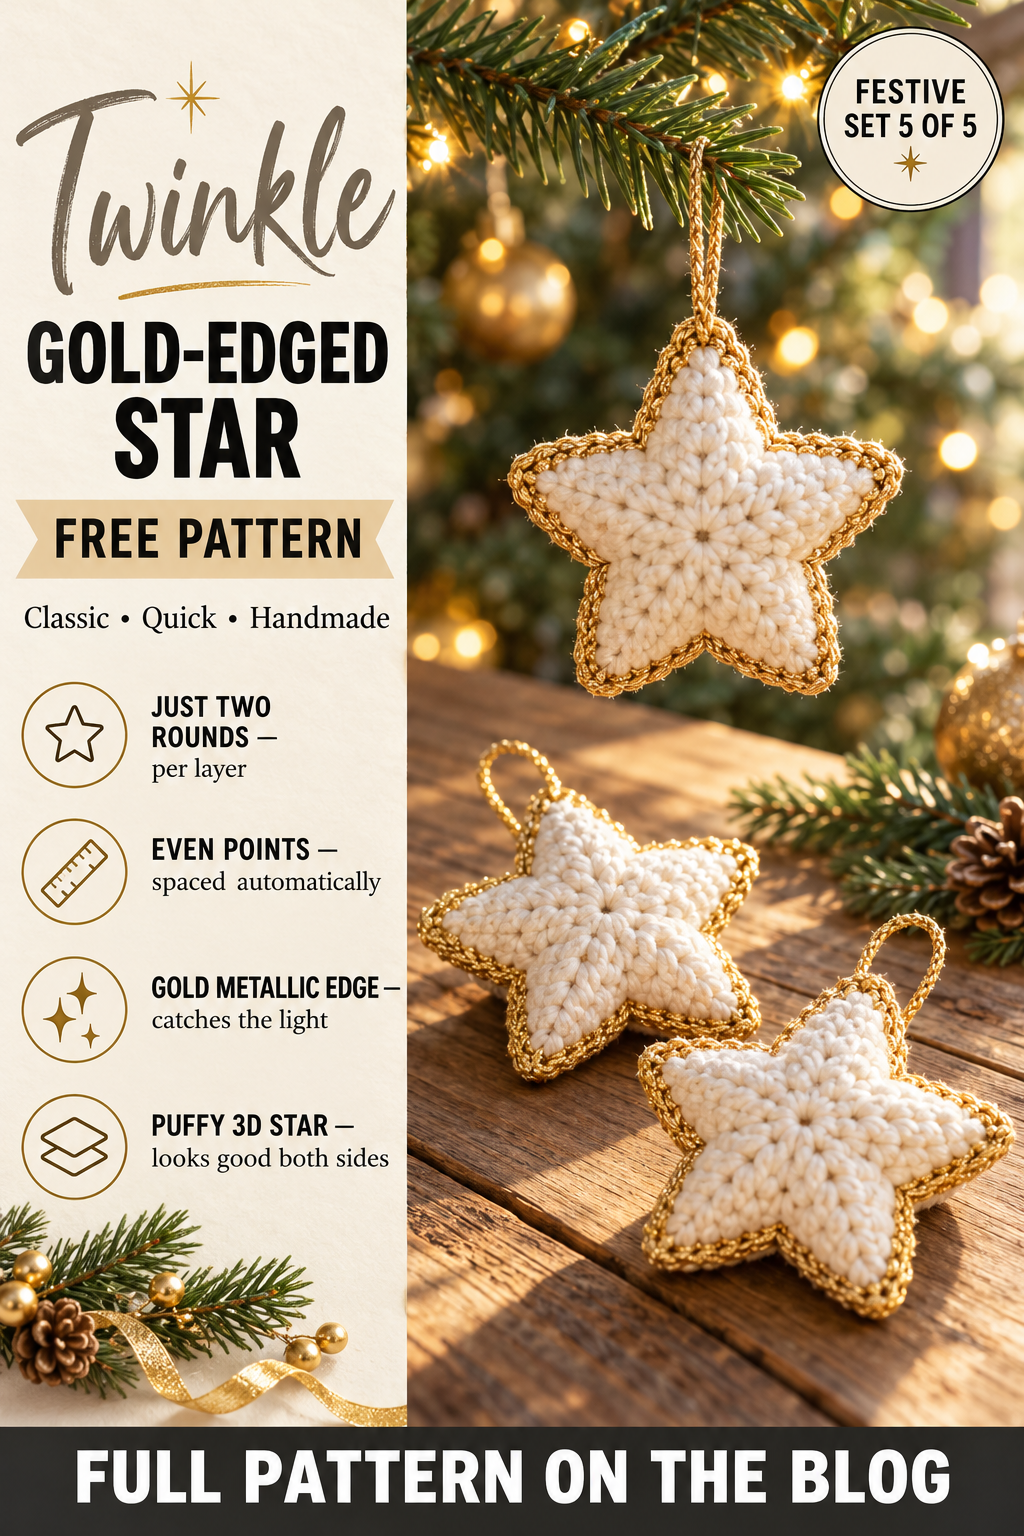
Gold-Edged Crochet Star Ornament – Free Christmas Pattern
A crochet star ornament is the simplest way to make a tree sparkle. Five crisp points, a soft cream centre, a shining gold edge and a little gold hanging loop — it looks lovely on a branch, beautiful in a cluster, and perfect on the top of a small tree.
This gold-edged star is the fifth ornament in the Festive Christmas Tree Ornament Set. Each star is worked flat in just two rounds. Make two, join them with a round of gold metallic yarn and a pinch of stuffing, and you have a puffy star that looks good from every angle.
You need a magic ring, double crochet and a chain. The points are made with a short run of stitches that get taller as they go, so once you have made one point you have made them all.

Why this crochet star works
The star starts as a circle of fifteen double crochet. Each point is built out from that circle: you chain six, then work back down the chain with stitches that grow from a slip stitch at the tip to a treble crochet at the base. Short stitches at the tip and tall ones at the base make each point sharp at the end and wide where it joins the centre.
Each point uses exactly three stitches of the centre, so fifteen stitches give exactly five evenly spaced points. If the fifth point does not land where you started, you know immediately where to look.
The gold edge does two jobs. It joins the two layers into one puffy star, and its extra stitches at every tip sharpen the points. The honest trade-off: metallic yarn is slippery, so work the edge slowly, and knot the ends securely.
Materials you will need
- Cream yarn: about 16 yards of worsted weight cotton for two layers
- Gold metallic yarn: about 4 yards for the edge and loop
- Hook: 4.0 mm (G-6) for the star; 3.5 mm (E-4) for the gold edge
- Stuffing: a small pinch
- Notions: tapestry needle, scissors, pins for blocking
Finished size
About 3¾″ from point to point with the gold edge.
Abbreviations
- MR = magic ring: a loop of yarn you work the first round into, then pull tight to close the centre.
- ch = chain: yarn over and pull through the loop on your hook.
- sl st = slip stitch: insert hook, pull a loop through the stitch and the loop on your hook together.
- sc = single crochet: insert hook, yarn over and pull up a loop (2 loops on hook), yarn over and pull through both.
- hdc = half double crochet: yarn over, insert hook, pull up a loop (3 loops), yarn over and pull through all 3.
- dc = double crochet: yarn over, insert hook, pull up a loop (3 loops), yarn over and pull through 2, yarn over and pull through the last 2.
- inc = increase: 2 sc in the same stitch.
- dec / sc2tog = decrease: pull up a loop in each of the next two stitches (3 loops on hook), yarn over and pull through all 3. In amigurumi, work it through the front loops only for an invisible decrease.
- BLO / FLO = back loop only / front loop only.
- tr = treble crochet: yarn over twice, insert hook, pull up a loop (4 loops), then yarn over and pull through 2 loops three times.
Step by step
Part 1: The star (make 2)
With cream:
Round 1: Make a MR. Ch 3 (counts as the first dc), then 14 dc into the ring. Pull tight and join with a sl st to the top of the ch 3. (15)
Check: you need exactly fifteen stitches for five even points.
Round 2: *Ch 6. Working back down the chain from the 2nd ch from hook: sl st, sc, hdc, dc, tr — one stitch in each of the five chains. Skip the next 2 dc of the centre and sl st into the following dc.* Repeat from * four more times. (5 points)
Your last sl st lands where you started. Fasten off and weave in the ends.
Part 2: Blocking
Wet both stars, press out the water and pin them flat, pulling each point out to a sharp tip. Let them dry completely. Blocked stars line up perfectly when you join them.
Part 3: The gold edge
Place the two stars together, points matching. With gold metallic yarn and the smaller hook, join at the dip between two points. Work through both layers all the way round: sc evenly up each side of a point, 3 sc into the very tip, sc down the other side, and a sl st in the dip between points. Before closing the last point, push a small pinch of stuffing between the layers. Join with a sl st.
Part 4: The hanging loop
Without fastening off, ch 15 at the tip of the top point and sl st back into the same tip. Fasten off and weave the gold ends into the edge.
Choosing yarn for Christmas ornaments
Ornaments hang in warm rooms near lights for weeks, get packed away and unpacked year after year, and are handled by small hands. That makes yarn choice more important than it looks. Worsted weight cotton or a cotton blend is the best all-rounder: it holds a firm shape, shows every stitch clearly, does not fuzz or pill with handling, and is not affected by the warmth of tree lights.
Acrylic is softer and cheaper and comes in every Christmas colour, but it can look slightly fuzzy after a few seasons. Wool looks beautiful and traditional but can attract moths in storage, so pack wool ornaments with a cedar block. For sparkle, use a gold metallic yarn or hold a fine metallic thread together with your main yarn for halos, trims and hanging loops — it catches the tree lights without making the whole ornament look busy.
Ways to use your stars
- Tree ornaments: a cluster of three on one branch looks lovely.
- Tree topper: make a large star in bulky yarn and sew a chain ring to the back.
- A star garland: join ten flat stars along a gold chain.
- Gift toppers: tie one into the ribbon instead of a bow.
- Angel variation: add a small head, wings and halo to turn the star into an angel, as in the angel pattern in this set.
Colour ideas
Cream with gold is the classic. White with silver looks frosty and Scandinavian. Red with gold is warm and traditional. A mix of cream, red and green stars, all edged in gold, ties the whole tree together.
A note on safety
Hand-crocheted ornaments are decorations. If young children or pets will be near the tree, embroider the faces instead of using safety eyes, sew every part on very firmly, skip any wire or beads, and hang the ornaments on higher branches. Never hang yarn ornaments where they touch bulbs that get hot, and use LED tree lights where you can.
Storing ornaments so they last
At the end of the season, make sure each ornament is completely dry and dust-free. Wrap each one in tissue paper and pack them in a shoebox or an egg box, which stops rounded ornaments getting squashed and keeps halos and wings in shape. Store the box somewhere cool and dry, with a cedar block or a lavender sachet if any are wool. Packed this way, crochet ornaments come out looking new every December.
Making the whole set in one go
The five ornaments in this set share their techniques, so it is quickest to make them together in stages rather than one at a time. Make all the spheres first — the snowman’s two balls, the angel’s head and the bauble — then all the flat pieces: the stars, the stocking pieces and the angel’s wings. Do all the stuffing and closing in one sitting, then all the embroidery, and finally all the hanging loops. Working this way you change hooks and colours far less often, and every ornament comes out the same scale as the others.
The Festive Christmas Tree Ornament Set
This pattern is one of five matching ornaments designed to hang together on the same tree: a snowman, an angel, a striped stocking, an embroidered bauble and a gold-edged star. They all use the same yarn weight, the same hook and the same palette of red, forest green, white, cream and gold, so a mix of all five looks like a planned collection rather than a handful of odds and ends.
- Snowman ornament
- Angel ornament
- Striped Stocking ornament
- Embroidered Bauble ornament
- Gold-Edged Star — you are here
Frequently asked
My star has uneven points.
Round 1 has more or fewer than fifteen stitches. Count it again before starting the points.
The gold yarn keeps splitting.
Use a smaller hook for the edge and work slowly. A metallic yarn with a cotton core is easier than a pure metallic thread.
Before you start
Count Round 1 carefully — fifteen stitches. Everything else follows from that number. More festive makes are in Christmas & Winter.