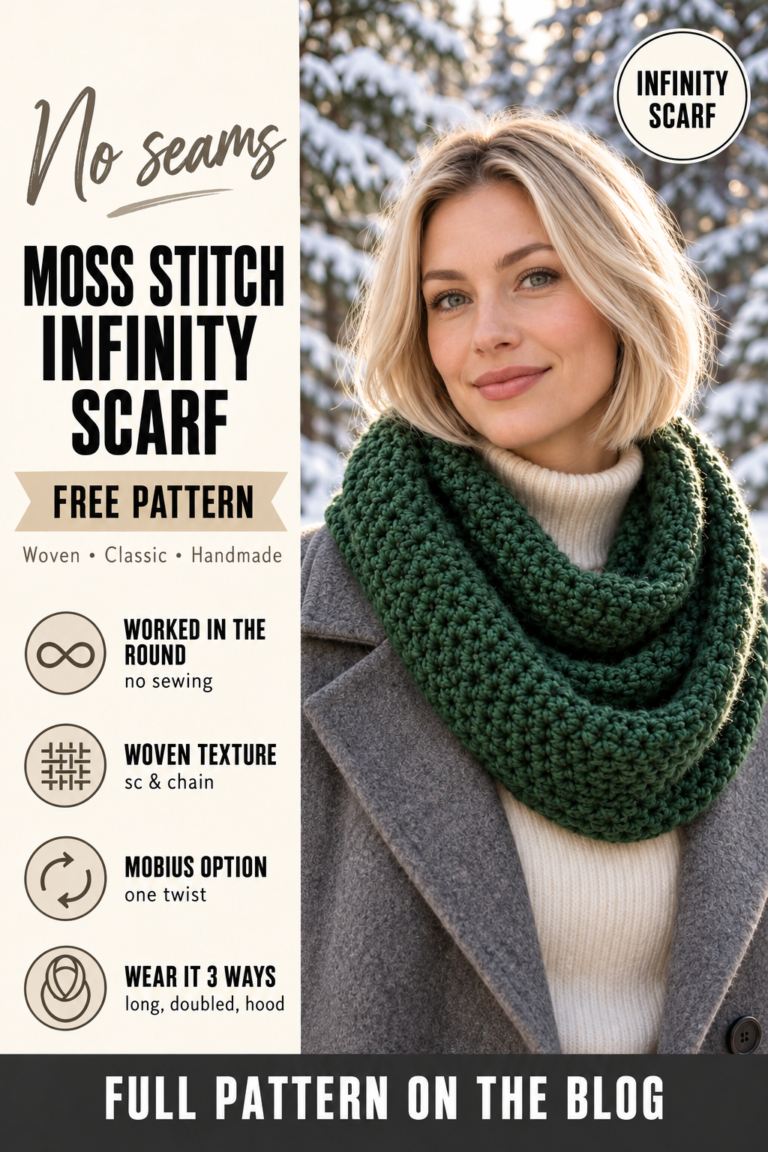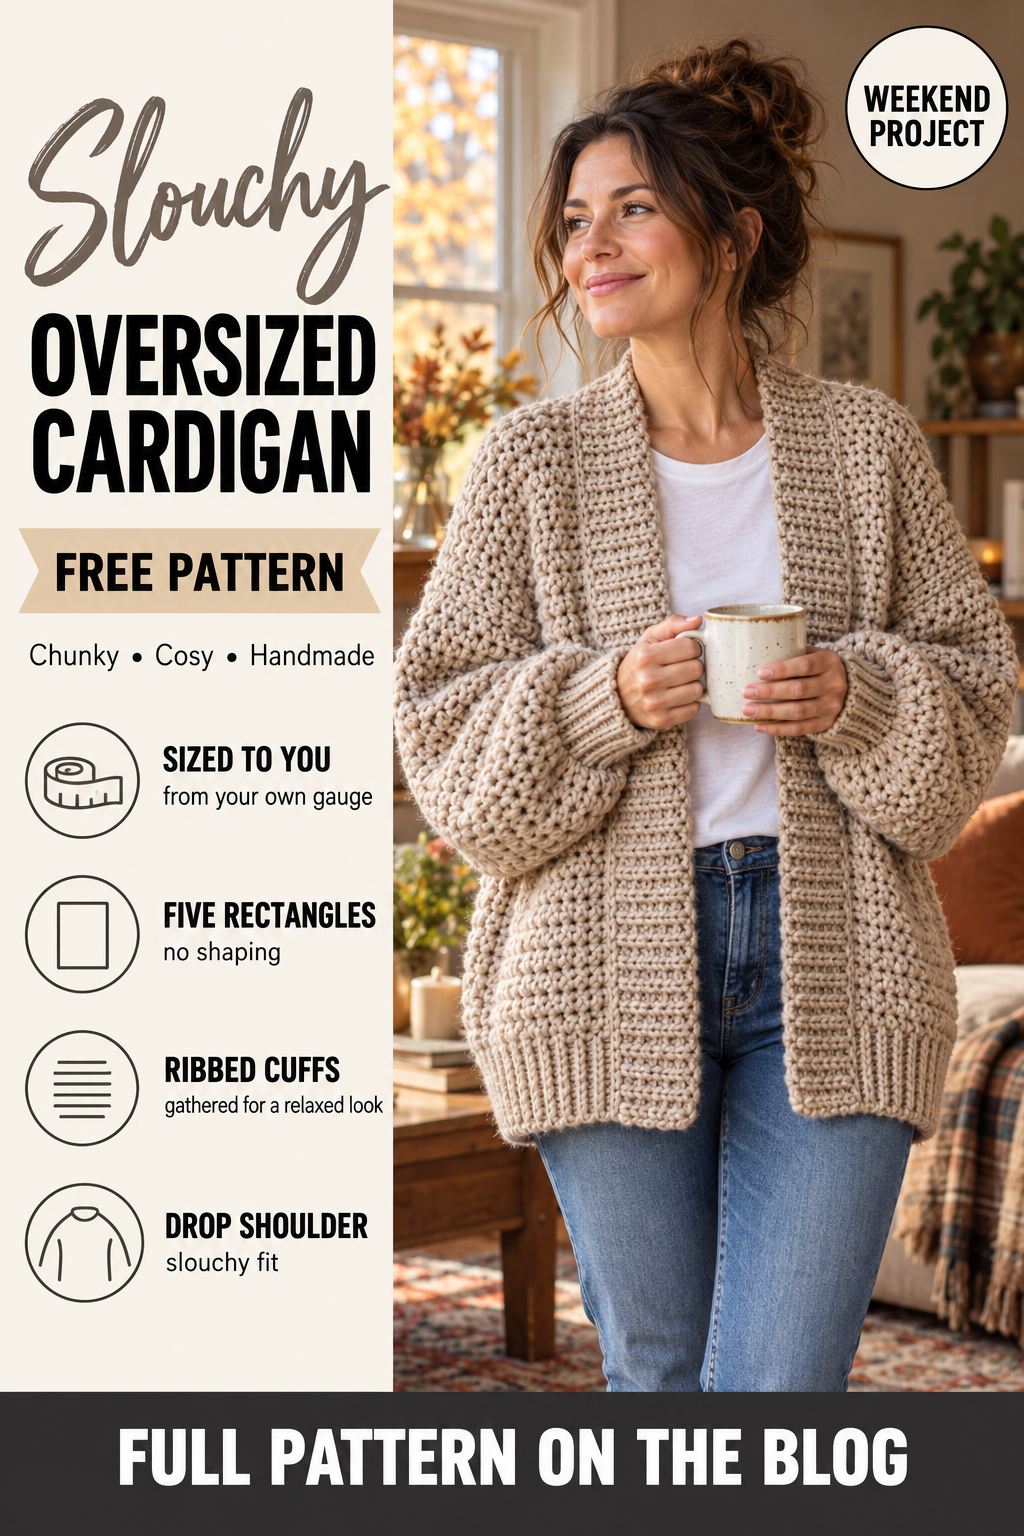
Chunky Oversized Crochet Cardigan with Ribbed Cuffs – Free Pattern
An oversized crochet cardigan is the most-worn thing I have ever made. It goes over everything from a T-shirt to a dress, it looks relaxed on purpose rather than by accident, and in bulky yarn it is warm enough to replace a jacket on a cool autumn day.
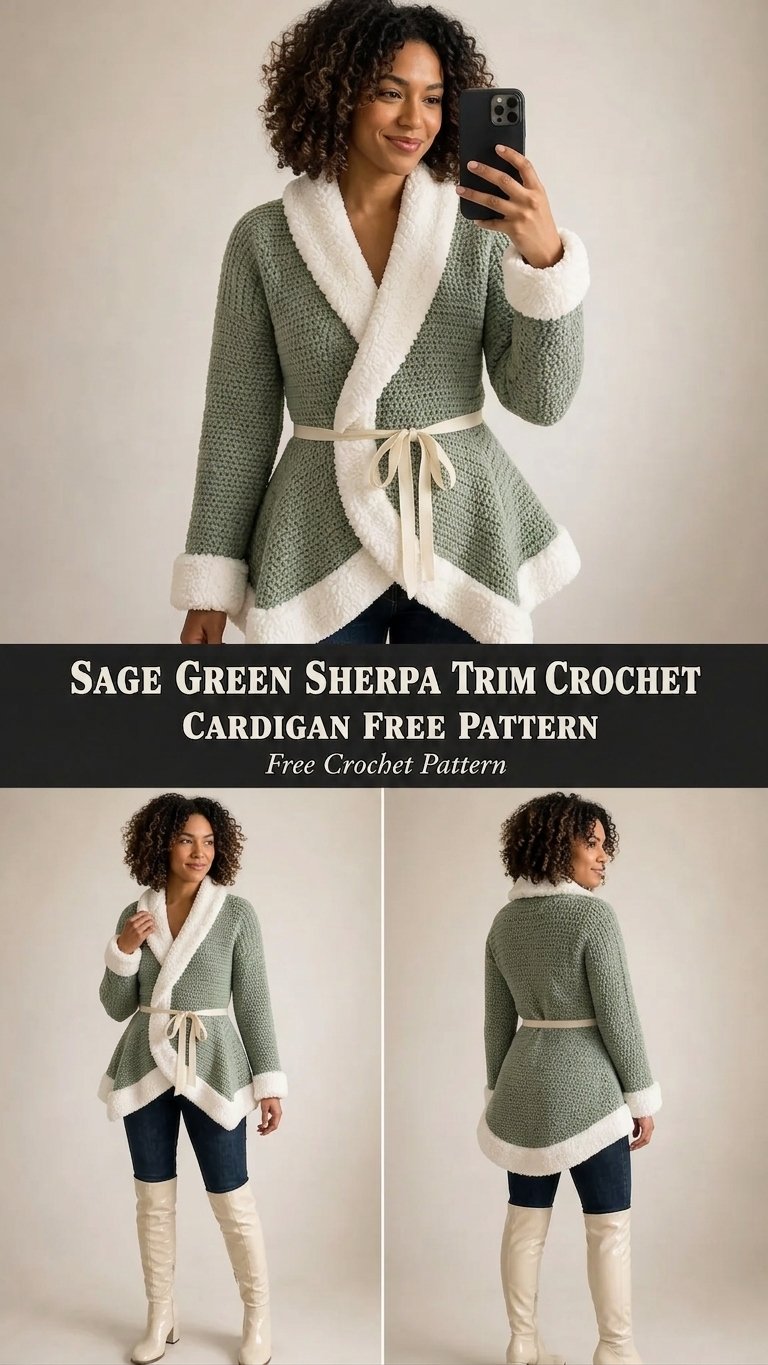
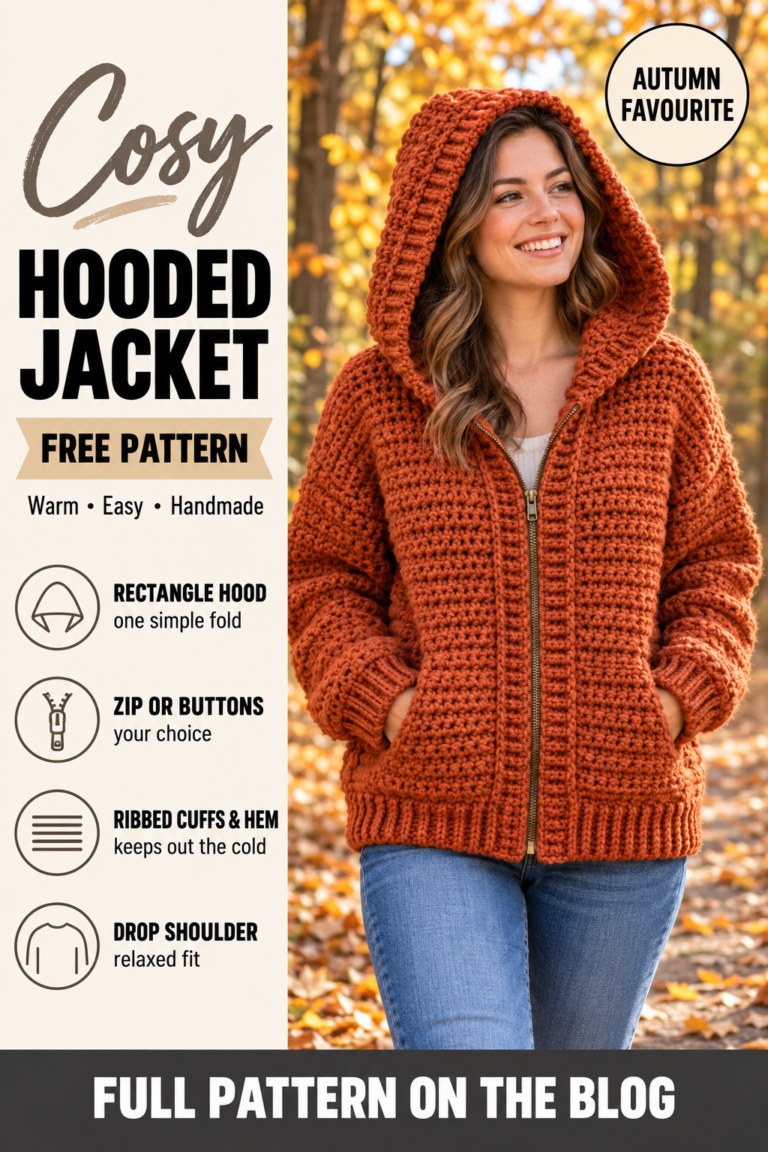
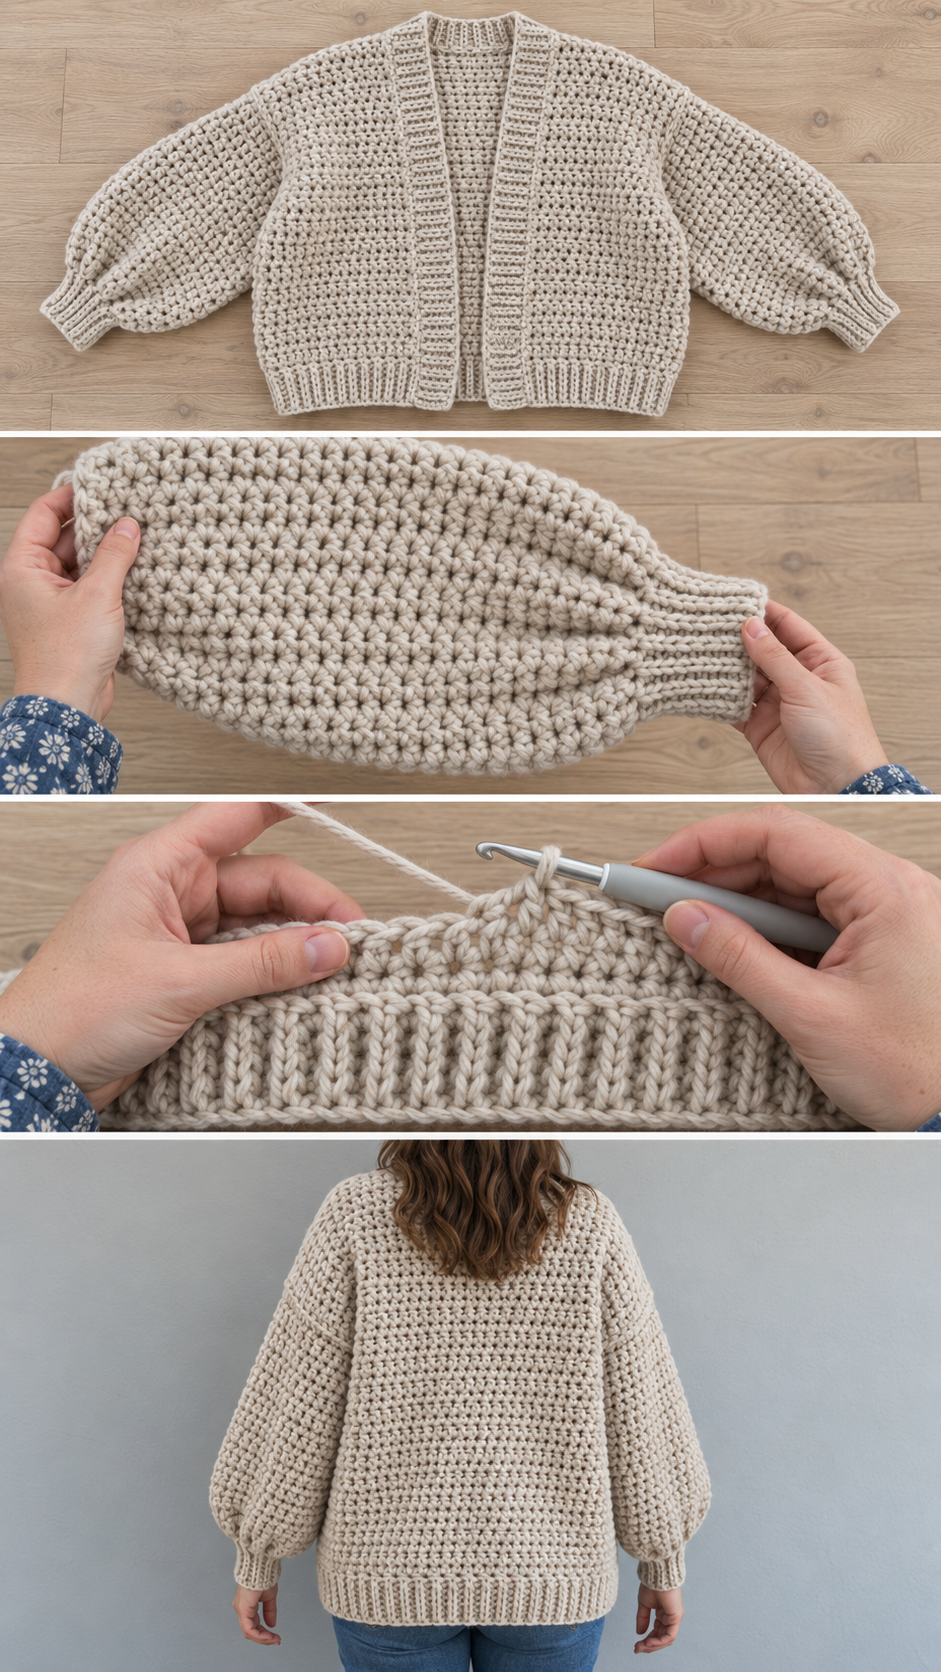
This one is deliberately simple to build. The body is three rectangles, the sleeves are two more, and the shape comes from where you sew them together. What makes it look like a proper jacket rather than a blanket with arms is the ribbing: gathered ribbed cuffs that pull the wide sleeves in at the wrist, a ribbed hem, and wide ribbed bands up the fronts.
You need half double crochet, single crochet and working into the back loop. There is no shaping at all, and every measurement comes from your own gauge swatch, so it fits you whatever your size.
Why this oversized crochet cardigan works
Oversized garments are the kindest place to start making clothes, because they depend on ease rather than precise fit. The body is simply wider than you are, so a small difference in gauge makes a slightly more or less roomy cardigan rather than one that does not fit at all.
The construction is drop shoulder. The body panels are rectangles, and the sleeves are rectangles sewn straight onto the side of the body, so the shoulder seam sits down on your upper arm. That is the relaxed, slouchy silhouette you see on oversized cardigans in shops, and it needs no armhole shaping.
The ribbing does the tailoring. The sleeves are cut generously wide, then gathered into a cuff that is much narrower. That contrast between a full sleeve and a snug cuff is what makes the cardigan look designed. The ribbed hem and front bands frame the body the same way.
The honest trade-off: a bulky cardigan is heavy. It will use a lot of yarn, and very heavy yarns can make the shoulders drop further over time as the fabric relaxes. The yarn guide linked below explains how to choose a yarn that keeps its shape.
Materials you will need
- Yarn: bulky weight (category 5), roughly 1,100–1,600 yards depending on size and length. Treat this as an estimate; the gauge section shows how to work out your own.
- Hooks: 8.0 mm (L) for the body and sleeves; 6.5 mm (K) for the ribbing
- Notions: stitch markers, a large tapestry needle, pins, tape measure
- Optional: three to five large buttons
A wool or wool-blend yarn gives the best drape and bounce, and warmth without too much weight. See the yarn guide for more on choosing.
Gauge
Work a swatch at least 6″ square in hdc on the 8.0 mm hook, then block it the way you will block the finished cardigan. Measure the middle 4″ and write down stitches per inch and rows per inch.
My swatch came out at about 2¼ stitches and 1¾ rows per inch. Yours will differ, and that is fine — everything below is calculated from your numbers.
Measurements
Take these before you start. The full explanation is in the sizing guide.
- Bust: around the fullest part of your chest.
- Finished chest: bust plus 8–12″ of ease for an oversized fit.
- Body length: from the top of your shoulder to where you want the hem, minus 3″ for the ribbed hem.
- Centre-back-to-wrist: from the bone at the back of your neck, along your arm to the wrist.
- Wrist: around your wrist, plus 2″.
Working out the pieces
- Back width = finished chest ÷ 2
- Each front width = finished chest ÷ 4, minus 1″ (the front bands add the rest)
- Sleeve length = centre-back-to-wrist − (back width ÷ 2) − 3″ for the cuff
- Sleeve width = about 18–20″, the depth of an oversized armhole doubled
Multiply each width by your stitches per inch to get a stitch count, and each length by your rows per inch to get a row count. Round to whole numbers.
The sleeve formula is the one most patterns leave out. In a drop-shoulder garment, half the body width already reaches out over your shoulder towards your arm, so the sleeve must be shorter than your full arm by that amount. Skip that step and the sleeves come out far too long.
Abbreviations
- ch = chain.
- hdc = half double crochet: yarn over, insert hook, yarn over and pull up a loop (3 loops on hook), yarn over and pull through all 3.
- sc = single crochet: insert hook, yarn over and pull up a loop (2 loops), yarn over and pull through both.
- BLO = back loop only: work into the loop furthest from you. In single crochet this makes ribbing.
- sl st = slip stitch.
Pattern notes
- All pieces are worked flat in rows, turning at the end of each.
- The ch 1 or ch 2 at the start of a row does not count as a stitch.
- The body is worked from the hem ribbing upward; the ribbing is made first as a strip and the body is worked into its long edge.
- Mark the right side of each piece with a stitch marker.
- Measure flat every ten rows. Do not stretch the work while measuring.
Step by step
Part 1: The hem ribbing
With the 6.5 mm hook, ch 11 (for a 3″ deep rib at about 3 stitches per inch; adjust to your gauge).
Row 1: Sc in the 2nd ch from hook and in each ch across. Turn. (10)
Row 2: Ch 1, sc in the BLO of each st across. Turn. (10)
Repeat Row 2 until the strip, lying relaxed, measures your finished chest. This one strip will run all the way around the bottom of the back and both fronts. Do not fasten off.
For the full guide to ribbing methods, see How to Crochet Ribbing.
Part 2: The body
Rotate the strip so a long edge is at the top, and switch to the 8.0 mm hook.
Row 1: Ch 2. Work hdc evenly along the long edge of the ribbing, one hdc into each row end, until you have your total body stitch count (back width plus two front widths, in stitches). Turn.
Row 2: Ch 2, hdc in each st across. Turn.
Repeat Row 2 until the body, measured from the top of the ribbing, reaches the point where the armholes begin — your body length minus about 9½″ for an oversized armhole.
Part 3: Dividing for fronts and back
Place markers to divide the row into three: one front width, the back width, and the other front width.
Work each section separately in hdc rows, straight up, until the whole body reaches your full body length. Fasten off each section. Because the sleeves attach to the sides, there is no armhole shaping at all — you are simply leaving a gap between the fronts and the back for each sleeve.
Part 4: The sleeves (make 2)
Cuff: With the 6.5 mm hook, make a ribbing strip as in Part 1, but only as long as your wrist measurement. Do not fasten off.
Sleeve: Switch to the 8.0 mm hook. Work hdc along the long edge of the cuff, but this time increase as you go: work 2 hdc into some row ends so the first row reaches your full sleeve width in stitches. Spread the extra stitches evenly. This is the gather that makes the cuff puff.
Work hdc rows until the sleeve, measured from the cuff, reaches your calculated sleeve length. Fasten off, leaving a long tail.
Part 5: Assembly
Sew the shoulders: with right sides together, seam the top of each front to the top of the back, working inward from the outer edge. Leave the centre of the back open for the neck.
Fold each sleeve in half lengthways and mark the centre of its top edge. Pin that centre to the shoulder seam and sew the sleeve top to the body along the armhole gap.
Sew the underarm and side seams in one continuous line, from the hem, up the side of the body, and down the underside of the sleeve to the cuff.
The seaming methods and order are explained in full in How to Seam and Finish a Crochet Cardigan.
Part 6: The front bands
With the 6.5 mm hook, make a ribbing strip as in Part 1, but 2½″ deep instead of 3″. Make it long enough to run up one front, around the back neck and down the other front.
Pin the band in place, starting with the centre of the band at the centre of the back neck, then working outward to both hems. Sew it on with a flat seam. The band is what gives the cardigan its clean, structured front edge.
For buttons, work three to five buttonholes into the right-hand band as you make it: on the rows where you want a hole, ch 2 and skip 2 stitches in the middle of the row, then work into the chain space on the next row.
Finishing
Weave in every end along a seam. Then block the whole cardigan: wet or steam it according to your fibre, lay it flat on towels, and pat it to your measurements. Let it dry completely before wearing. Blocking evens out the hdc and relaxes the ribbing into a neat, even texture.
Frequently asked
Can I make it cropped?
Yes. Measure your length to the waist instead, and keep everything else the same. A cropped version uses noticeably less yarn and looks lovely over high-waisted trousers.
Can I add pockets?
Make two squares of hdc about 6″ across with a ribbed top edge, and sew them onto the fronts before attaching the bands.
Why are my sleeves too long?
The drop-shoulder correction was skipped. Subtract half the back width from your centre-back-to-wrist measurement.
Is it beginner friendly?
The stitches are. The size of the project and the seaming make it a confident-beginner garment. Take your time over the swatch and the rest follows.
Before you start
Make the swatch, block it and measure it honestly. Every number in this cardigan comes from those two measurements. More wearable makes are in Clothing & Wearables.