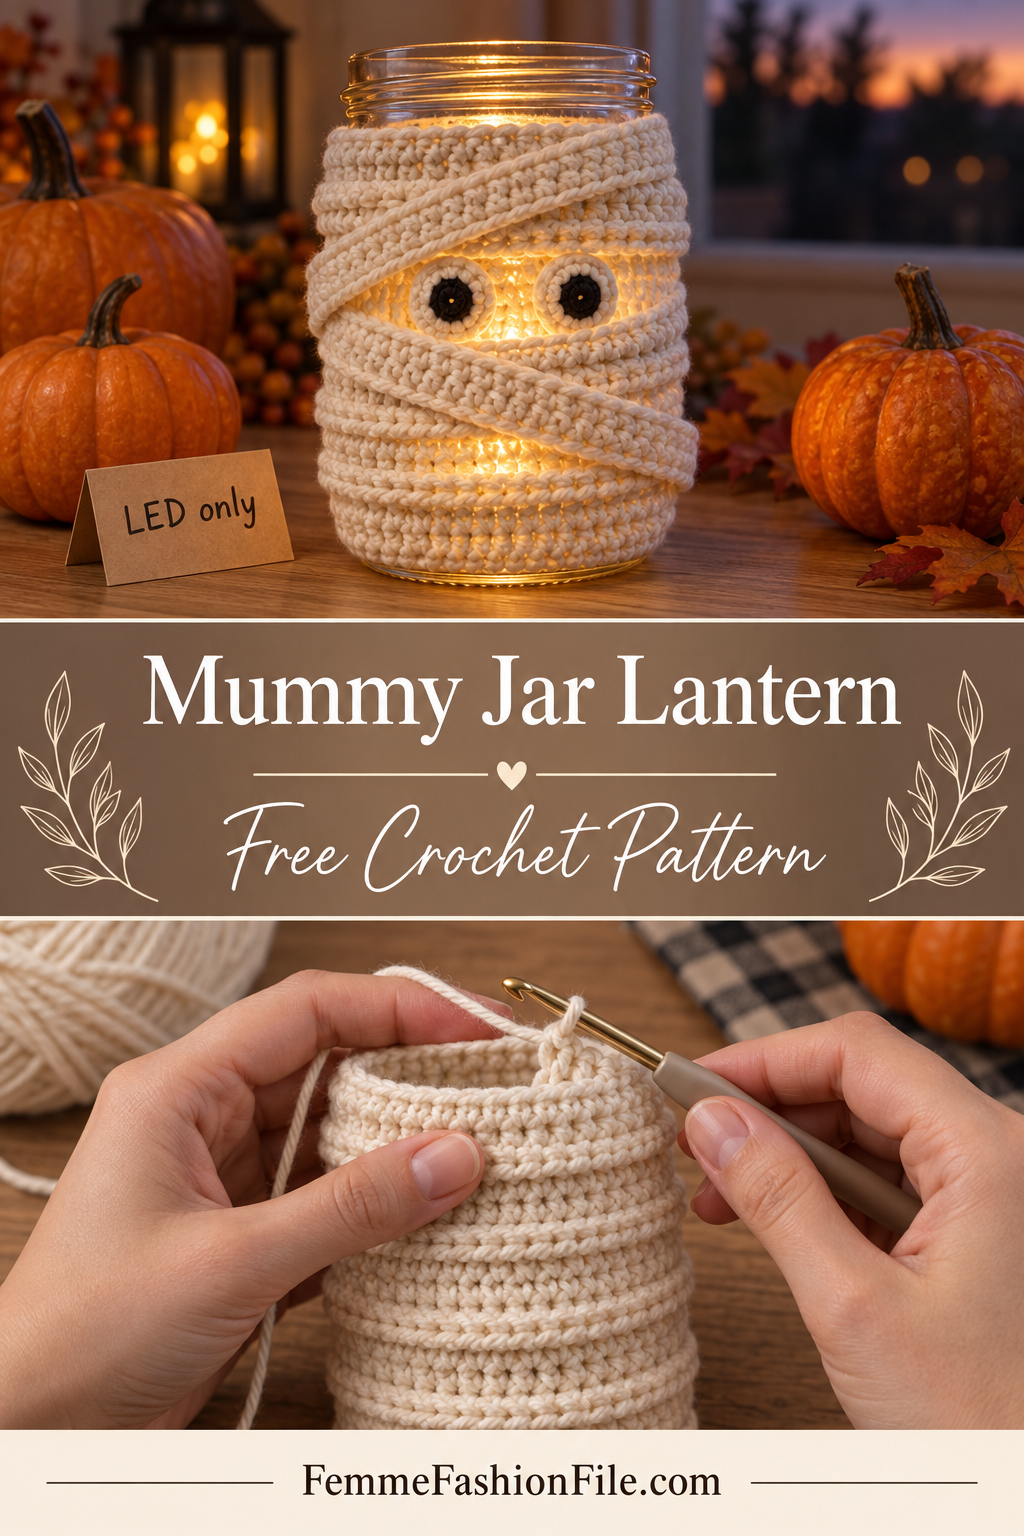
Mummy Mason Jar Lantern – Free Crochet Pattern
A mummy mason jar lantern is the Halloween make that looks best after dark. By day it is a cute wrapped jar with two eyes peering out from the bandages. At night, with a small LED tealight inside, the light glows through the gaps in the stitches and the mummy seems to come alive on the windowsill.
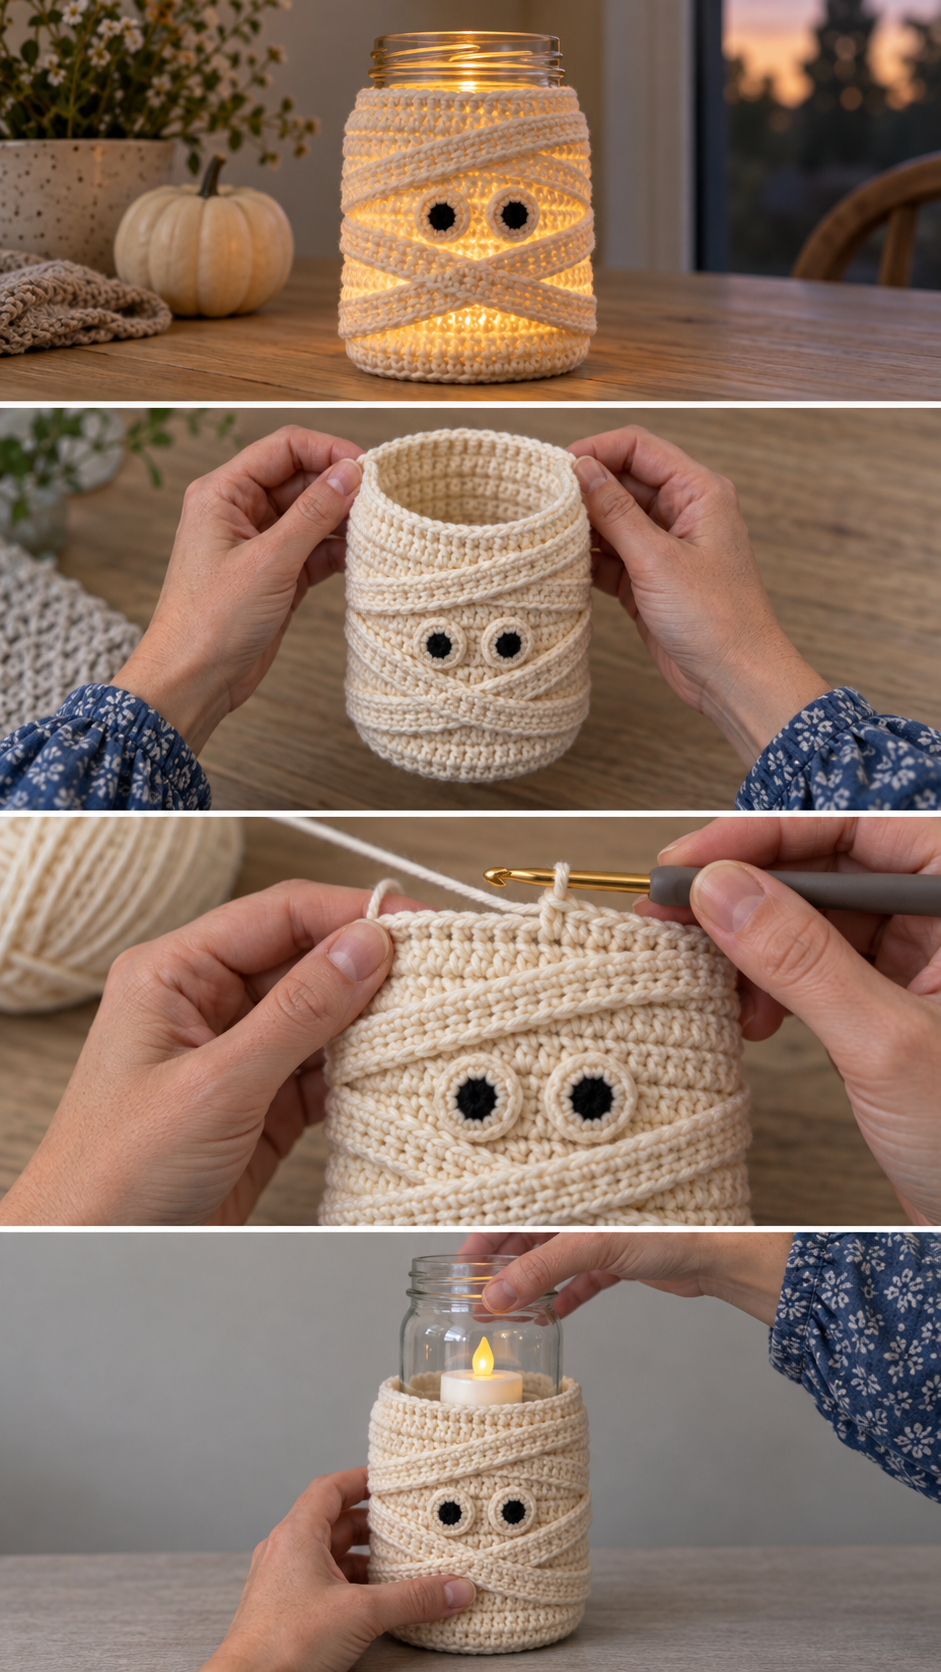
The lantern is a cream crochet sleeve that slides over any glass jar. It is worked in rounds, with ridges every few rounds to look like bandages, plus two loose strips wrapped across it at an angle and two small eyes sewn on.
You need half double crochet, single crochet and working into the back loop. The sleeve is sized from your own jar, so any jar you have will work.
Why this mummy jar works
A sleeve is simply a tube, and a tube is the easiest thing to size in crochet: chain around the jar, join, and work rounds until it is tall enough. The bandage effect comes from alternating ordinary rounds of half double crochet with a round worked into the back loops only. That leaves a raised ridge of front loops on the outside, which reads as the edge of a bandage.
The loose wrapping strips break up the tidy stripes. Crossed diagonally and tacked down in a couple of places, they make the wrapping look haphazard in exactly the way a mummy should.
The one rule that matters: use an LED or battery tealight only. Never put a real candle inside a yarn-covered jar. The yarn can catch fire, and a glass jar holding a flame gets hot enough to scorch fibres. LED tealights are cheap, safe and give a very convincing flicker.
Materials you will need
- Cream yarn: about 60–80 yards of worsted weight cotton for a 16 oz jar
- White and black yarn: small amounts for the eyes
- A glass jar: any mason jar or clean food jar
- Hook: 5.0 mm (H-8)
- Notions: tapestry needle, scissors, tape measure
- An LED tealight
A slightly textured, off-white cotton looks most like old linen bandages. Bright white looks cleaner and more cartoon-like, which is lovely for children.
Sizing to your jar
Measure around the widest part of the jar. Your sleeve should be about half an inch smaller, so it grips the glass snugly.
Chain a short swatch, work a few rows of hdc and count stitches per inch. Multiply your sleeve measurement by that number, and round to the nearest whole stitch. That is your starting chain. For a standard 16 oz mason jar, about 9¼″ around, and a gauge of 3 stitches per inch, that is 26 chains.
Abbreviations
- ch = chain.
- hdc = half double crochet: yarn over, insert hook, yarn over and pull up a loop (3 loops), yarn over and pull through all 3.
- sc = single crochet.
- BLO = back loop only: work into the loop furthest from you.
- sl st = slip stitch.
- MR = magic ring.
Pattern notes
- Worked in joined rounds. Join each round with a sl st to the first stitch.
- The ch 1 or ch 2 at the start of a round does not count as a stitch.
- Every third round is worked in the BLO to make the bandage ridge.
- Try the sleeve on the jar as you go.
Step by step
Part 1: The sleeve
Foundation: Ch your calculated number. Join with a sl st to the first ch to form a ring, making sure the chain is not twisted.
Round 1: Ch 1, sc in each ch around. Join.
Rounds 2 and 3: Ch 2, hdc in each st around. Join.
Round 4: Ch 1, sc in the BLO of each st around. Join. This is a bandage ridge.
Repeat Rounds 2 to 4 until the sleeve covers the jar from the base to just below the thread of the lid.
Final round: Ch 1, sc in each st around. Join and fasten off.
Check: slide it onto the jar. It should grip without being hard to pull on. If it is loose, go down a hook size or remove a few chains.
Part 2: The loose bandages
Make two strips. Ch 40, then sc in the 2nd ch from hook and each ch across. Fasten off, leaving tails.
Slide the sleeve onto the jar. Wrap one strip diagonally across the front, from top right to bottom left, and tack both ends to the sleeve with a few stitches on the back. Wrap the second strip across the other way, lower down, crossing the first. Leave a gap between the strips about a third of the way from the top — that is where the eyes go.
Part 3: The eyes
Make 2: In white, 6 sc into a MR, then 2 sc into each st around. Join and fasten off. (12)
With black, embroider a pupil in each, or sew on a small black circle made of 6 sc into a MR.
Sew the eyes into the gap between the bandages, slightly different sizes or one looking up for a comical expression.
Part 4: Lighting
Switch on an LED tealight and drop it into the jar. Choose one with a warm, flickering light for the most atmospheric glow. LED fairy lights coiled inside the jar also look wonderful and last all evening.
Making a family of mummies
Jars of different heights make a lovely group on a windowsill or a table. A tall jar with one big eye, a short squat jar with two small ones, and a medium jar with the bandages slipping over one eye all look like distinct characters. Size each sleeve from its own jar using the same method.
Choosing yarn
Cotton is best because it is firm and holds the ridges clearly. A mix of cream and off-white in stripes looks even more like layered bandages. Avoid very fluffy yarn, which blocks the light and hides the ridges.
Common mistakes and how to fix them
The sleeve is baggy
It was sized to the jar exactly instead of slightly smaller. Take a few stitches off the starting chain.
The ridges do not show
The ridge rounds went into both loops. Every third round must go into the back loops only.
The eyes look flat
Stitch them slightly proud of the surface, or add a tiny white highlight stitch to each pupil.
Finishing and care
Slide the sleeve off the jar to wash it by hand, and dry it flat. Keep the jar and LED separate from the sleeve when storing.
Frequently asked
Can I use a real candle if I am careful?
No. Please use LED lights only with any crochet lantern.
Will it fit a different jar?
Yes. Measure the new jar and recalculate the chain. The rest of the pattern stays the same.
Why LED lights only
It is worth being clear about this, because jar lanterns are often shown with real candles. Yarn is a fibre, and cotton and acrylic both burn. Even inside glass, a real flame heats the jar enough to scorch the stitches touching it, and if the jar tips, the yarn is right next to the flame. LED tealights give off almost no heat, last for many hours, and the better ones flicker convincingly. For a crochet lantern, they are the only safe choice.
Using different jars
Almost any clear glass jar works. Tall, slim jars make a long, lanky mummy; wide, short jars make a round, comical one. Jam jars, pasta sauce jars and old candle jars are all good candidates. Just measure each jar at its widest point and make the sleeve half an inch smaller.
Frosted or tinted jars change the glow. An amber jar gives a warm, old-fashioned light; a clear jar gives a brighter, whiter one.
Grouping lanterns
A row of three or five mummies on a windowsill or down the centre of a table looks wonderful after dark. Vary the heights and the positions of the eyes. Place them in front of a mirror to double the glow. On a porch or front step, put them inside a larger lantern or a sheltered spot so rain cannot reach the yarn.
Other characters from the same sleeve
The same ridged sleeve works for more than mummies. In orange with black triangle eyes, it becomes a jack-o’-lantern jar. In lime green with stitched scars and two small bolts sewn at the sides, it becomes a friendly monster. In black with two yellow eyes and small triangle ears, it becomes a black cat lantern. One method, a whole shelf of glowing characters.
How long it takes
A sleeve for a standard jar takes about an evening, and the eyes and bandage strips another hour. Once you have made one and know your chain count, a second jar goes much faster. A group of three mummies is a comfortable weekend project.
Before you start
Measure your jar and work out the chain before anything else. More spooky makes are in Halloween.