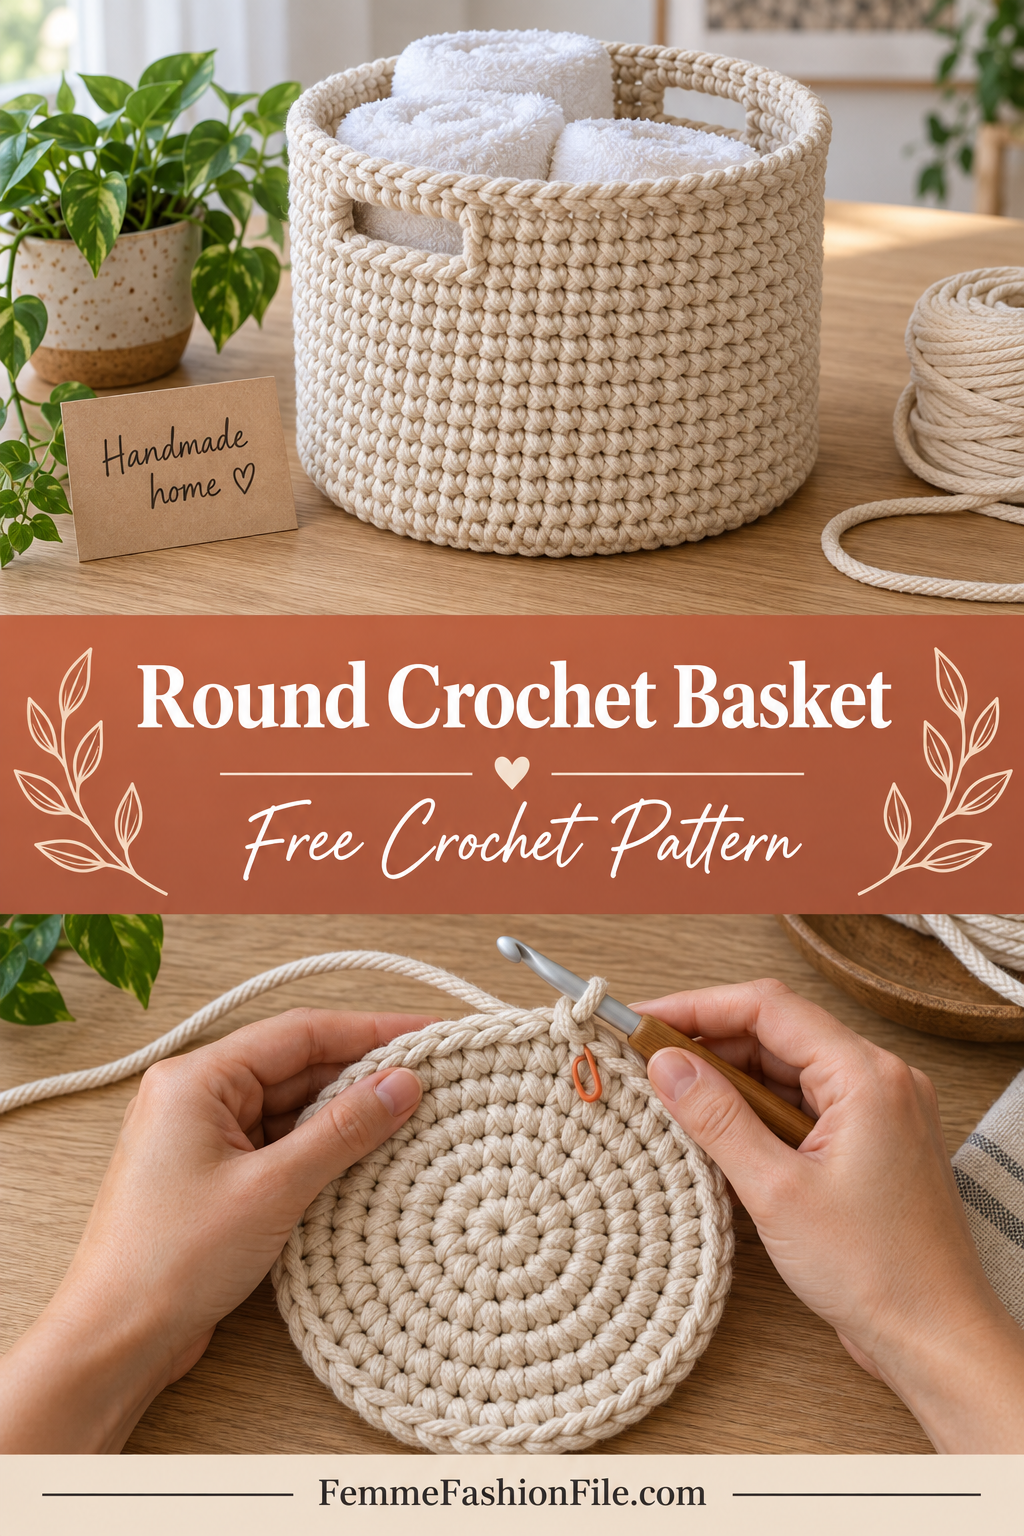
Round Crochet Basket with Handles – Free Crochet Pattern
A crochet basket is the project that converts people who think crochet is only for blankets and toys. It is useful from the minute it is finished, it looks expensive in a way that handmade things rarely do, and it takes one or two evenings. I have one holding yarn, one on the bathroom shelf with rolled towels, and one by the door that has collected keys, sunglasses and at least one dog lead.
This one is a round basket with a flat base, straight sides and two cut-out handles, worked in chunky cotton cord. It stands up on its own without any stiffener, which is the whole trick — and the part most basket patterns skip over.
If you can make a single crochet and work in a circle, you can make this.
Why this crochet basket stands up
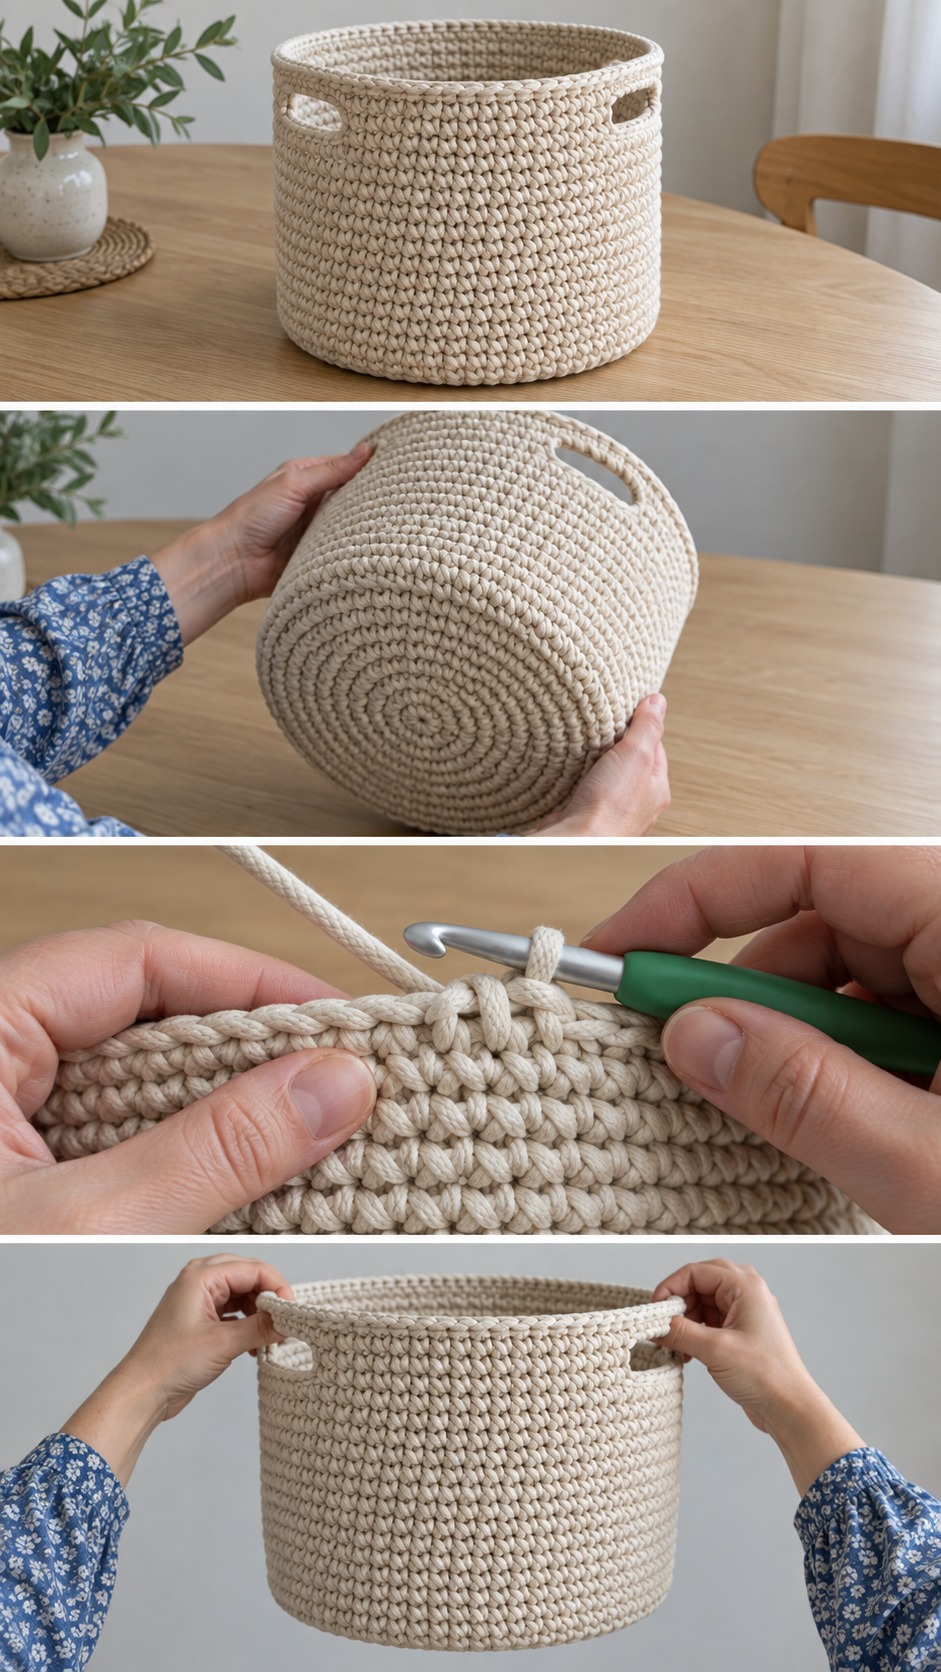
The base is a flat circle that grows by exactly six stitches a round. The moment you stop increasing, the fabric has nowhere to go but up, and the walls rise at a right angle. One round worked into the back loops only at that point gives you a crisp, sharp fold between base and wall, so the basket reads as a proper vessel rather than a bowl.
What makes it stand up is density. Single crochet in thick cord on a hook that is slightly too small produces a fabric so firm it behaves almost like woven cane. That is deliberate. A soft basket slumps, and no amount of blocking will fix it.
The honest trade-off: dense crochet is hard on your hands. Thick cord on a tight hook takes real effort, and I would not try to make three of these in a day. Take breaks, and if your wrist starts aching, stop — the basket will wait.
Materials you will need
Cord: 5 mm cotton macramé cord or thick cotton t-shirt yarn, around 150–200 yards for the size below. Weigh the base when you finish it and you will have a good idea of how much the walls will need, since they use roughly the same again for every few inches of height.
- Hook: 6.5 mm (K) for cotton cord; 8–10 mm if you are using t-shirt yarn
- Notions: one stitch marker, a large-eyed tapestry needle or a small crochet hook for weaving in, sharp scissors
Single-strand twisted cotton cord gives the neatest stitches. Braided cord is sturdier but harder to push the hook through. Avoid anything with stretch — stretchy yarn makes a basket that sags as soon as you put something in it.
Gauge and finished size
Gauge is not critical, but firmness is. Work the first four rounds and squeeze the circle. It should feel stiff and should not flop over when you hold it by one edge. If it does, go down a hook size and start again.
In 5 mm cord on a 6.5 mm hook, my eight-round base came out about 8″ across and the finished basket stood about 6½″ tall. Your size will vary with your cord and your tension. The pattern works at any size, because you decide where to stop.
Abbreviations
- MR = magic ring: a loop of yarn you work the first round into, then pull tight to close the centre.
- sc = single crochet: insert hook, yarn over and pull up a loop (2 loops on hook), yarn over and pull through both.
- inc = increase: 2 sc in the same stitch. Adds one stitch.
- BLO = back loop only: work into the loop furthest from you. Leaves a ridge on the outside and makes the fabric fold.
- ch = chain: yarn over and pull through the loop on your hook.
- sk = skip: pass over stitches without working into them.
- rev sc = reverse single crochet, also called crab stitch: single crochet worked from left to right instead of right to left. It makes a rope-like edge.
Pattern notes
- Worked in continuous spiral rounds. Do not join or chain up at the end of a round.
- Place a stitch marker in the first stitch of each round and move it up every round.
- Every base round is a multiple of six. If the count is off, the base will ripple or cup.
- The increases in Rounds 5 and 7 are deliberately staggered. Stacking increases in the same place every round turns a circle into a hexagon; offsetting them keeps it round.
- Keep your tension even and firm throughout. A basket is only as good as its weakest round.
Step by step
Part 1: The base
Round 1: 6 sc into a MR. Pull the tail to close. (6)
Round 2: Inc in each st around. (12)
Round 3: *Sc in next st, inc in next st*; repeat around. (18)
Round 4: *Sc in next 2 sts, inc in next st*; repeat around. (24)
Round 5: Sc in next st, inc in next st, *sc in next 3 sts, inc in next st*; repeat from * 4 more times, sc in last 2 sts. (30)
Round 6: *Sc in next 4 sts, inc in next st*; repeat around. (36)
Round 7: Sc in next 3 sts, inc in next st, *sc in next 5 sts, inc in next st*; repeat from * 4 more times, sc in last 2 sts. (42)
Round 8: *Sc in next 6 sts, inc in next st*; repeat around. (48)
Check: lay the base on the table. It should lie completely flat. If the edge ripples, you have added too many stitches; if it cups upward, too few. Count back — 6, 12, 18, 24, 30, 36, 42, 48.
For a larger basket, keep going: each extra round adds six stitches, with one more sc between each increase. Stop on any multiple of six.
Part 2: The corner
Round 9: Working in BLO only, sc in each st around. (48)
This single round is what turns a mat into a basket. The unworked front loops form a ridge on the outside, and the fabric folds sharply upward along it.
Part 3: The walls
Rounds 10 to 18: Sc in each st around, through both loops. (48 per round — nine rounds)
The walls grow straight up because you are no longer increasing. Stop earlier for a low tray, or keep going for a taller storage basket — add rounds in pairs so the handles still sit neatly near the top.
Check: stand the basket up every couple of rounds. If the walls flare outward, your tension has loosened; if they lean in, it has tightened. Adjust as you go rather than at the end.
Part 4: The handles
Round 19: Sc in next 8 sts, ch 8, sk next 8 sts, sc in next 16 sts, ch 8, sk next 8 sts, sc in last 8 sts. (32 sc and two ch-8 gaps)
The two gaps sit exactly opposite each other, because there are 24 stitches between the start of each.
Round 20: Sc in each sc around, and work 8 sc into each ch-8 space. (48)
Working into the chain space rather than into each individual chain gives a rounder, stronger handle that does not stretch as quickly.
Part 5: The top edge
Round 21: Rev sc in each st around. Sl st to the first stitch and fasten off.
Reverse single crochet feels awkward for the first few stitches, because you are working backwards. Insert the hook into the stitch to the right, pull up a loop, and finish as a normal sc. It gives the rim a firm, twisted edge that stops it stretching out over time.
If you would rather not, a round of sl st works too. It is flatter and less decorative, but still holds the edge.
An expert option: waistcoat stitch walls
If you want walls that look knitted, work Rounds 10 to 18 in waistcoat stitch instead. Rather than inserting the hook under the top loops, push it through the centre of the stitch below, between the two vertical legs, and complete an ordinary sc.
The result is a row of little V shapes that look exactly like stockinette, and the fabric is even denser and stiffer than normal single crochet. It is harder work and your tension needs to be looser than usual or you will not get the hook through, but it is the finish most expensive shop-bought baskets use.
Finishing and care
Weaving in: cotton cord is slippery. Weave each end through several stitches on the inside in two directions, then trim. A dab of fabric glue on the very end is not cheating on a basket.
Shaping: push the base flat with your palm and square up the corner fold between your fingers. Stand it up full of something — towels, yarn — overnight and it settles into shape.
Cleaning: spot clean, or hand wash in cool water and reshape while damp. Dry it standing upright, stuffed with a towel, so the walls keep their shape.
Frequently asked
Why is my base wavy?
Too many stitches for the size of the circle, usually from an extra increase slipped in somewhere. Count each round. If the count is right but it still ripples, your tension is looser at the edges than in the middle — firm it up.
Why does my basket spiral or lean?
Single crochet worked in a continuous spiral naturally slants slightly, because each stitch sits a fraction to the side of the one below. It is more noticeable in thick cord. Working the walls in waistcoat stitch almost eliminates it, and so does keeping your tension very even.
Can I make it square instead?
Yes, but it is a different construction. Start with a flat rectangle rather than a circle, then work the walls around all four sides with a back-loop round at the corner. Square baskets need firmer tension still, or the corners sag.
How much cord will I need for a bigger basket?
Weigh your finished base and your first few wall rounds. The walls use a similar amount per round as the last base round, so you can estimate the rest by multiplying. Buy slightly more than you think — running out on the last round of a basket is painful.
Before you start
Make the first four rounds and test the firmness. If the circle is floppy, go down a hook size now. Everything about whether this basket stands up comes from that one decision.
More useful makes for the house are in Home & Decor. If you make one, I would love to see it.