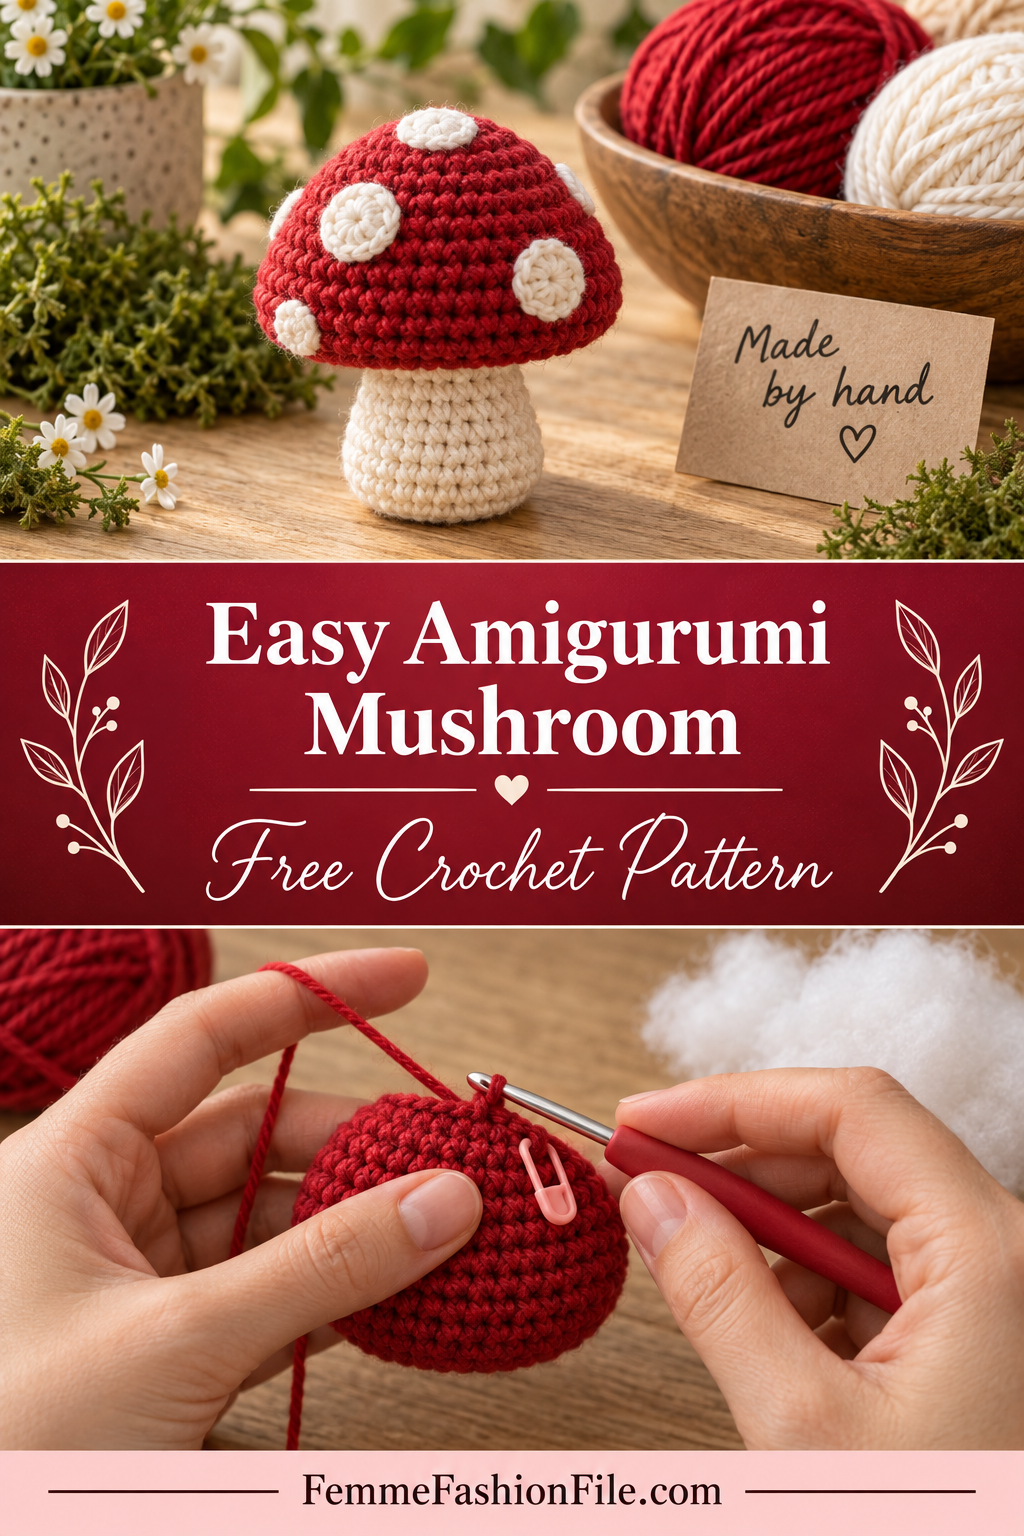
Easy Amigurumi Mushroom – Free Crochet Pattern for Beginners
If you are new to toy making, an amigurumi mushroom is the right first project. It is small enough to finish in an evening, it uses every core technique you will need for bigger toys, and it is almost impossible to get wrong in a way that shows. A lumpy cat looks like a mistake. A lumpy mushroom looks like a mushroom.
This one is a classic toadstool: a red domed cap with a flat underside, a short cream stem, and a scatter of white spots sewn on at the end. Finished, it stands about 3½″ tall and sits happily on a shelf, a desk or the edge of a plant pot.
You need to be able to chain, make a single crochet, and work an increase and a decrease. If you have done those, you have everything.
Why this amigurumi mushroom works
Amigurumi is really just geometry. A flat circle worked in single crochet grows by six stitches every round, and the moment you stop adding stitches the fabric turns a corner and starts to grow upward instead of outward. Take stitches away and it curves back in. Everything in this pattern — the dome, the rim, the underside — comes from those three rules applied in order.
That makes it self-checking. Every round in the cap is a multiple of six: 6, 12, 18, 24, 30, 36. If you finish a round and the count is not on that list, you know immediately, before you have stuffed anything.
The honest trade-off: the stem is sewn on rather than worked in, which means one seam you have to get right by eye. It is the only fiddly moment in the project, and I have written it out in more detail than the rest for exactly that reason.
Materials you will need
Cap (red): about 25 yards of worsted or DK weight cotton. Cotton is worth it here — it holds the dome shape crisply, where acrylic tends to soften and slump after a few weeks on a shelf.
Stem and spots (cream or white): about 15 yards of the same weight.
- Hook: 3.5 mm (E-4) — deliberately smaller than the yarn label suggests
- Stuffing: a small handful of polyester fibrefill
- Notions: stitch marker, tapestry needle, scissors
- Optional: 6 mm safety eyes and a little black thread if you want a face
The small hook is the most important thing on this list. Amigurumi fabric has to be tight enough that stuffing cannot show between the stitches. If you can see white fluff through the red, go down a hook size and start again — it is not something you can fix afterwards.
Gauge and finished size
Gauge is not critical for a toy. Worked in worsted cotton on a 3.5 mm hook, my cap came out about 2½″ across and the whole mushroom stood 3½″ tall. Thinner yarn gives you a smaller mushroom and thicker yarn a bigger one; the proportions stay the same either way, because every part is worked from the same stitch counts.
What does matter is tightness. Squeeze the finished cap gently. If the stitches open up enough to see through, your tension is too loose for amigurumi.
Abbreviations
- MR = magic ring: wrap the yarn into a loop, work your first round into it, then pull the tail to close the centre completely.
- sc = single crochet: insert hook, yarn over and pull up a loop (2 loops on hook), yarn over and pull through both.
- inc = increase: 2 sc worked into the same stitch. Adds one stitch to your count.
- dec = invisible decrease: insert hook into the front loop only of the next stitch, then the front loop only of the one after (3 loops on hook), yarn over and pull through 2 loops, yarn over and pull through the last 2. Removes one stitch and leaves almost no gap.
- BLO = back loop only: work into the loop furthest from you rather than both loops. It leaves a visible ridge on the outside, which is how you get a crisp edge.
- sl st = slip stitch: insert hook, pull a loop through both the stitch and the loop on your hook.
Pattern notes
- Worked in continuous spiral rounds. Do not join at the end of a round and do not chain up.
- Place a stitch marker in the first stitch of every round and move it up as you go. In a spiral, this is the only way to know where a round starts.
- Stitch counts are given at the end of each round in parentheses. Check them. Every cap round is a multiple of six.
- Use the invisible decrease throughout. A standard sc2tog leaves small holes that stuffing pushes through.
- Stuff as you go rather than all at the end. Once the opening is small, it is very hard to get fibrefill into the edges evenly.
Step by step
Part 1: The cap
This is the dome. You will increase until the circle is wide enough, work straight so it turns into a bowl, then use a back-loop round to make the sharp rim where the cap meets its underside.
With red yarn:
Round 1: 6 sc into a MR. Pull the tail to close. (6)
Round 2: Inc in each st around. (12)
Round 3: *Sc in next st, inc in next st*; repeat around. (18)
Round 4: *Sc in next 2 sts, inc in next st*; repeat around. (24)
Round 5: *Sc in next 3 sts, inc in next st*; repeat around. (30)
Round 6: *Sc in next 4 sts, inc in next st*; repeat around. (36)
Now stop increasing. The circle will start to cup.
Rounds 7 to 12: Sc in each st around. (36 per round — six rounds)
Check: at this point you have a shallow bowl. Turn it inside out if it looks rough — the side facing you as you work is often the neater one, and many makers use it as the outside.
Round 13: Working in BLO only, sc in each st around. (36) This round makes the rim.
Part 2: The underside of the cap
Keep going with the same piece. From here you decrease evenly and the fabric pulls inward to form a flat base beneath the dome.
Round 14: *Sc in next 4 sts, dec*; repeat around. (30)
Round 15: *Sc in next 3 sts, dec*; repeat around. (24)
Round 16: *Sc in next 2 sts, dec*; repeat around. (18)
Stuff the cap now, lightly. You want a soft dome, not a ball — overstuffing pushes the flat underside out into a curve and the mushroom will not sit level on its stem.
Round 17: *Sc in next st, dec*; repeat around. (12)
Round 18: Dec around. (6)
Fasten off, leaving a 6″ tail. Thread it on a tapestry needle, weave it through the front loops of the last six stitches and pull tight to close. Push the needle through the cap and out the other side to hide the end.
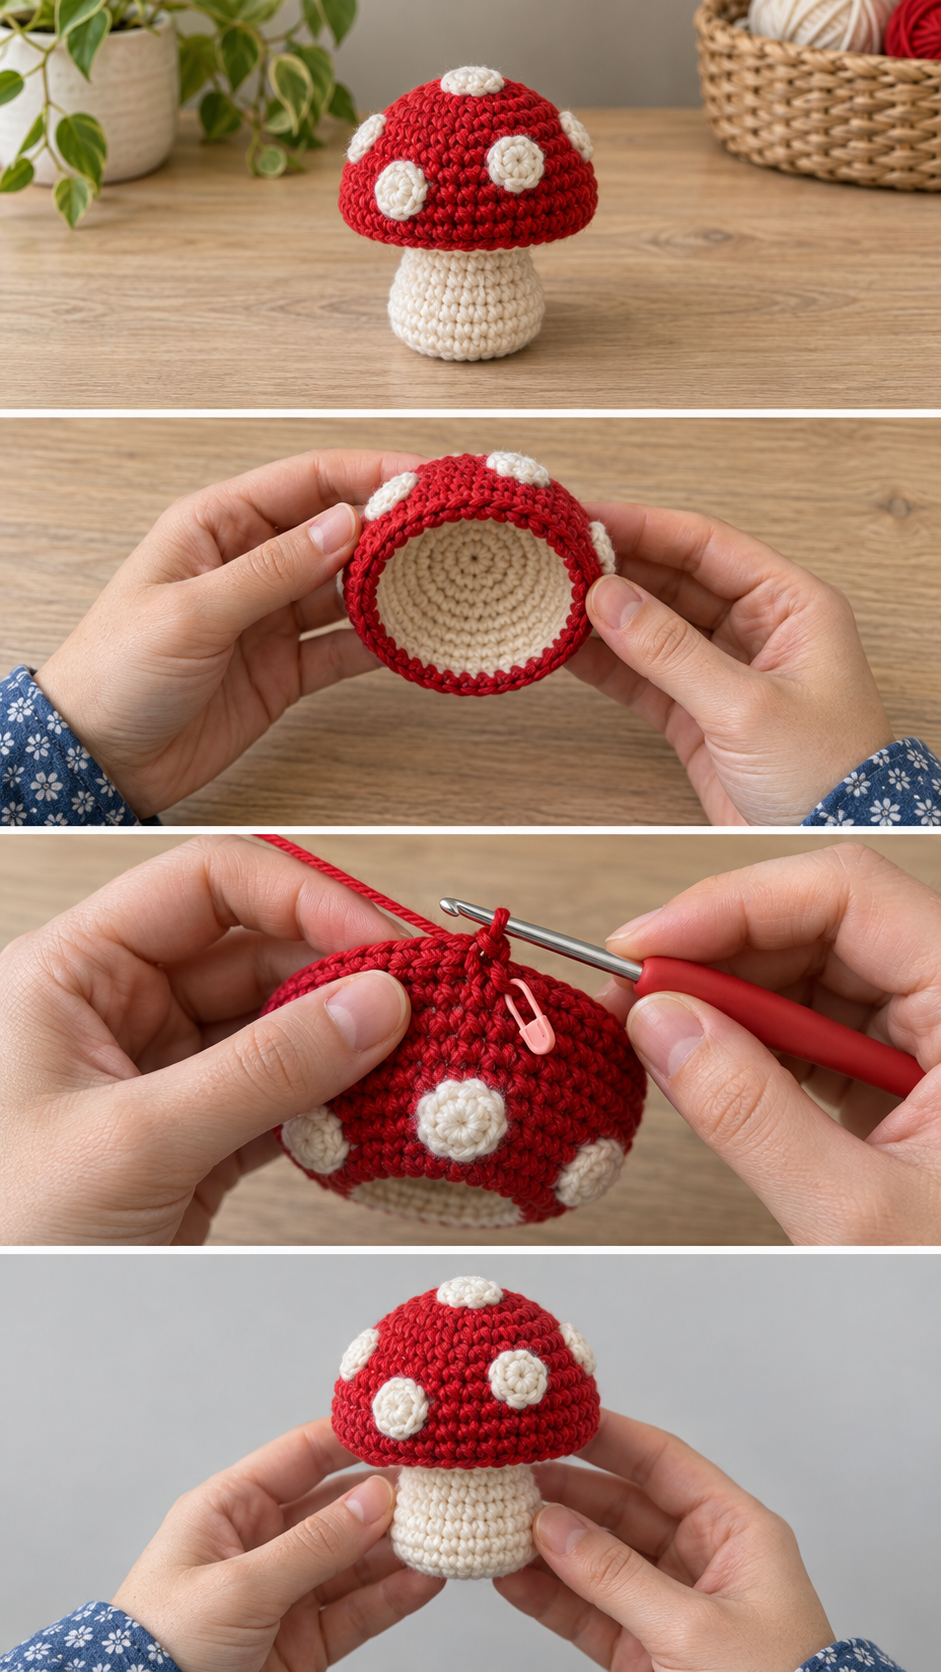
[IMAGE 2 — the red domed cap beside the cream stem, both finished and unstuffed side by side]
Part 3: The stem
Worked separately in cream. The back-loop round at the start gives the stem a flat base so the mushroom stands up.
Round 1: 6 sc into a MR. (6)
Round 2: Inc in each st around. (12)
Round 3: Working in BLO only, sc in each st around. (12)
Rounds 4 to 10: Sc in each st around. (12 per round — seven rounds)
Stuff the stem firmly — firmer than the cap. It carries the weight, and a soft stem leans. Sl st into the next stitch and fasten off, leaving a long tail of about 12″ for sewing.
Part 4: Attaching the stem
This is the one step worth slowing down for.
Find the centre of the cap’s underside — it is where you closed the last six stitches. Hold the open end of the stem against it and check from the side that the stem is upright. If it tilts, the whole mushroom will lean.
Pin it in place with two sewing pins pushed straight down through the stem into the cap. Then, using the long tail, whip stitch around the top edge of the stem, catching one stitch of the stem and one stitch of the cap each time. Work all the way round, then go round a second time. Two passes is what stops it wobbling loose later.
Weave the tail down through the inside of the stem and trim.
Part 5: The spots
Make five or six, in cream.
Small spot: 6 sc into a MR. Pull tight and sl st to the first sc. Fasten off, leaving a tail. (6)
Large spot: 6 sc into a MR, then inc in each st around. Sl st to the first sc and fasten off. (12)
Mix sizes — two large and three or four small looks more natural than a set of identical dots. Lay them on the cap before sewing and move them around. Real toadstool spots are uneven and slightly clustered, never evenly spaced.
Sew each one down around its outer edge with small stitches, pulling the tail into the cap and out somewhere else to hide it.
[IMAGE 3 — close-up of the white spots sewn onto the red cap]
Part 6: A face (optional)
Place the safety eyes on the stem between rounds 6 and 7, about four stitches apart, before you stuff and close it. Once the stem is stuffed you cannot get the backs on.
If this mushroom is for a baby or a child under three, skip safety eyes entirely and embroider the eyes with black thread instead. Safety eyes can be pulled out by small hands and are a choking hazard; embroidery cannot.
Finishing and care
Shaping: once finished, press the cap’s rim gently between your fingers to sharpen the edge the back-loop round created.
Washing: amigurumi is best spot-cleaned with a damp cloth. If you must wash it, hand wash cool, squeeze rather than wring, and let it dry fully before it goes back on a shelf — damp stuffing takes a long time to dry and can mould inside.
Frequently asked
Why is there a gap where I closed the cap?
Usually the tail was pulled through both loops instead of the front loops only. Weave through the front loops of the last round and the stitches draw together into a neat point. If a small hole remains, a couple of stitches across it with the tail will close it invisibly.
My cap is flat instead of domed. What happened?
Almost always too many increase rounds, or not enough straight rounds after them. The dome comes from Rounds 7 to 12, where you stop increasing. If you are short of six straight rounds, the cap stays flat. Count them.
Can I make a bigger mushroom?
Yes. Keep increasing by six per round beyond Round 6 — 42, 48, 54 — then add one extra straight round for every increase round you added, and decrease back down in the same pattern in reverse. Make the stem wider by adding a round of increases to it as well, so the proportions hold.
What yarn works best?
Cotton or a cotton blend in worsted or DK weight. It keeps its shape and gives crisp stitch definition. Fluffy or brushed yarns hide the stitch texture and the rim will not show.
Before you start
Make the cap first and stop after Round 6. It should be a flat circle with 36 stitches and should lie flat on the table without cupping or rippling. If it does either, change your hook size now — it is ten minutes of work to redo and the whole toy depends on it.
More small makes are in Amigurumi & Toys. If you make one, I would love to see it.