Crochet Snowflake Garland – Free Christmas Pattern
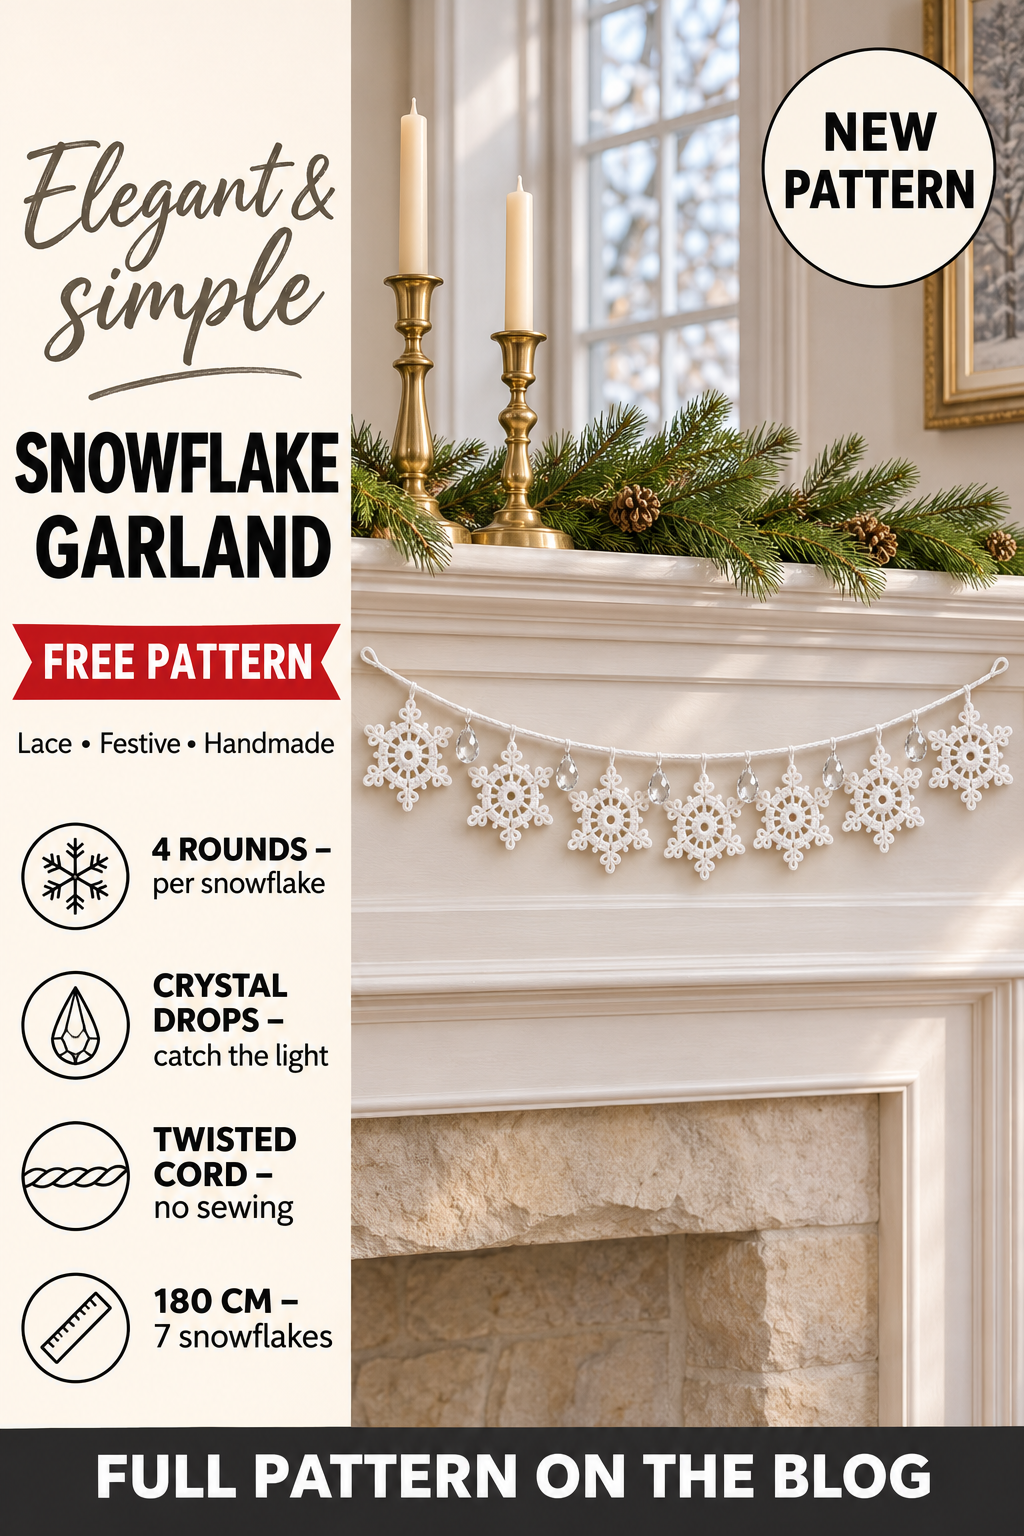
A white crochet snowflake garland across the mantel is one of the simplest ways to make a room feel like Christmas. Seven lacy snowflakes hang from a soft twisted cord, with a little crystal drop between each one to catch the candlelight.
Each snowflake is only four rounds, and the same motif works on its own as a tree ornament or a gift tag. Once you have made two or three, you will know the pattern by heart.
The finished garland is about 180 cm (6 ft) long with seven snowflakes of about 11 cm (4.3 in). Skill level: easy.

Why you will love this snowflake garland
- Quick motifs. Four rounds per snowflake – about 20 minutes each once you know them.
- Looks elegant, uses basic stitches. Only chains, slip stitches, single and double crochet.
- Two decorations in one. Make extra snowflakes for the tree, windows or gift wrap.
- Lasts for years. Stiffened cotton snowflakes keep their shape season after season.
- Easy to resize. Add or remove snowflakes to fit any mantel, door or window.
Materials you will need

- Yarn: worsted / aran-weight 100% cotton in white or cream (weight 4), about 100 g for 7 snowflakes and the cord.
- Hook: 4 mm (G-6)
- Crystal drops: 6 clear acrylic or glass faceted bead pendants, about 14–16 mm, each with a small jump ring.
- Stiffener: fabric stiffener, or white craft glue mixed 1 : 1 with water, or spray starch.
- Also: tapestry needle, scissors, rust-proof pins, a foam board and cling film.
Finished size and skill level
Each snowflake is about 11 cm (4.3 in) across after blocking. The garland with seven snowflakes measures about 180 cm (6 ft), with 20 cm of cord free at each end for tying. Skill level: easy.
Abbreviations (US terms)
- MR – magic ring
- ch – chain
- sl st – slip stitch
- sc – single crochet
- dc – double crochet
- sk – skip
- sp – space
- picot – ch 3, sl st in the 3rd ch from the hook
- (…) x 6 – repeat what is in brackets 6 times
- [24] – total stitches at the end of the round or row
Pattern notes
- Work in joined rounds with the right side facing; do not turn.
- The ch 3 at the start of rounds 1 and 3 counts as the first dc.
- Trefoil point: ch 6 (the stem); ch 4, sl st in the 4th ch from the hook; ch 5, sl st in the 5th ch from the hook; ch 4, sl st in the 4th ch from the hook; then sl st in each of the 6 stem chains back down to the base.
- The snowflakes look small and curly until they are blocked and stiffened – do not worry!
Step by step
The snowflake (make 7)
- Round 1: MR, ch 3 (counts as dc), 11 dc in the ring; pull closed and sl st to the top of the ch 3. [12]
- Round 2: ch 1, sc in the same st, ch 3, sk 1, (sc in the next st, ch 3, sk 1) x 5; sl st to the first sc. [6 sc and 6 ch-3 spaces]
- Round 3: sl st into the first ch-3 space, ch 3 (counts as dc), (dc, ch 2, 2 dc) in the same space, (2 dc, ch 2, 2 dc) in each of the next 5 spaces; sl st to the top of the ch 3. [24 dc and 6 ch-2 spaces]
- Sl st in the next dc and into the ch-2 space.
- Round 4: ch 1, *in the ch-2 space work (sc, trefoil point, sc); sk the next 2 dc, (sc, picot, sc) in the gap between this dc group and the next one, sk the next 2 dc* x 6; sl st to the first sc. [6 trefoil points and 6 small picots]
- Fasten off, leaving a 15 cm tail on one snowflake only if you would like to use it as a single ornament.
The “gap” in round 4 is the little space between the second dc of one group and the first dc of the next group. You are working into the space, not into a stitch.
Stiffen and block the snowflakes
- Cover a foam board with cling film so the snowflakes do not stick.
- Dip each snowflake in the stiffener (or the 1 : 1 glue and water mix), squeeze out the excess and blot gently on a towel.
- Pin the centre ring flat, then pin each trefoil: one pin in the top leaf and one in each side leaf. Pin the small picots between the points.
- Use the lines of a cutting mat or a paper template with six lines 60° apart to keep the points even.
- Leave to dry for 12–24 hours, until completely hard. Then unpin.
Prefer something gentler? Spray starch gives a softer finish that washes out; glue or fabric stiffener gives a firm snowflake that lasts for years. Avoid sugar water – it can attract insects in storage.
The twisted cord
- Cut 3 strands of white yarn, each 6 m long.
- Knot them together at both ends, hook one end over a door handle and twist the other end in one direction until the strands are tightly twisted and start to kink.
- Hold the middle, bring both ends together and let go of the middle: the two halves twist around each other into a neat cord about 2.2 m long.
- Knot the loose end. Prefer to crochet it? Chain 400, then sl st in the back bump of each chain for a firm rope.
Putting the garland together

- Lay the cord on a table and mark the middle. Leave 20 cm free at each end.
- Attach the middle snowflake: join yarn to the top leaf of one trefoil, ch 8, wrap the chain around the cord and sl st back into the trefoil. Fasten off and weave in the ends.
- Attach three snowflakes on each side the same way, about 22 cm apart (measure from centre to centre).
- Hang a crystal drop halfway between each pair of snowflakes: open the jump ring, slip it through the cord and close it firmly.
- Tie a small loop at each end of the cord to hang the garland on hooks or nails.
Tip: let the cord dip slightly between snowflakes when you hang it – a gentle swag looks much prettier than a straight line.
Finishing checklist
- All snowflakes stiff, flat and the same size.
- Every snowflake hanging from the same point so they all face the same way.
- Jump rings closed so the crystals cannot slip off.
- Ends of the cord knotted and trimmed neatly.
Common mistakes and how to fix them
- Snowflakes curl after drying. They were not fully wet with stiffener or were unpinned too early. Re-wet and pin again.
- Points are different lengths. Count the 6 stem chains every time, and pin each point to the same circle drawn on paper.
- Snowflake turns on the cord. Attach it with a slightly shorter chain (ch 6) so it hangs snugly.
- Stiffener left a shine. Use less glue in the mix or switch to starch.
Ways to make it your own
- Make it in silver metallic cotton for extra sparkle.
- Alternate white snowflakes with pale blue ones.
- Use DK cotton and a 3 mm hook for smaller, more delicate snowflakes on a window.
- Add wooden beads instead of crystals for a Scandinavian look.
Safety and storage
Keep candles well away from the garland – yarn and stiffener are flammable. Crystal drops are small parts, so hang the garland out of reach of young children and pets. After Christmas, lay the garland flat in a box between sheets of tissue paper so the snowflakes keep their shape.
More Christmas patterns you will love
Make matching crochet snowflake coasters, finish the tree with a crochet Christmas tree skirt, or add a few crochet pearl bell ornaments to the branches.
Frequently asked questions
Can I use thread instead of worsted cotton?
Yes. Size 10 crochet thread with a 1.75 mm hook makes a delicate snowflake about 6 cm across. Make more of them for the same garland length.
How long does the stiffener take to dry?
Usually 12–24 hours, depending on the room. They must be completely hard before you unpin them.
Can I wash stiffened snowflakes?
Water softens most stiffeners. Dust them instead; if you do wash them, simply re-stiffen and re-pin.
How many snowflakes do I need for my mantel?
Allow one snowflake every 22 cm. A 120 cm mantel looks lovely with five or six.
Save this snowflake garland to your Christmas crochet board on Pinterest, and happy crocheting!