Chunky Ribbed Crochet Scarf (Easy Beginner Pattern)
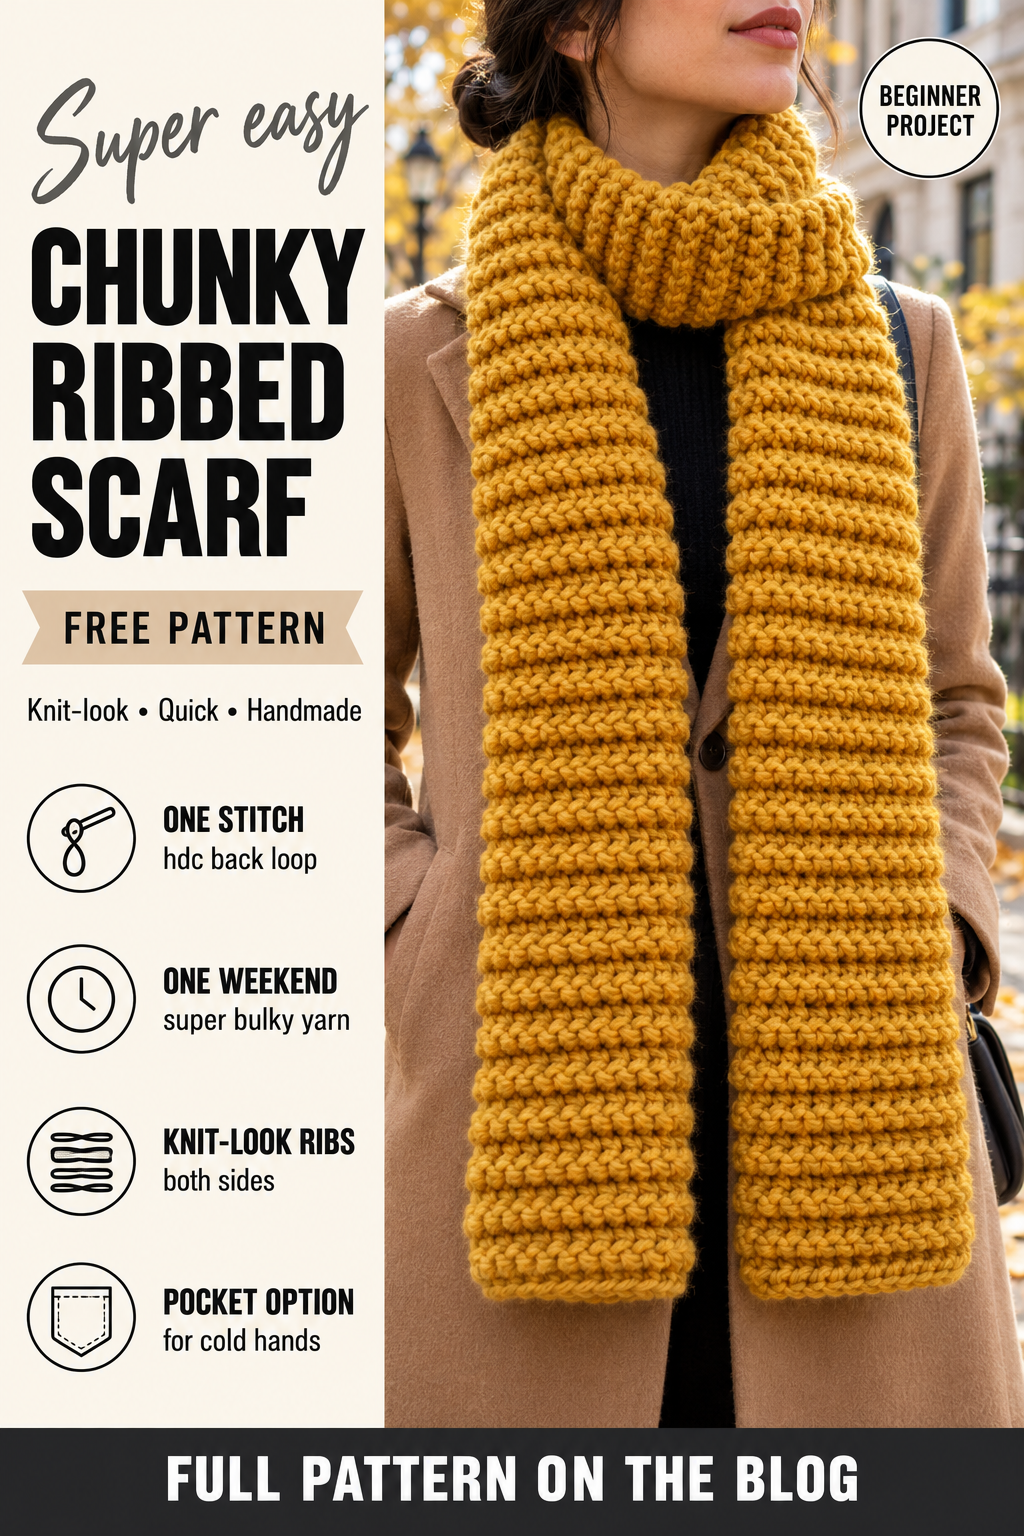
A chunky ribbed scarf in mustard yellow is a bright, cosy staple for the colder months. The deep ridges look just like a knitted rib, the super bulky yarn makes it thick and warm, and it is one of the fastest scarves you can crochet: most people finish it in a weekend.
This chunky ribbed crochet scarf is worked flat in short rows across the width. Every row is half double crochet worked in the back loop only, and that one simple change creates the ribbed texture. There is also an easy variation that turns it into a pocket scarf with deep pockets at each end for cold hands.
If you are brand new to crochet, this is the scarf to start with. There is one stitch, one row, and no counting beyond twenty.
Why this crochet scarf works
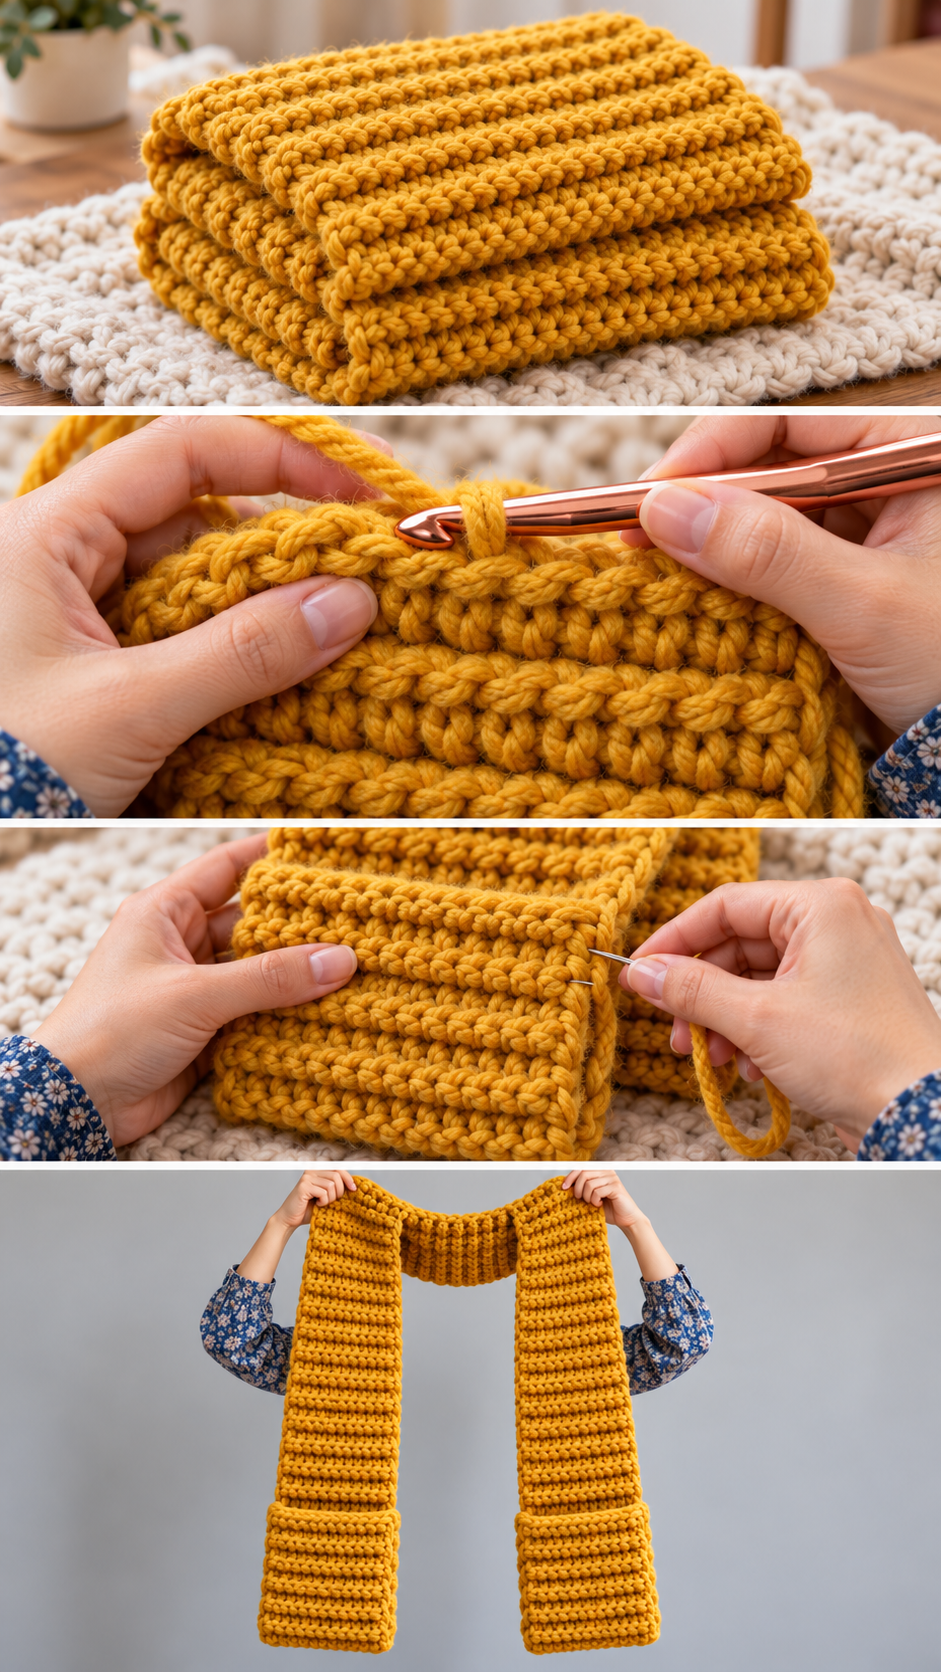
Every crochet stitch has two loops on top: a front loop and a back loop. When you work into only the back loop, the unused front loop is left behind as a little ridge. Working back and forth in rows, those ridges stack up on alternate sides of the fabric, creating soft, stretchy ribs on both sides — exactly like a knitted rib.
Half double crochet is taller than single crochet, so the scarf grows quickly, but it is still dense enough to keep the wind out. Super bulky yarn on a 10 mm hook makes every row count.
The honest trade-off: back loop fabric is stretchy lengthwise, so the scarf may grow an inch or two as you wear it. Make it a little shorter than you want the finished length to be.
Materials you will need
- Yarn: about 320 yards of super bulky (#6) wool blend or acrylic in mustard
- Hook: 10 mm (N/P-15)
- Notions: tapestry needle, scissors, sewing pins for the pocket variation
Gauge and finished size
In hdc BLO with a 10 mm hook, 8 sts and 7 rows make a 4″ square. The finished scarf is about 10″ wide and 66″ long, and relaxes to about 68″ with wear.
Abbreviations
- ch = chain: yarn over and pull through the loop on your hook.
- sl st = slip stitch: insert hook, pull a loop through the stitch and the loop on your hook together.
- sc = single crochet: insert hook, yarn over and pull up a loop (2 loops on hook), yarn over and pull through both.
- hdc = half double crochet: yarn over, insert hook, pull up a loop (3 loops), yarn over and pull through all 3.
- dc = double crochet: yarn over, insert hook, pull up a loop (3 loops), yarn over and pull through 2, yarn over and pull through the last 2.
- st(s) = stitch(es); sp = space; tch = turning chain; BLO = back loop only.
- hdc BLO = half double crochet worked in the back loop only: the loop furthest from you as you look at the top of the row.
Pattern notes
- The scarf is worked flat in short rows across the width, turning at the end of each row.
- The ch 2 at the beginning of each row does not count as a stitch.
- The stitch count is 20 on every row.
- Work the first hdc of each row into the very first stitch, right next to the turning chain.
Step by step
Setting up
Ch 22.
Row 1: Hdc in the 3rd ch from the hook and in each ch across. Turn. (20)
The ribbed rows
Row 2: Ch 2 (does not count as a stitch). Hdc BLO in each st across. Turn. (20)
Rows 3 onwards: Repeat Row 2.
Count your stitches every ten rows to keep the edges straight. Keep going until the scarf is about 66″ long — roughly 115 rows. Fasten off and weave in the ends.
For a neat finish on both short ends, work one row of sc through both loops along the last row and along the foundation chain.
Pocket scarf variation
Make the scarf 16″ longer, about 82″. Lay it flat and fold each short end up by 8″ on the same side, so the folded part lies on top of the scarf. Pin the sides. With the tapestry needle and matching yarn, sew up both side edges of each pocket using a whip stitch through the edge stitches of both layers. Leave the top edge open. Turn the scarf over and the pockets are on the inside — or wear them on the outside as a design detail.
Back loop or third loop?
For an even more knitted look, work into the third loop instead. Turn your work so you can see the back of the hdc row below: under the two top loops there is a horizontal bar, the third loop. Working into that bar pushes both top loops forward, making a ridge that looks like a row of knit stitches. This is sometimes called the camel stitch. Use it on every row in place of hdc BLO, and the scarf will have a bold ridge on one side and a smooth knitted look on the other.
Variations
- Colour block: work the first and last 15 rows in cream and the middle in mustard.
- Slimmer scarf: ch 16 for a 7″ wide scarf that sits neatly under a coat collar.
- Fringe: knot two 10″ strands through every other stitch on each short end.
- Kids’ version: ch 14 and work to 44″ long.
How long should a crochet scarf be?
There is no single right length, but these measurements are a good guide. A child’s scarf is about 40–48″ long. An adult scarf that wraps once with the ends hanging down the front is about 60–65″. A long scarf that wraps twice, or can be tied in a loose knot, is about 70–80″. A good rule of thumb is to make the scarf roughly as long as the wearer is tall, minus about a foot.
Width matters just as much. A slim scarf of 6–7″ is neat under a coat collar. An everyday scarf is 8–10″. Anything 12″ or wider becomes a wrap or blanket scarf that can be worn over the shoulders. Every pattern in this collection gives the stitch multiple, so you can make it wider or narrower.
Choosing yarn for a scarf
A scarf sits right against the neck and face, so softness matters more than for almost any other project. Hold a skein against your neck in the shop before you buy it. Wool and wool blends are the warmest and the most forgiving — they bounce back after wear and block beautifully. Merino is the softest wool and rarely itches. Acrylic is affordable, machine washable and comes in every colour, which makes it a practical choice for gifts and for children. Alpaca and alpaca blends are very warm and silky but can stretch a little with wear.
Avoid stiff cottons for a winter scarf: they are not very warm and can feel heavy. And for textured stitches like waffle, cluster and moss stitch, choose a smooth, plied yarn rather than a fuzzy or bouclé one — the texture shows up far better.
Always buy all the yarn for one scarf from the same dye lot. A scarf is one long piece, and a change in shade halfway through is very easy to see.
Common problems and fixes
One edge is wavy.
You are adding stitches at that edge, usually by working into the turning chain. The ch 2 does not count: skip it.
The ribs are faint.
Make sure you are in the back loop, the one furthest from you, on every row.
It is getting narrower.
You are missing the first stitch. Work the first hdc right next to the turning chain.
Blocking and finishing
Blocking makes a big difference to a scarf: it evens out the stitches, straightens the edges and gives the fabric a lovely drape. For wool and wool blends, soak the scarf in cool water for twenty minutes, squeeze out the water gently (never wring), roll it in a towel, then lay it flat on blocking mats or a clean towel, pat it to the right width and length, and leave it to dry completely. For acrylic, lay the scarf flat, pin it to shape and hover a steam iron just above it — never press the iron onto acrylic, or it will go flat and shiny for good.
Caring for your scarf
Hand wash wool scarves in cool water with a wool wash, and dry them flat. Acrylic scarves can usually go in the washing machine on a gentle cycle inside a mesh bag, then dry flat. Never hang a crochet scarf to dry — the weight of the wet yarn will stretch it. To store, fold it rather than hanging it on a hook, and keep wool scarves with a cedar block over the summer to keep moths away.
More crochet scarf patterns in this collection
This is one of six free crochet scarf patterns, each in a completely different stitch and style — from a squishy textured waffle to a boho granny stripe with tassels. Pick the one that suits your skill, your yarn and the look you want, or make a few as winter gifts.
- Waffle Stitch Scarf
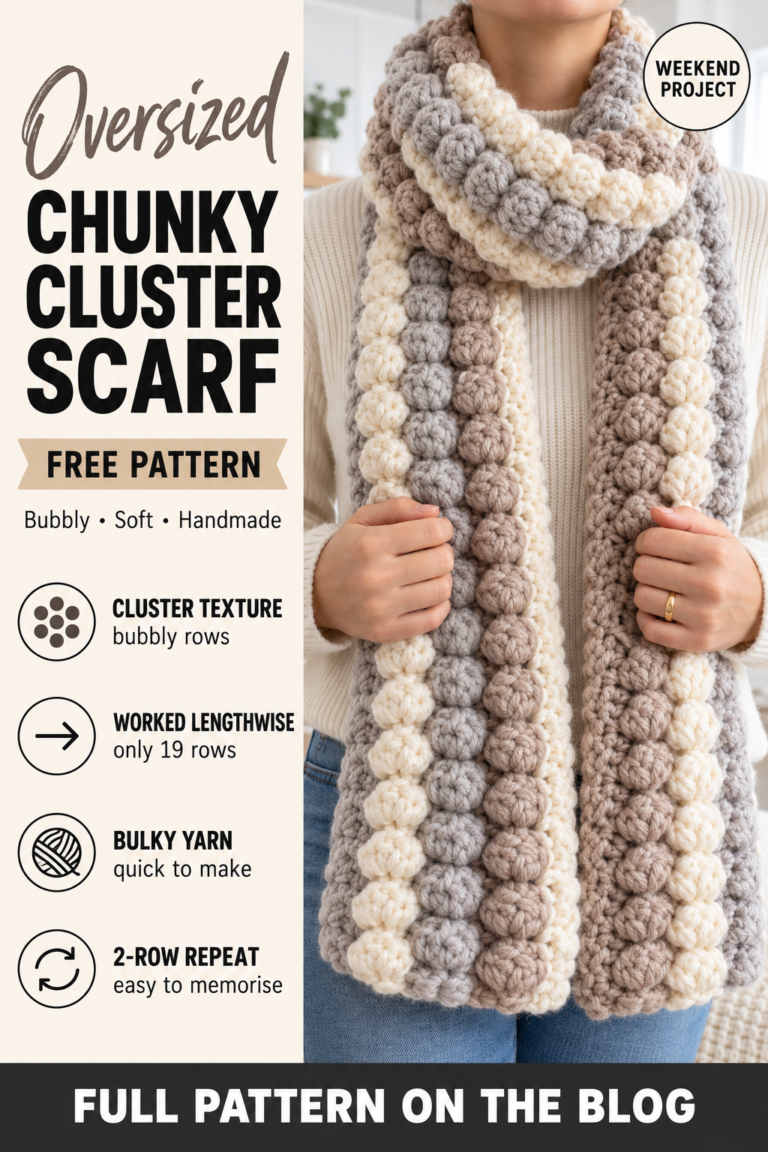
- Chunky Cluster Stitch Scarf
- Chunky Ribbed Scarf — you are here
- Granny Stripe Tassel Scarf
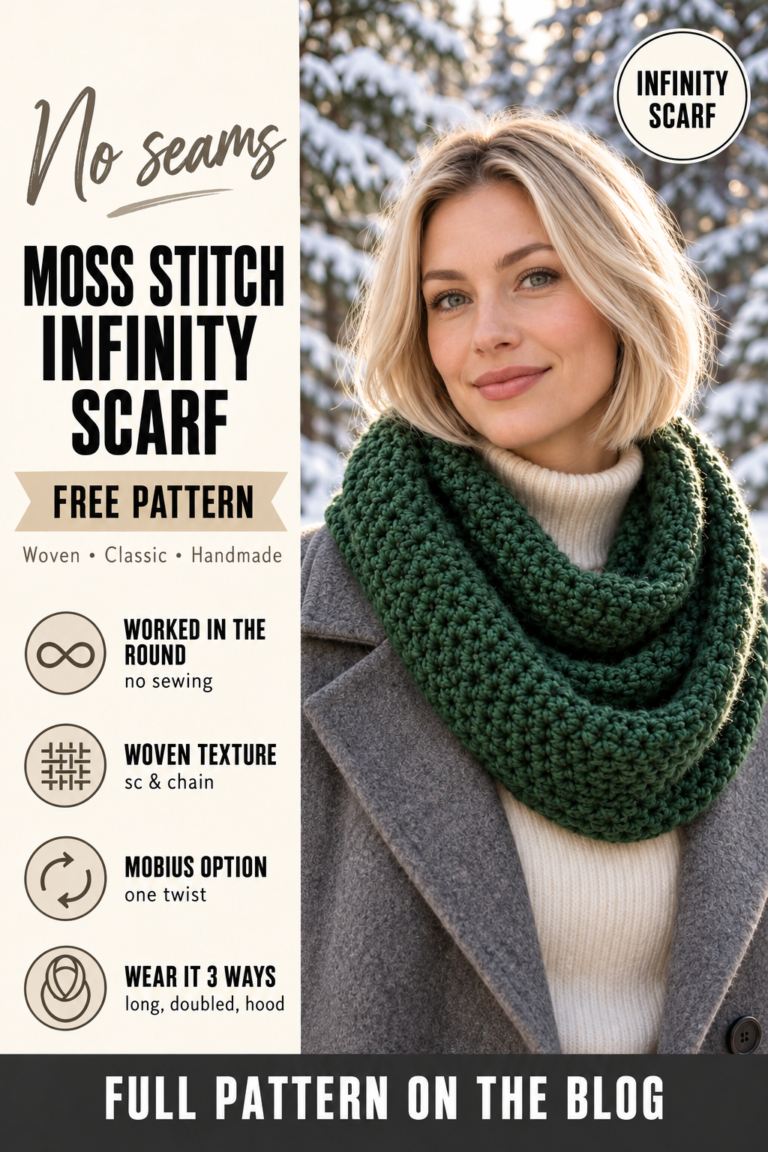
- Moss Stitch Infinity Scarf
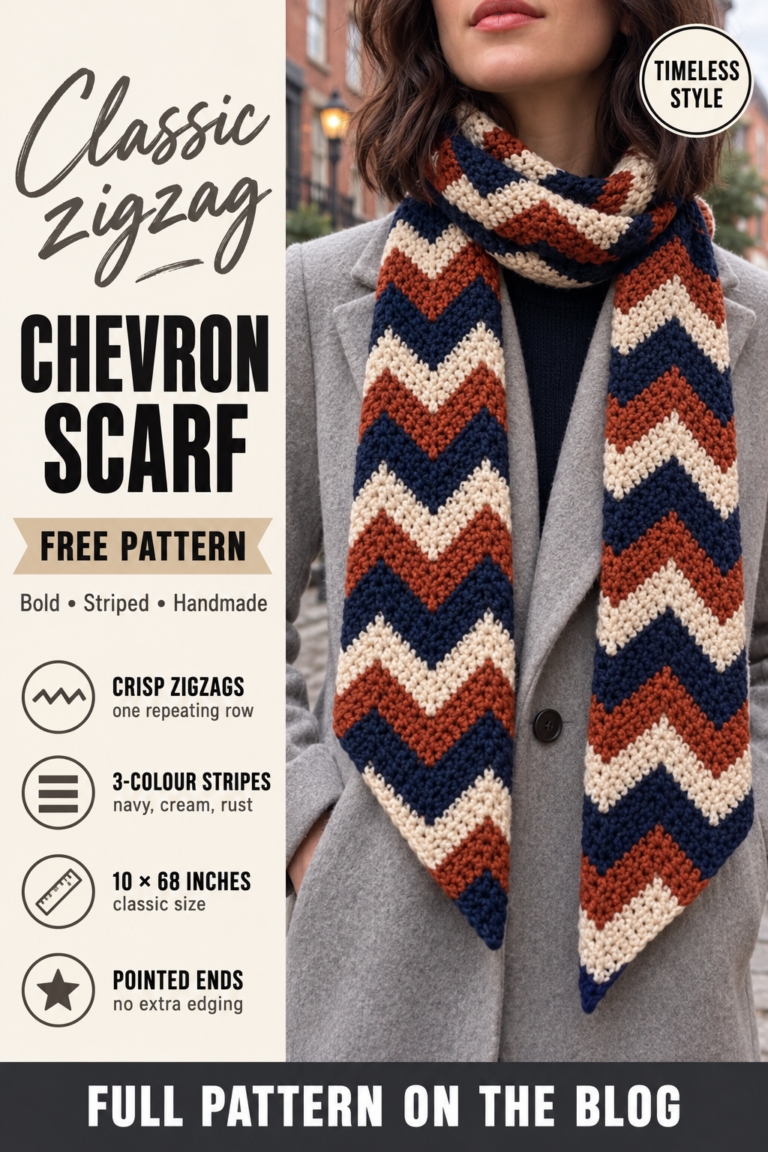
- Striped Chevron Scarf
Frequently asked
How long does a chunky ribbed scarf take?
About five to six hours. Many people make one over a single weekend.
Is it reversible?
Yes. Back loop ribbing looks the same on both sides, which is perfect for a scarf.
Before you start
Make Row 1 and two ribbed rows, then look at the top of your work to check you are in the back loops. After that, it is the same row all the way. More wearables are in Hats & Scarves.