Easy Toddler Crochet Jacket – Free Pattern for Ages 2 to 6
A toddler crochet jacket is one of the most rewarding things you can make. It is small enough to finish in a week of evenings, it gets worn constantly, and children grow so fast that a handmade jacket often becomes the one that gets passed down to a younger cousin.
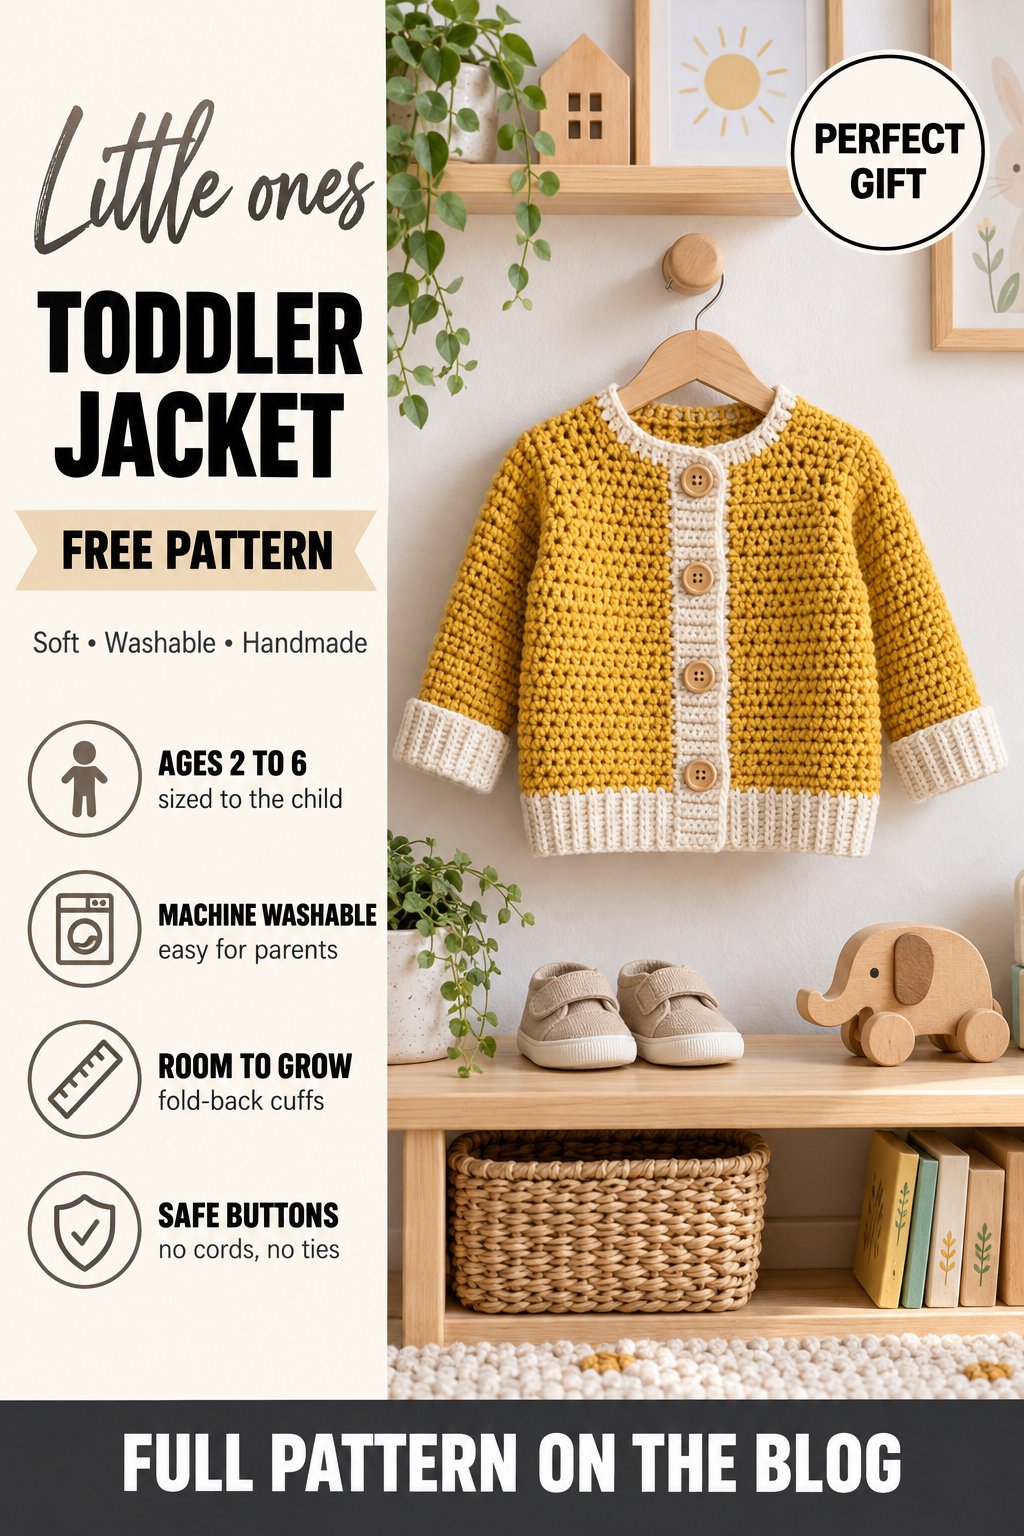
This jacket is designed for real life with small children. It is worked in machine-washable yarn, it has a simple button front that small fingers can manage, the sleeves have ribbed cuffs that can be folded back for growing room, and there are no cords, ties or loose parts.
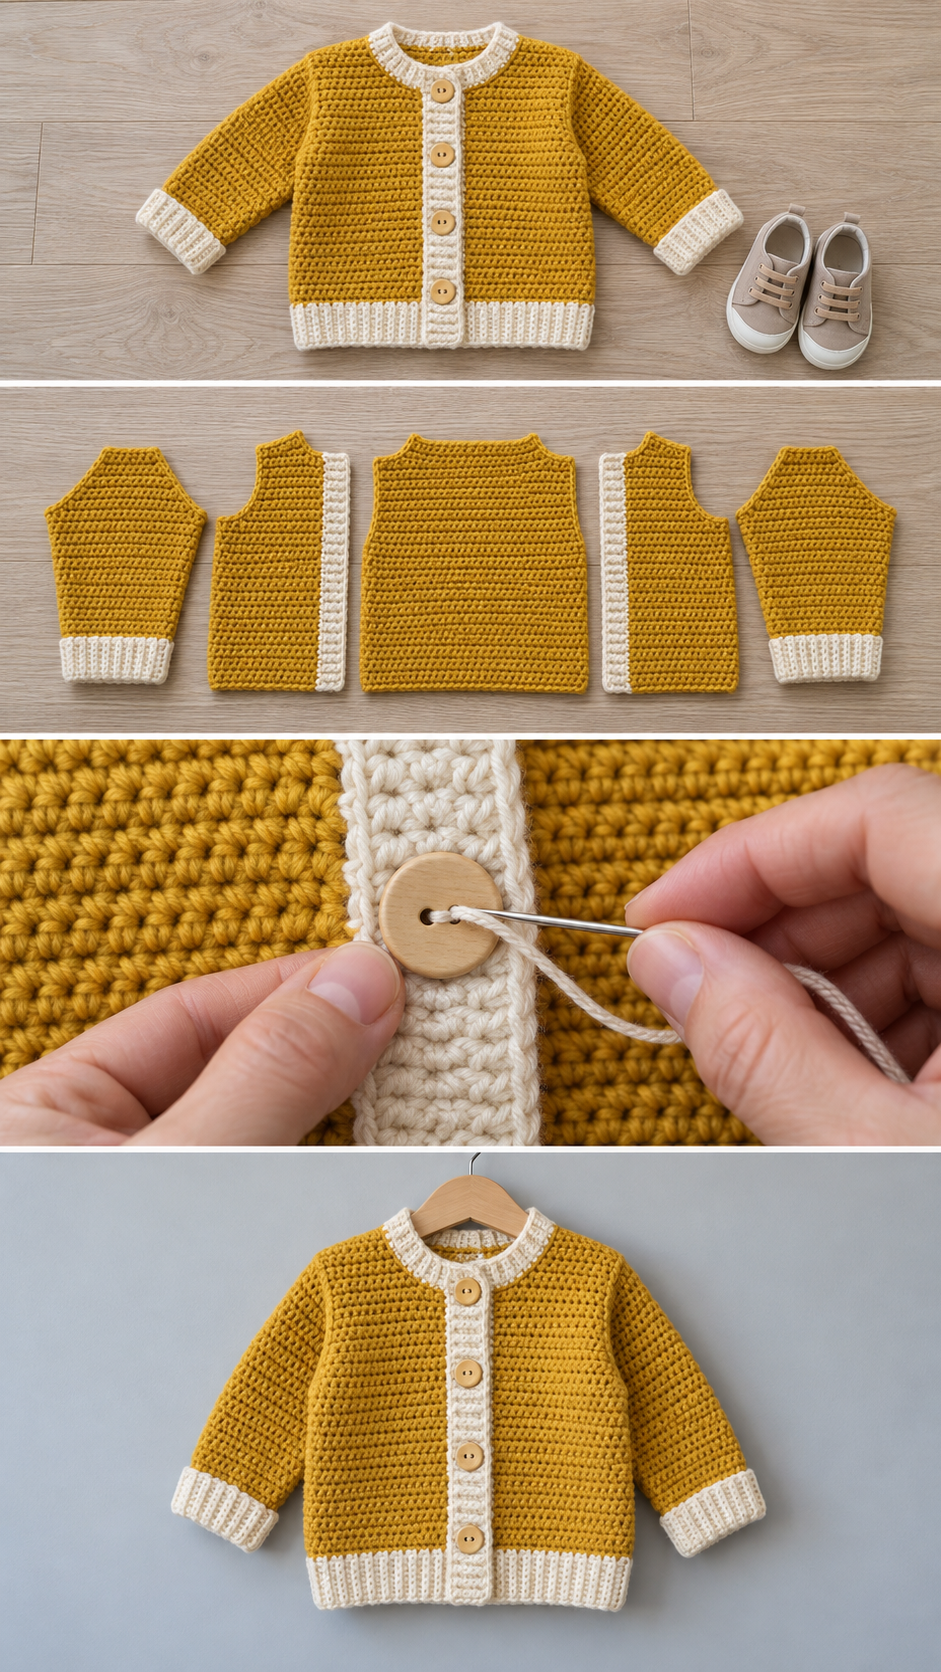
It uses the same easy drop-shoulder construction as the adult jackets on this site: five rectangles, sewn together, with ribbing at the cuffs and hem. Everything is sized from the child’s chest measurement and your gauge.
Why this toddler crochet jacket works
Drop-shoulder garments are ideal for children. There are no armholes to fit, the shoulders are roomy for movement, and the sleeves can be made a little long and folded back at the cuff, then rolled down as the child grows. A single jacket can easily last two seasons.
Half double crochet gives a soft, warm fabric that is quick to work and holds its shape through washing. The ribbed cuffs and hem keep out the cold and stop the jacket riding up when a child is climbing or bending.
The honest trade-off: children are hard on clothes. Choose a sturdy, machine-washable yarn rather than the softest, most delicate one, and accept that the jacket will be worn hard. That is the whole point of making it.
Materials you will need
- Yarn: worsted weight (category 4), roughly 350–600 yards depending on size. Choose a machine-washable acrylic, an acrylic-wool blend, or a superwash wool.
- Hooks: 5.0 mm (H-8) for the body; 4.5 mm (7) for the ribbing
- Buttons: 4 or 5 flat buttons about ¾″ (20 mm) across
- Notions: tapestry needle, strong sewing thread, stitch markers
Avoid fluffy or long-haired yarns such as mohair, which shed fibres near a child’s face, and avoid hand-wash-only yarns. Parents of toddlers do not have time to hand wash anything.
Sizing
Measure the child’s chest, or use these standard chest measurements as a guide:
- Age 2: chest about 21″
- Age 4: chest about 23″
- Age 6: chest about 25″
Add 3–4″ of ease for a jacket that goes over a jumper and leaves room to grow. When in doubt, make the next size up. A jacket that is slightly too big gets worn for two winters; one that is slightly too small gets worn for a month.
Then work out the pieces:
- Back width = finished chest ÷ 2
- Each front width = finished chest ÷ 4, plus half the button band width so the fronts overlap
- Body length = shoulder to just below the hip, minus the hem rib. About 11″ for age 2, 13″ for age 4, 15″ for age 6.
- Sleeve length = centre-back-to-wrist − (back width ÷ 2), plus 1″ extra to fold back
- Sleeve width = about 10–12″ depending on size
Measure the child’s centre-back-to-wrist if you can. If not, a jacket that fits the child now is a good guide.
Abbreviations
- ch = chain.
- hdc = half double crochet.
- sc = single crochet.
- BLO = back loop only. In sc, this makes ribbing.
- sl st = slip stitch.
Step by step
Part 1: The pieces
For each piece, ch the width in stitches + 2, hdc in the 3rd ch from hook and across, then work rows of hdc (ch 2 to turn, not counted as a stitch) until it reaches its length. Make the back, two fronts and two sleeves.
Part 2: Assembly
Join the shoulders, leaving a back neck opening of about 5–6″. Set in the sleeves, matching the centre of each sleeve top to a shoulder seam. Sew the side and underarm seams.
Part 3: Cuffs and hem
With the smaller hook, work a round of sc around each cuff, then rounds of sc in the back loops only until the cuff is about 2″ deep. Work the hem the same way, about 1½″ deep.
Part 4: The button band
Starting at the bottom of the right front, work sc evenly up the front, around the neck and down the left front. Work four more rows of sc, working buttonholes into the right front on the third row (ch 2, skip 2), placing the top one just below the neck and spacing the rest evenly.
Part 5: Sewing on the buttons
Use strong thread, not yarn. Sew each button on through all layers of the band, going through the button holes at least six or eight times, then wrap the thread around the stitches under the button and knot it firmly on the inside. Pull each button hard after sewing to check it does not move.
Safety for children’s clothing
A few rules matter more for children than for adults:
- Buttons must be sewn on very firmly. A loose button is a choking hazard for young children. Check them every few washes.
- No drawstrings or cords at the neck or hood. They are a strangulation risk, which is why children’s clothing standards forbid them.
- No small decorations such as beads, sequins or glued pieces that could be pulled off.
- For children under three, consider a zip or poppers instead of buttons.
Choosing colours
Children’s jackets can be bright and joyful. Mustard, tomato red, cobalt and forest green all look wonderful and hide everyday marks better than pale colours. Contrast cuffs and bands in a second colour make the jacket look playful and use up leftover yarn.
For a gift, a soft neutral such as oatmeal, sage or grey is a safe choice that suits any child and any outfit.
Room to grow
Make the sleeves an inch longer than needed and fold the ribbed cuffs back. As the child grows, roll the cuffs down. Keep a little of the yarn so you can add a row or two to the hem later if the jacket gets too short.
Finishing and care
Weave in every end securely, in two directions — children’s clothes are washed far more than adults’. Machine wash on a gentle cycle in a laundry bag, and dry flat.
Frequently asked
Can I make it for a baby?
Yes, with the same method using the baby’s chest measurement. For babies, always use poppers or a zip rather than buttons.
How long does it take?
About a week of evenings for a two-year-old size.
Can I add a hood?
Yes. Use the rectangle hood from the hooded jacket pattern on this site, scaled to the child, and never add a drawstring.
Personalising it
A handmade jacket becomes a keepsake when it carries the child’s name. Embroider their initial on one front with a simple backstitch, or sew a small fabric label inside the neck with their name and the year. Contrast cuffs, a pocket in a favourite colour, or a small crocheted heart or star appliqué sewn very firmly to a pocket all make it feel like theirs.
Making it as a gift
A child’s jacket is a lovely gift for a birthday or the start of winter. Make it a size ahead so it fits through the whole season. Fold it with a small card that tells the parents the yarn name and that it can go in the washing machine — that single line makes parents far more likely to actually use it.
If you are not sure of the child’s size, ask the parent for the chest measurement of a jacket that fits now, and add an inch or two.
Common mistakes
The jacket is too short: children grow taller faster than wider, so add an extra inch or two to the body length. The sleeves are too tight to go over a jumper: add more sleeve width. Buttons work loose: they were sewn with yarn. Always use strong sewing thread and wrap a shank under each button.
Using leftover yarn
Children’s jackets are a wonderful way to use leftovers from bigger projects. Make the body in one colour and the cuffs, hem and band in another, or stripe the sleeves with small amounts of several colours. Because the pieces are small, even half a ball of a colour goes a long way.
How much yarn to buy
For a two-year-old size in worsted weight, around 350 yards is usually enough; a six-year-old size needs nearer 600. Buy one extra ball of the main colour and keep it with the jacket — it is perfect for lengthening the hem or mending a cuff later as the child grows.
Before you start
Measure the child, add ease, and when in doubt size up. More little makes are in Baby & Kids.