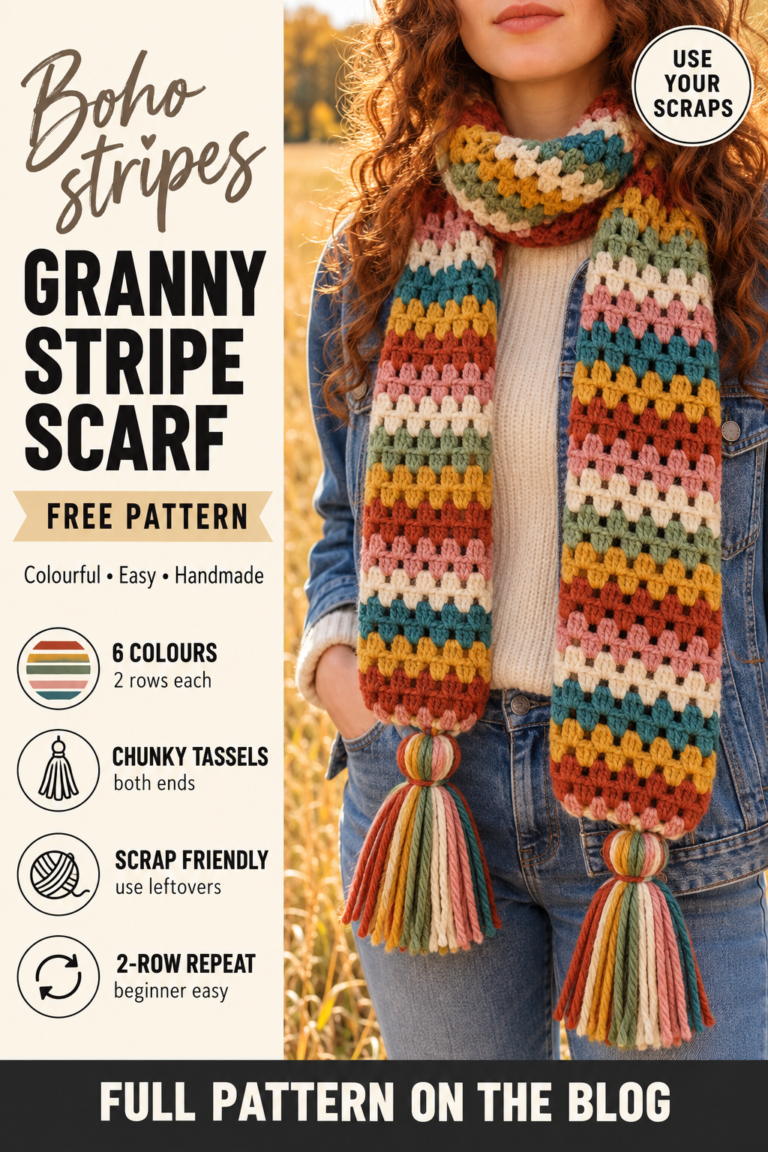
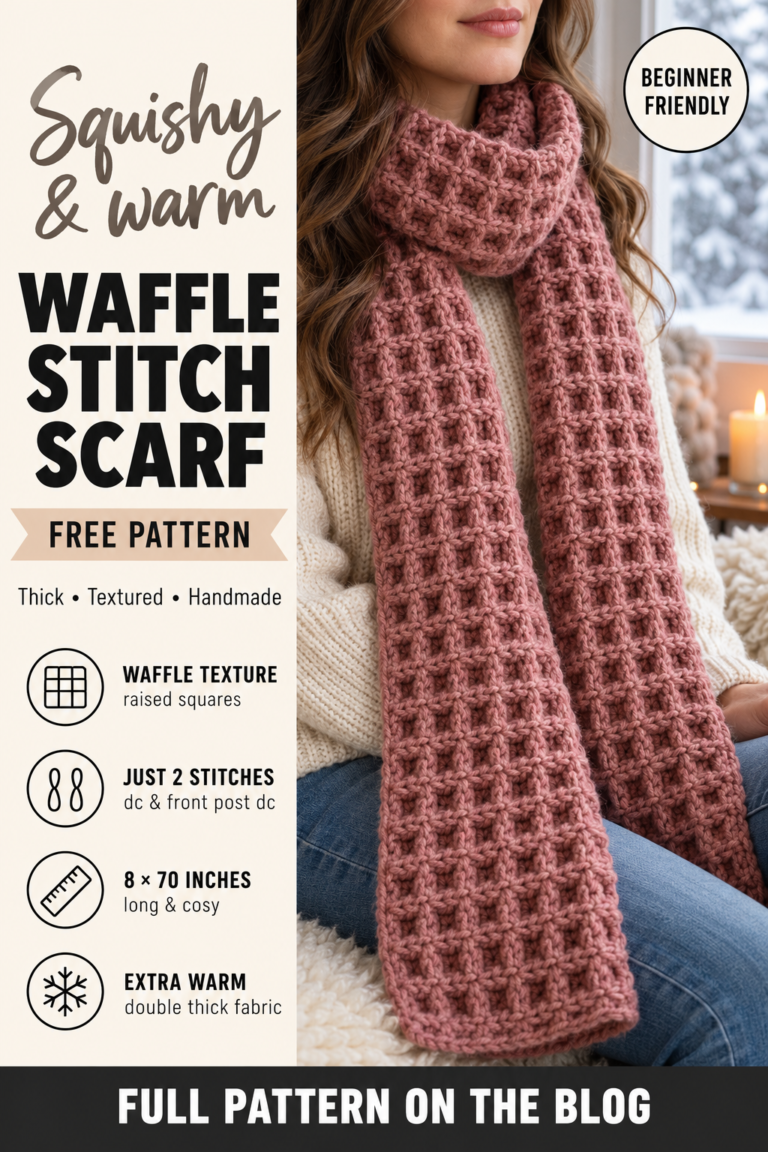
Crochet Shacket with Collar and Flap Pockets – Free Pattern
A crochet shacket sits somewhere between a shirt and a jacket, and that is exactly why it gets worn so much. It is lighter than a coat, more structured than a cardigan, and it looks right over a T-shirt, a turtleneck or a summer dress on a cool evening.
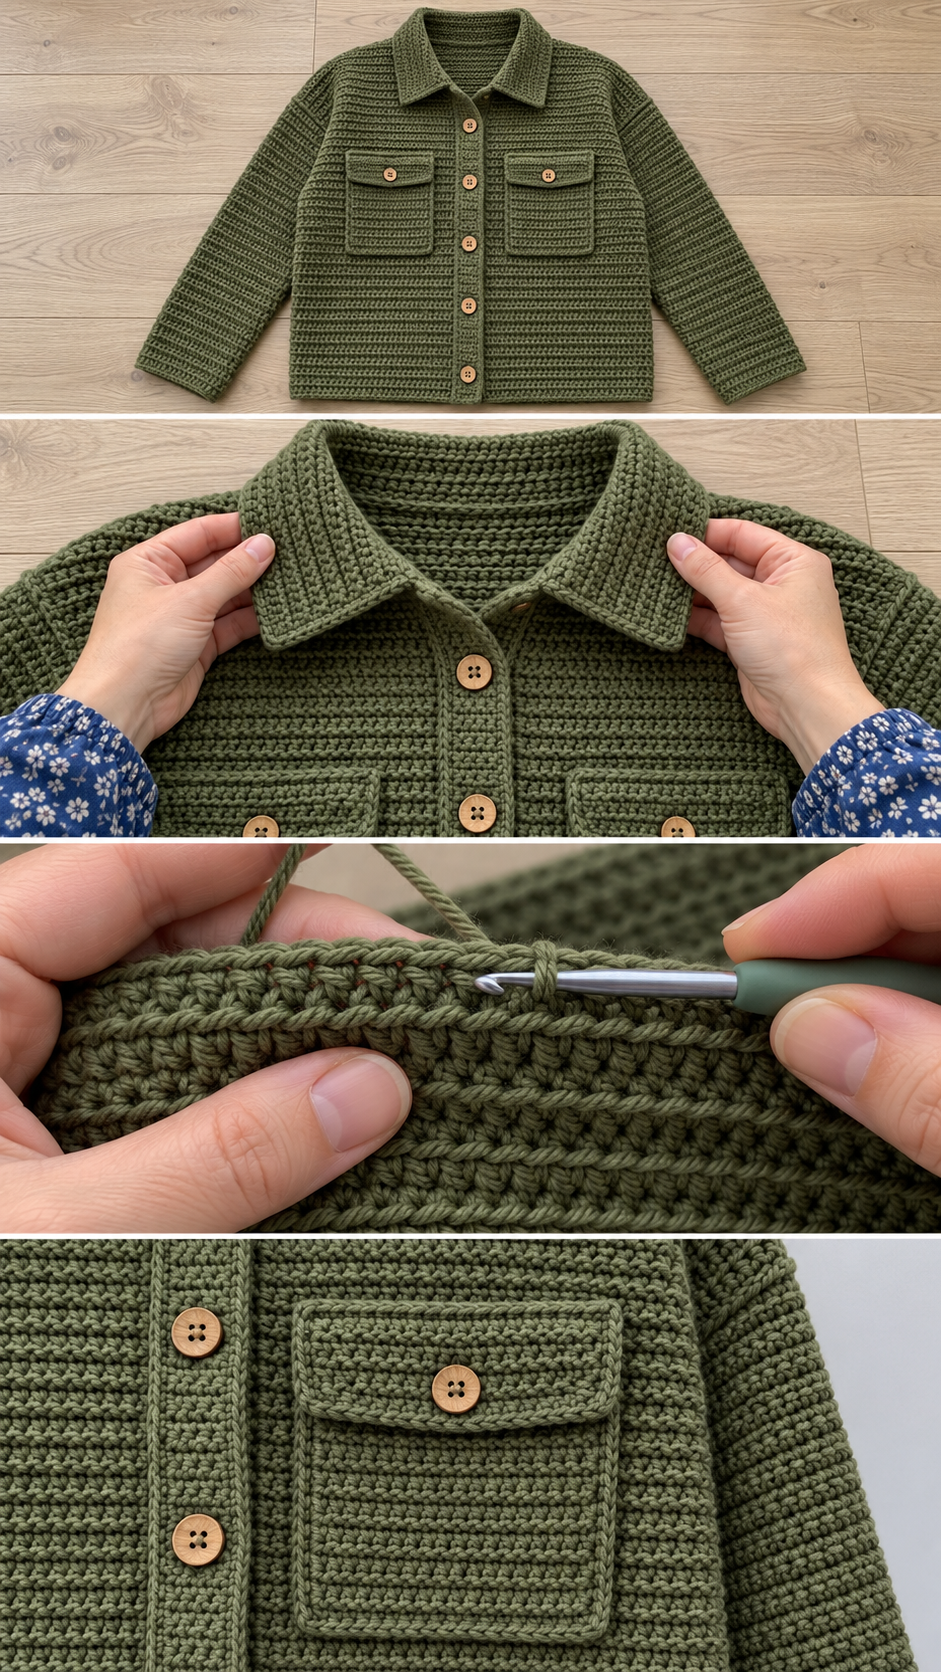
This shacket has the details that make a shirt-jacket look like one: a fold-over collar, a full button band down the front, and two chest pockets with flaps. The body is still the simple drop-shoulder construction of five rectangles, so the shaping is easy; all the character comes from those finishing details.
You need half double crochet, single crochet and buttonholes. The collar and pockets are explained step by step, and none of them involves anything harder than counting.
Why this crochet shacket works
A shirt-jacket needs a firm, flat fabric that holds a crisp edge. Half double crochet worked into the third loop — the horizontal bar behind the top two loops — pushes both top loops forward into a neat horizontal line. Row after row, the fabric looks almost woven and stays flatter and firmer than ordinary half double crochet. That firmness is what lets a crochet collar stand and a pocket flap lie flat.
The construction is drop shoulder: rectangular back and fronts, rectangular sleeves sewn to the side of the body. A shacket is meant to be boxy and roomy, so the drop shoulder suits it perfectly and avoids any armhole shaping.
The honest trade-off: third-loop half double crochet uses more yarn and grows a little more slowly than plain stitches, because it is denser. It is worth it for the crispness, but budget a little extra yarn and time.
Materials you will need
- Yarn: worsted weight (category 4), roughly 1,200–1,700 yards for an adult shacket. A wool blend or a cotton-wool blend gives structure without too much weight.
- Hooks: 5.5 mm (I-9) for the body; 5.0 mm (H-8) for the collar, bands and pockets
- Notions: 6–7 buttons about ¾″ (20 mm) across, plus 2 smaller ones for the pocket flaps; tapestry needle; stitch markers; pins
Choose a solid or softly heathered colour. Shackets look best in classic tones — camel, olive, charcoal, oatmeal or denim blue — where the textured stitch shows clearly.
Gauge and sizing
Work a 6″ swatch in third-loop hdc (instructions below), block it, and measure stitches and rows per inch across the middle 4″.
For a relaxed shacket, add 6–8″ of ease to your bust measurement. Then:
- Back width = finished chest ÷ 2
- Each front width = finished chest ÷ 4, plus half the button band width, so the fronts overlap when buttoned
- Body length = shoulder to hip, minus the hem band
- Sleeve length = centre-back-to-wrist − (back width ÷ 2) − cuff band
- Sleeve width = about 16–18″
Multiply each width by stitches per inch and each length by rows per inch. The sleeve formula subtracts half the back width because, in a drop-shoulder garment, the body already reaches part-way down the arm.
Abbreviations
- ch = chain.
- sc = single crochet: insert hook, yarn over and pull up a loop (2 loops on hook), yarn over and pull through both.
- hdc = half double crochet: yarn over, insert hook, yarn over and pull up a loop (3 loops), yarn over and pull through all 3.
- BLO = back loop only.
- sl st = slip stitch.
- hdc3L = half double crochet in the third loop: yarn over, insert the hook under the horizontal bar just below the top two loops on the side facing you, and complete the hdc as normal.
Step by step
Part 1: The back
With the 5.5 mm hook, ch the back width in stitches + 1.
Row 1: Hdc in the 3rd ch from hook and each ch across. Turn.
Row 2: Ch 1, hdc3L in each st across. Turn.
Repeat Row 2 until the back reaches your body length. Fasten off.
Part 2: The fronts (make 2)
Work as the back, using the front width, to the same length. Make the second front identically; the button band will turn them into a left and a right.
Part 3: The sleeves (make 2)
Work as the back, using the sleeve width, until the piece reaches your sleeve length. Fasten off, leaving a long tail.
Part 4: Assembly
Join the shoulders, working inward from the outer edge and leaving a back neck opening of about 7–8″. Match the centre of each sleeve top to a shoulder seam and sew it into the side. Sew the side and underarm seams in one line on each side.
Part 5: Hem and cuff bands
With the 5.0 mm hook, work sc evenly around each cuff and along the hem. Work three more rows of sc for a firm, flat band. Shackets traditionally have plain, flat bands rather than ribbing, which keeps the shirt-like look.
Part 6: The button band
Starting at the bottom of the right front, work sc evenly up the front edge, around the neck and down the left front. Work four more rows of sc.
On the third row, work the buttonholes into the right front only (left front for a man’s style): at each buttonhole position, ch 2 and skip 2 sts. On the next row, work 2 sc into each chain space. Place the top buttonhole about ½″ below the collar and the bottom one about 4″ above the hem, and space the rest evenly between.
Part 7: The collar
Fold the jacket so the inside of the neck faces you. With the 5.0 mm hook, join yarn in the neck edge of the button band about 1″ in from the right front edge.
Row 1: Ch 1, sc evenly around the neck to 1″ from the left front edge. Turn.
Row 2: Ch 1, sc in each st, adding 1 sc at each end. Turn.
Repeat Row 2 until the collar is about 3½″ deep. The gradual increases at each end let the collar points spread as it folds over. Fasten off.
Because you worked the collar from the inside, it folds down over the outside of the jacket with its neat side showing, exactly like a shirt collar.
Part 8: Flap pockets (make 2)
Pocket: with the body hook, work a square of hdc3L about 5″ wide and 5½″ tall. Edge it with a round of sc.
Flap: with the smaller hook, ch about 5″ of stitches and work rows of sc until it is 1½″ deep. Work a buttonhole in the centre of the last row. Then decrease 1 st at each end for two more rows to give the flap a slight point.
Pin each pocket to a front at chest height and sew it on around three sides. Sew the flap’s straight edge just above the pocket opening, fold it down, and sew a small button to the pocket under the buttonhole.
Choosing buttons
Buttons make a shacket. Horn, wood and corozo buttons look classic and suit natural yarns. Metal buttons give a workwear feel on olive or denim tones. Whatever you choose, test them in your actual buttonholes before sewing them all on, and sew each one on with a short shank — wrap the thread a few times under the button — so it sits on top of the thick crochet band instead of pulling it.
Styling it
Worn buttoned with the collar up, a shacket looks smart and structured. Open over a fine knit or a T-shirt, it looks easy and relaxed. Belted at the waist it becomes almost a jacket-dress. In a mid-weight yarn it works through spring and autumn, and over a thick jumper in winter.
Finishing and care
Block the panels before joining and give the finished shacket a light steam. Press the collar and pocket flaps into shape while damp. Store it folded, and wash by hand or on a wool cycle.
Frequently asked
Why is my collar curling?
It needs blocking. Pin it flat, folded at the neckline, and steam it.
Can I skip the pockets?
Yes. The shacket looks clean and minimal without them; add a breast pocket on one side only for a subtle detail.
Can I make it longer, like an overshirt?
Add length to the body and add a little ease at the hips so it hangs straight.
Choosing the right yarn weight
A shacket can be made in several weights, and each gives a different garment. Worsted weight, as written, makes a mid-weight shirt-jacket for spring and autumn. DK makes a lighter overshirt you can wear indoors over a fine top, though it takes noticeably longer. Bulky yarn makes a chunky, coat-like shacket that is quick to work but heavy, so keep the body shorter if you choose it. Whichever you pick, swatch in the third-loop stitch, because that stitch changes the gauge more than most.
Common mistakes
The fronts do not meet when buttoned: the fronts need half the band width added, so they overlap. The buttonholes are uneven: mark the top and bottom first, then divide the space between them. The pockets sit too low: try the shacket on and pin them at the height where they look right on you, rather than measuring.
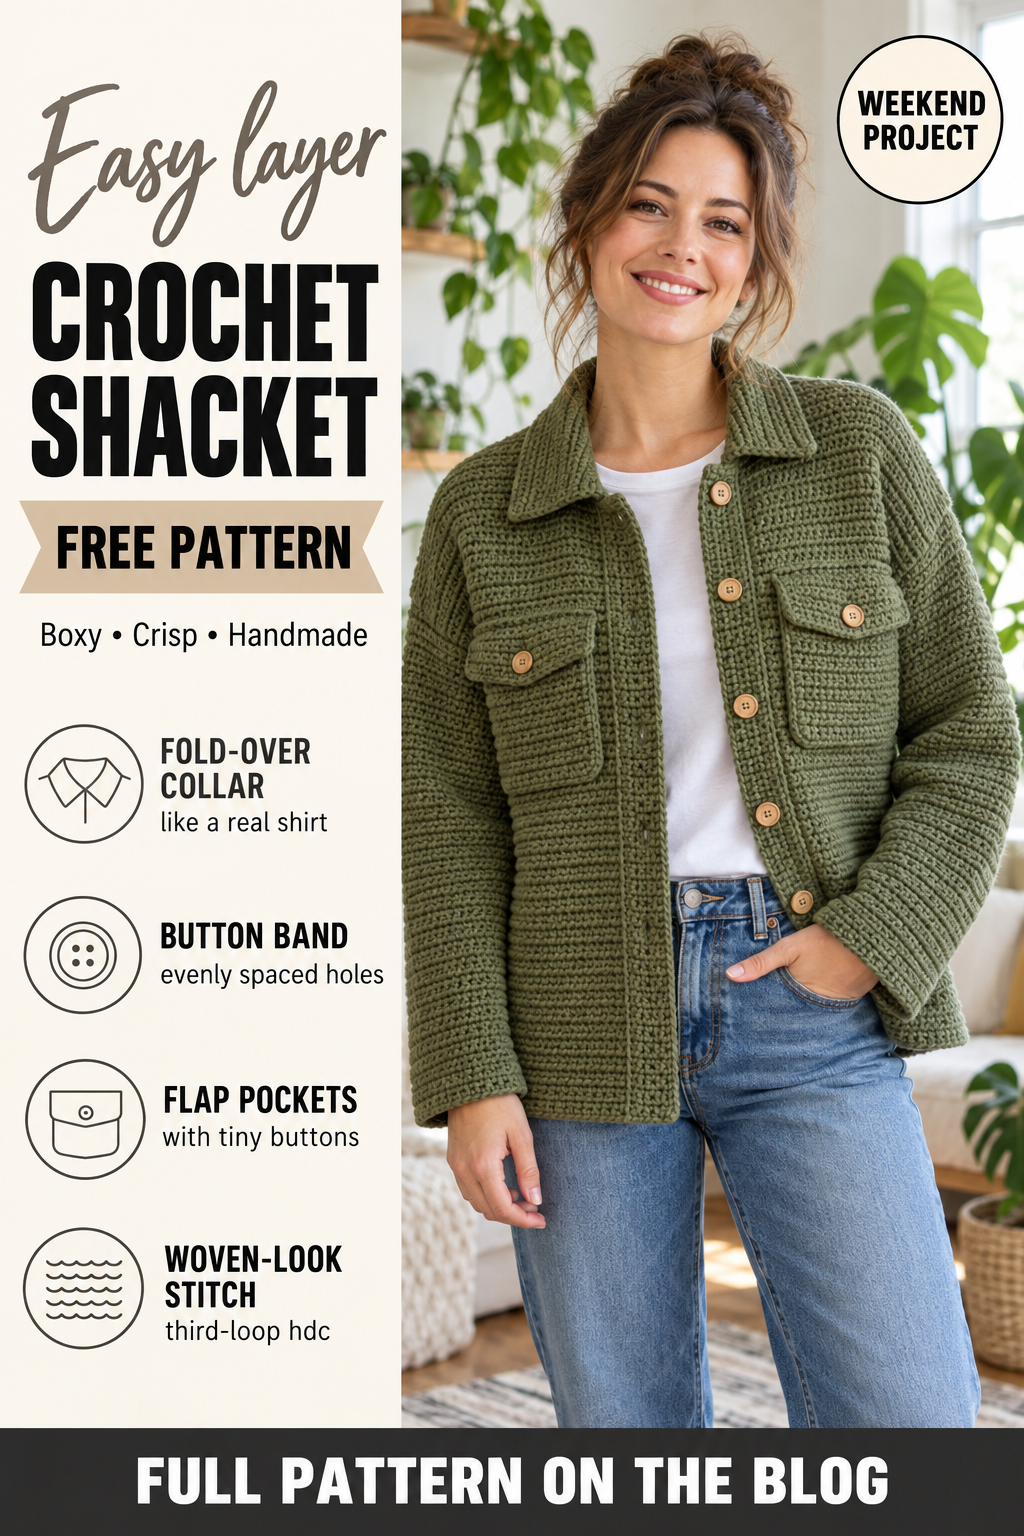
Before you start
Make the third-loop swatch first — it is the stitch that gives this shacket its crisp, woven look. More wearable makes are in Clothing & Wearables.