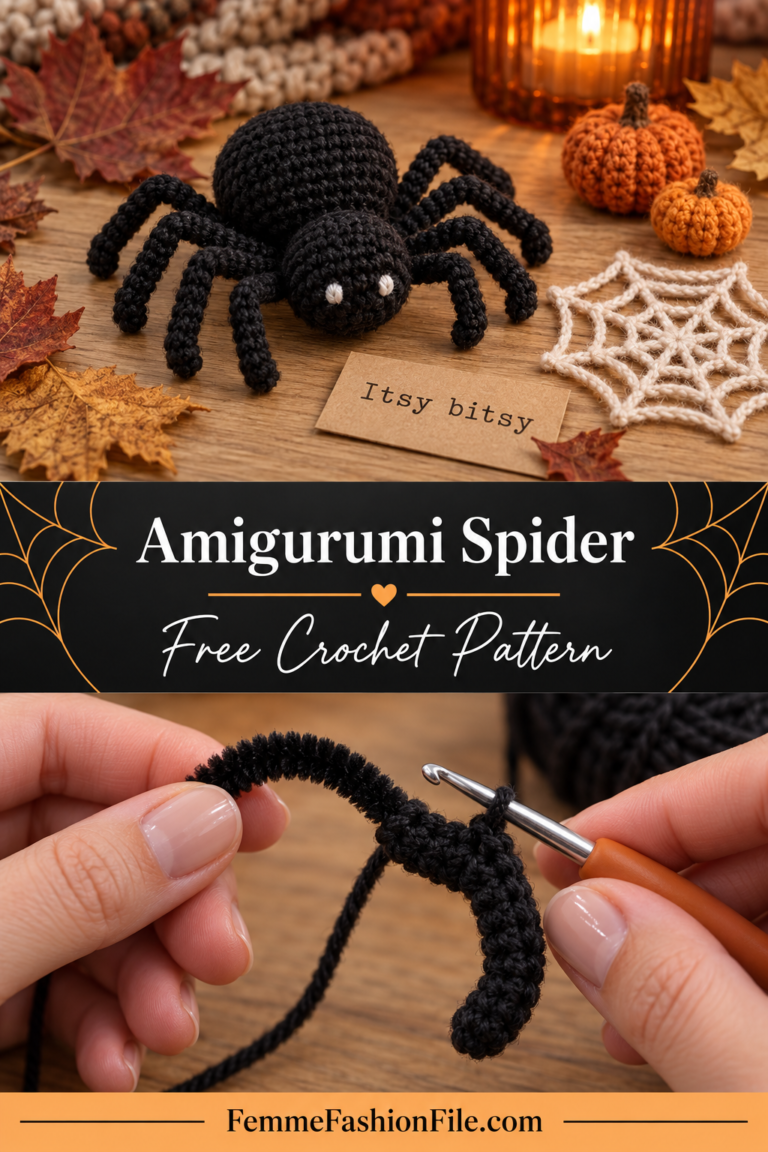
Crochet Eyeball Amigurumi – Free Halloween Pattern
A crochet eyeball is the Halloween make that always gets a laugh. Pile a few in a glass jar labelled “eyes of newt”, drop one into a sweet bowl, or roll one across a party table, and everyone picks it up. They are silly, a little bit gross in the best way, and very quick.
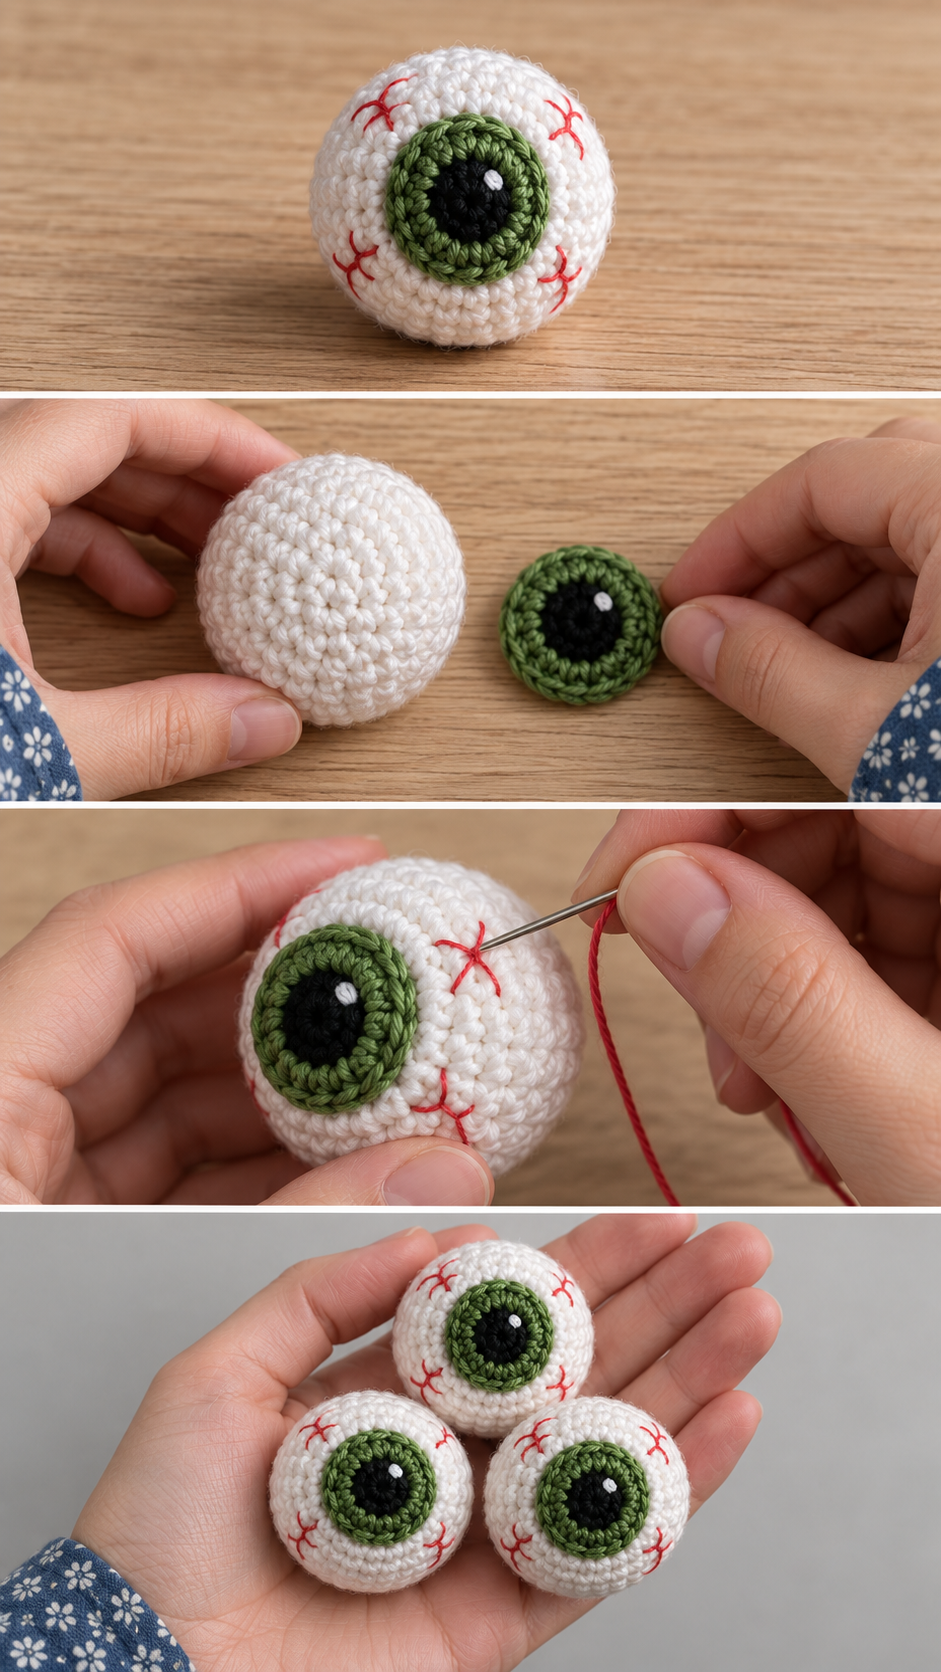
Each eyeball is a white sphere with a separate crocheted iris sewn on, a black pupil, and a few thin red veins embroidered around it. The veins are what make it funny rather than scary. Keep them light and wiggly and it reads as playful.
You need to work in the round, increase and decrease. If you have made any amigurumi ball, you can make this.
Why this crochet eyeball works
A sphere in crochet grows by six stitches a round, works straight for a few rounds and closes by six stitches a round. Because the increase and decrease rounds mirror each other exactly, the ball is properly round rather than lumpy. Each round is a multiple of six, so you can check every one.
The iris is a flat circle made separately. Sewing it on afterwards means you can choose exactly where the eye is looking — straight ahead, up, or to one side — and change your mind before stitching it down.
The honest trade-off: stuffing a small ball evenly takes a little patience. Push the fibrefill in small pieces rather than one lump, or the ball ends up egg-shaped.
Materials you will need
- White yarn: about 20 yards of worsted weight cotton per eyeball
- Iris yarn: a few yards of green, blue, brown or even purple
- Black yarn: a short length for the pupil
- Red thread or thin yarn: for the veins
- Hook: 3.5 mm (E-4)
- Stuffing: a small handful
- Notions: stitch marker, tapestry needle, scissors
- Optional: 12 mm safety eye as the pupil (not for children under three)
Finished size
About 2¼″ across in worsted cotton on a 3.5 mm hook.
Abbreviations
- MR = magic ring: a loop you work into, then pull closed.
- sc = single crochet: insert hook, yarn over and pull up a loop (2 loops on hook), yarn over and pull through both.
- inc = 2 sc in the same stitch. Adds one stitch.
- dec = invisible decrease: insert hook into the front loop only of the next two stitches, yarn over and pull through 2 loops, yarn over and pull through the last 2.
- FLO / BLO = front loop only / back loop only.
- ch = chain.
- sl st = slip stitch.
Pattern notes
- Worked in continuous spiral rounds.
- Mark the first stitch of each round.
- Counts go up and down by six.
- If you use a safety eye for the pupil, attach the iris and eye before closing the ball.
Step by step
Part 1: The white ball
Round 1: 6 sc into a MR. (6)
Round 2: Inc around. (12)
Round 3: *Sc in next st, inc*; repeat around. (18)
Round 4: *Sc in next 2 sts, inc*; repeat around. (24)
Round 5: *Sc in next 3 sts, inc*; repeat around. (30)
Rounds 6 to 10: Sc in each st around. (30 per round)
Round 11: *Sc in next 3 sts, dec*; repeat around. (24)
Round 12: *Sc in next 2 sts, dec*; repeat around. (18)
Stuff firmly and evenly, a little at a time.
Round 13: *Sc in next st, dec*; repeat around. (12)
Round 14: Dec around. (6) Fasten off and close.
Part 2: The iris
Round 1: In your iris colour, 6 sc into a MR. (6)
Round 2: Inc around. Join with a sl st and fasten off, leaving a long tail. (12)
Part 3: The pupil
With black, 6 sc into a MR, pull tight and join. Fasten off with a tail. Sew it to the centre of the iris. Or push a 12 mm safety eye through the centre of the iris instead — the shine makes it look wet and very realistic.
Part 4: Attaching the iris
Pin the iris onto the ball over the magic ring from Round 1, which sits at the front. Look at it from a distance before sewing. Tilting it slightly upward or sideways gives the eyeball an expression. Sew around the edge with the iris tail.
Part 5: The veins
With red thread, start at the edge of the iris and make wiggly lines outward across the white, branching once or twice. Use small backstitches so the lines curve. Three or four veins per eyeball is plenty — more starts to look gory rather than funny.
Displaying your eyeballs
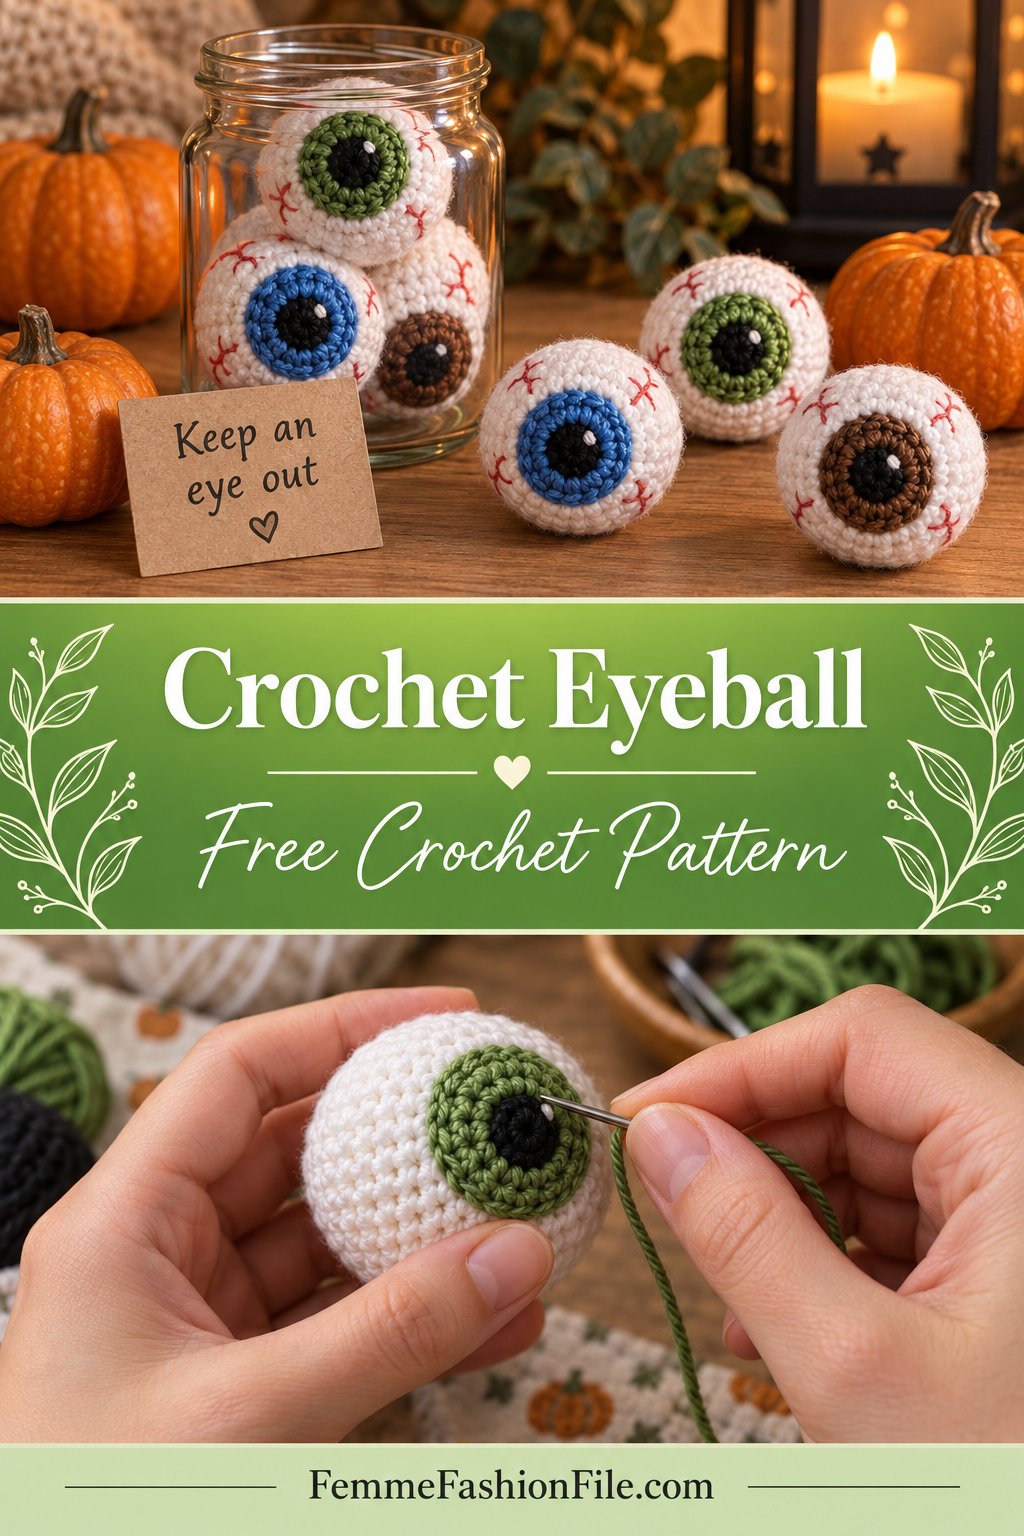
The best display is a glass jar with a handwritten label: “eyes of newt”, “spare eyes” or “keep an eye out”. Mix iris colours for variety. Scattered among sweets in a bowl, they make guests look twice. A single eyeball on a desk makes a great conversation piece all year.
A bouncing version
Stuff the ball very firmly with a small plastic bouncy ball or a scrunched plastic bag inside the fibrefill, and it becomes a soft toss toy. For children, always sew the pupil rather than using safety eyes.
Choosing yarn
A bright, clean white makes the eyeball read immediately. Cotton gives the smoothest surface for embroidering veins. For the iris, green and blue are the most striking; a hazel made from brown and green held together looks remarkably real.
Common mistakes and how to fix them
The ball is egg-shaped
Too many straight rounds, or uneven stuffing. Five straight rounds of 30 gives a sphere. Stuff in small pieces.
The veins look bloody
Too many, or too thick. Use fine red thread and keep it to a few thin lines.
The iris puckers
It was pulled too tight while sewing. Stitch gently around the edge.
Finishing and care
Spot clean with a damp cloth. Keep eyeballs with safety eyes away from small children.
Frequently asked
How long does one take?
About forty minutes for the ball and fifteen for the details.
Can I make a giant one?
Yes, in chunky yarn with a bigger hook. A giant eyeball makes a hilarious cushion.
Getting a perfectly round ball
Round amigurumi comes down to three things. First, keep your tension even: loose rounds bulge and tight ones pinch, and the ball ends up lumpy. Second, work the straight rounds exactly as written — five rounds of 30 — since extra straight rounds stretch a sphere into an egg. Third, stuff in small tufts rather than one big wad, pushing each piece to the outside edges first and filling the centre last.
Before closing the final round, roll the ball between your palms like dough. That spreads the stuffing evenly and shows you any flat spots while you can still add a little more.
Choosing iris colours
Real eyes are rarely one flat colour, and a little variation makes crochet eyeballs much more convincing. Hold two strands together for the iris — green and brown for hazel, two blues for a deep blue, grey and blue for a stormy grey. For something clearly spooky rather than realistic, try purple, red, orange or lime irises, which look fantastic in a jar together.
A tiny white highlight stitch on the pupil, placed at the same angle on every eyeball, makes them look like they are catching the light.
A Halloween game
Crochet eyeballs make a brilliant party game for children. Hide them around a room for an eyeball hunt, or use them for an egg-and-spoon style eyeball race. Because they are soft and light, they are completely safe to throw, and a bowl of them makes a fun beanbag toss target. Just make sure every pupil is sewn rather than a safety eye for younger players.
Making a bigger batch
Once you have made one, eyeballs are quick to produce in quantity. Make all the white balls first, then all the irises, then do the sewing and embroidery in one sitting. Working in stages like this means you only change colour and task a few times, and a whole jar of twelve comes together over two or three evenings.
How much yarn you need for a jar
Each eyeball uses about twenty yards of white, plus a few yards for the iris. A single 50-gram ball of white worsted cotton is usually enough for five or six eyeballs, and a whole jar of a dozen needs roughly two balls. The iris, pupil and vein colours use so little that scraps from other projects are plenty. Weigh your first finished eyeball to know exactly how many your yarn will make.
Where to keep them all year
Eyeballs are too much fun to pack away in November. A single one on a bookshelf or desk makes people smile, and a small jar of them is a great prop for a school play, a science lesson or a mad scientist birthday party. Keep a few out and store the rest in a jar with a lid until next October.
Before you start
Make the ball first, then make irises in a few colours and try them on before choosing. More spooky makes are in Halloween.