Amigurumi Spider with Bendy Legs – Free Crochet Pattern
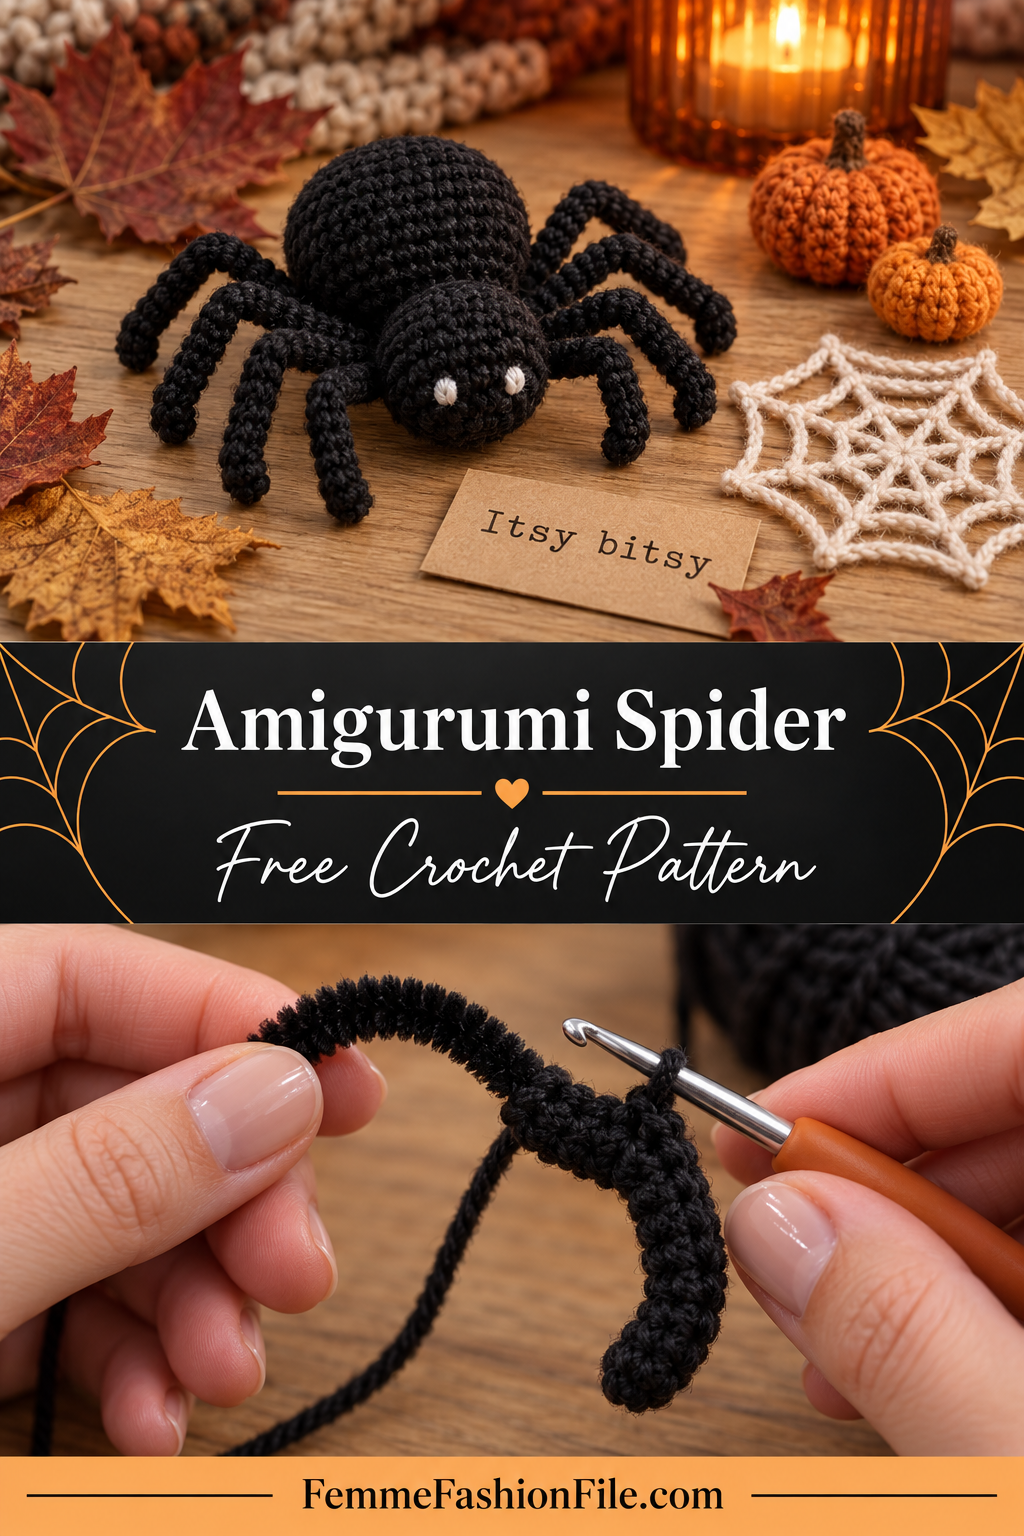
An amigurumi spider is the Halloween make that wins over people who do not like spiders. Round, soft, with a small smiling face and eight legs that bend into whatever pose you like, it is far more charming than creepy. Put one on a web, on a bookshelf or peeking over the edge of a picture frame and it looks like it is up to something.
The body and head are simple spheres. The legs are the fun part: they are worked straight around pipe cleaners, which gives them a wire core so they hold any shape you bend them into. No stuffing, no fiddly tubes and no sewing up.
You need to be able to crochet in the round, increase and decrease, and work single crochet around something other than a stitch. If you have made the scrunchie on this site, you already know that last technique.
Why this amigurumi spider works
Two spheres make the body and head: a larger one behind and a smaller one in front. Both grow by six stitches a round, work straight, and then close by six stitches a round. That symmetry is what makes them properly round, and it makes every round checkable.
The legs are the clever part. Working single crochet around a pipe cleaner covers the wire completely with yarn while leaving it free to bend. You get eight posable legs in a fraction of the time it would take to crochet and stuff eight thin tubes, and they hold their shape for years.
The honest trade-off: pipe cleaners have sharp wire ends. They must be folded over and covered completely, and a pipe-cleaner spider is a decoration, not a toy for small children. I give a softer, wire-free leg option below for a spider meant to be played with.
Materials you will need
- Black yarn: about 40 yards of worsted weight
- Pipe cleaners: four black pipe cleaners, cut in half to make eight legs
- White and coloured yarn: small lengths for the eyes and face
- Hook: 3.5 mm (E-4)
- Stuffing: a small handful
- Notions: stitch marker, tapestry needle, scissors, small pliers or wire cutters
Black yarn is notoriously hard to see your stitches in. Work in good light, or with a white towel across your lap, and use a brightly coloured stitch marker.
Finished size
The body is about 2½″ across, and with legs spread the spider spans about 6″.
Abbreviations
- MR = magic ring: a loop you work the first round into, then pull tight to close.
- sc = single crochet: insert hook, yarn over and pull up a loop (2 loops on hook), yarn over and pull through both.
- inc = 2 sc in the same stitch. Adds one stitch.
- dec = invisible decrease: insert hook into the front loop only of the next two stitches (3 loops on hook), yarn over and pull through 2, yarn over and pull through the last 2. Removes one stitch.
- BLO / FLO = back loop only / front loop only.
- hdc = half double crochet: yarn over, insert hook, pull up a loop (3 loops), yarn over and pull through all 3.
- dc = double crochet: yarn over, insert hook, pull up a loop (3 loops), yarn over and pull through 2, yarn over and pull through the last 2.
- sl st = slip stitch.
Pattern notes
- Both body parts are worked in continuous spiral rounds.
- Mark the first stitch of each round; black yarn makes this essential.
- Counts are in brackets. Every increase and decrease round changes by six.
- Fold the pipe cleaner ends over before covering them.
Step by step
Part 1: The body
Round 1: 6 sc into a MR. (6)
Round 2: Inc around. (12)
Round 3: *Sc in next st, inc*; repeat around. (18)
Round 4: *Sc in next 2 sts, inc*; repeat around. (24)
Rounds 5 to 8: Sc in each st around. (24 per round)
Round 9: *Sc in next 2 sts, dec*; repeat around. (18)
Round 10: *Sc in next st, dec*; repeat around. (12)
Stuff firmly.
Round 11: Dec around. (6) Fasten off and close.
Part 2: The head
Round 1: 6 sc into a MR. (6)
Round 2: Inc around. (12)
Round 3: *Sc in next st, inc*; repeat around. (18)
Rounds 4 and 5: Sc in each st around. (18)
Round 6: *Sc in next st, dec*; repeat around. (12)
Stuff firmly, leaving a long tail.
Round 7: Dec around. (6) Fasten off, leaving a 12″ tail for sewing.
Part 3: The legs (make 8)
Cut each pipe cleaner in half. Fold about ¼″ over at both ends of each piece with pliers, so no sharp wire is exposed.
Make a slip knot on your hook, hold the pipe cleaner along the yarn, and work single crochet around the pipe cleaner, just as if it were a stitch, pushing each one close to the last. Cover it completely from one folded end to the other. Fasten off, leaving a tail of about 6″.
Each leg takes about 25 to 30 sc depending on your yarn. The count does not matter, only that no wire shows.
Part 4: Assembly
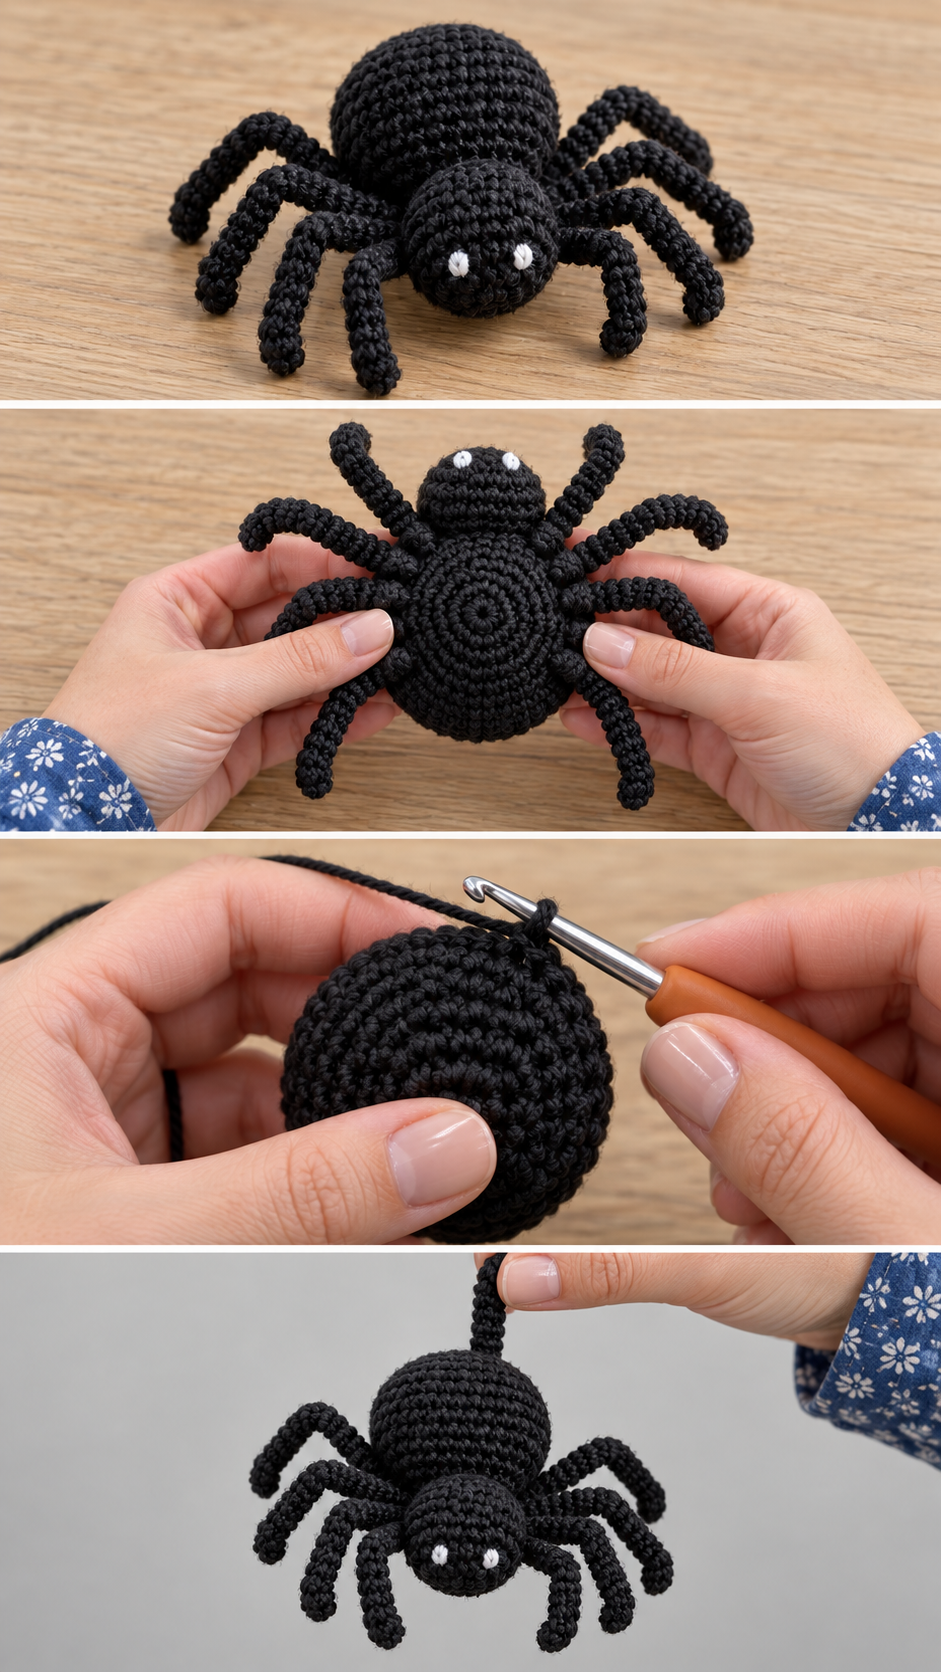
Sew the head to the front of the body with the long tail, stitching all the way around the join twice so it does not wobble.
Push four legs into each side of the body, between Rounds 6 and 8, spacing them evenly. Use each leg’s tail to stitch through the body and back several times, then knot inside.
Bend each leg into a knee about a third of the way along, then outward again near the foot. Spiders look most natural with the front pair reaching forward and the back pair pointing back.
Part 5: The face
Embroider two small white ovals for eyes on the head with a black dot in each, or use tiny safety eyes on a decorative spider. A small curved line in coloured yarn makes a smile. Two short fang stitches in white look playful rather than scary.
A soft leg option for play
For a spider a child can hold, skip the pipe cleaners. Instead, ch 16 for each leg, then work a sl st into the 2nd ch from hook and every chain back to the start. The legs will be floppy and soft, and completely safe. Sew them on the same way.
Displaying your spider
Sit the spider on the spider web coaster from this Halloween collection, perch it on the rim of a bowl of sweets, or hang it from a thin black thread tied to its back so it dangles from a shelf. A few spiders climbing up a curtain, held with a single stitch of thread, is simple and very effective.
Common mistakes and how to fix them
The legs keep falling over
The knee bends are too gentle. Bend them sharply, and point the feet slightly outward so they form a stable base.
Wire poking through
The ends were not folded. Fold them before crocheting, and add a few extra sc over each end.
The body looks egg-shaped
Too many straight rounds. Four rounds of 24 gives a sphere; more makes it oval.
Finishing and care
Dust gently or spot clean. Do not machine wash a pipe-cleaner spider — the wire can rust and stain the yarn.
Frequently asked
Can I make it in another colour?
Yes. Purple, orange or lime green spiders look fun and much less spooky, and are lovely for younger children.
How do I make a giant spider?
Use chunky yarn with a larger hook for the body, and thick chenille stems or wire wrapped in tape for the legs.
Choosing yarn for spiders
Black yarn hides stitches, which is the main challenge with a spider. A black with a slight sheen, such as mercerised cotton, shows the stitch definition far better than a matte acrylic. If you struggle to see your work, choose a very dark charcoal or a deep aubergine instead; from across a room it reads as black, but up close you can count your stitches.
Fuzzy black yarn makes a wonderfully hairy tarantula-style spider. It is harder to work with, so make a smooth one first to learn the shape.
Making a spider family
Spiders look best in groups at different sizes. Make one as written, one in DK with a smaller hook for a baby spider, and one in chunky for a big parent. Pose them climbing up a curtain, hanging from a lamp or marching across a bookshelf in a line. A small spider tucked into an unexpected place — inside a cupboard, peeking out of a mug — is the kind of joke that makes Halloween fun in a house with children.
Before you start
Cut and fold your pipe cleaners before you begin the body, so the legs are ready when you need them. More spooky makes are in Halloween.