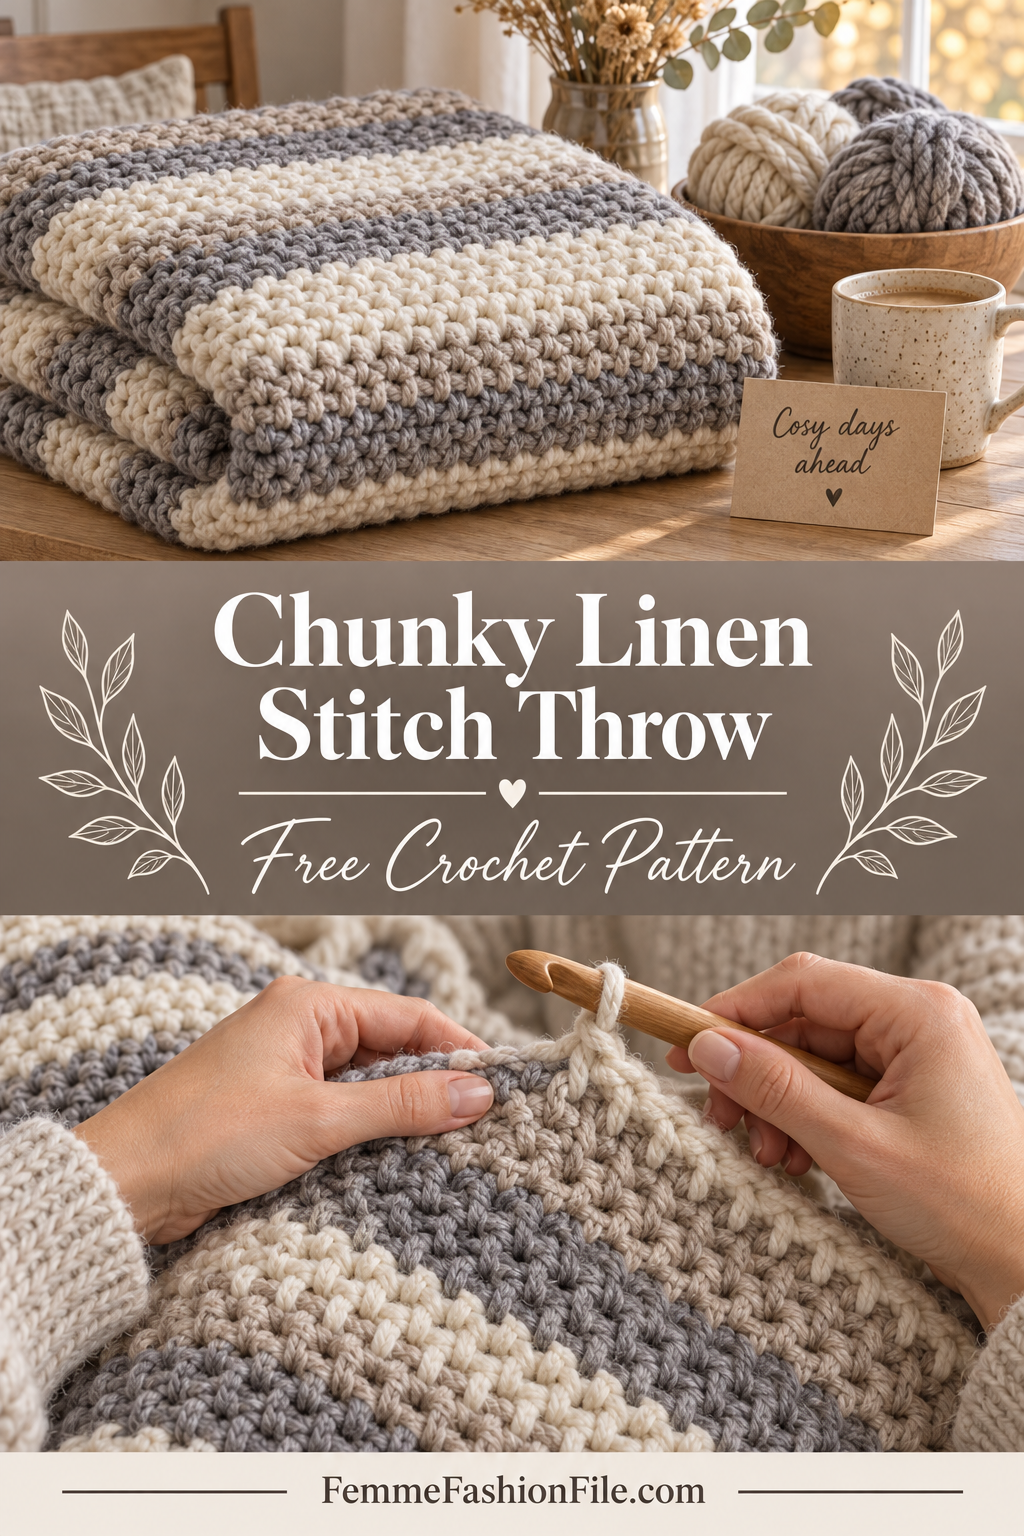
Chunky Linen Stitch Throw Blanket – Free Crochet Pattern
Most blanket patterns ask you to choose between fast and good-looking. Chunky yarn is fast but tends to produce a loose, holey fabric that snags on everything. Fine yarn looks lovely and takes a winter. A linen stitch throw blanket is the way out of that choice.
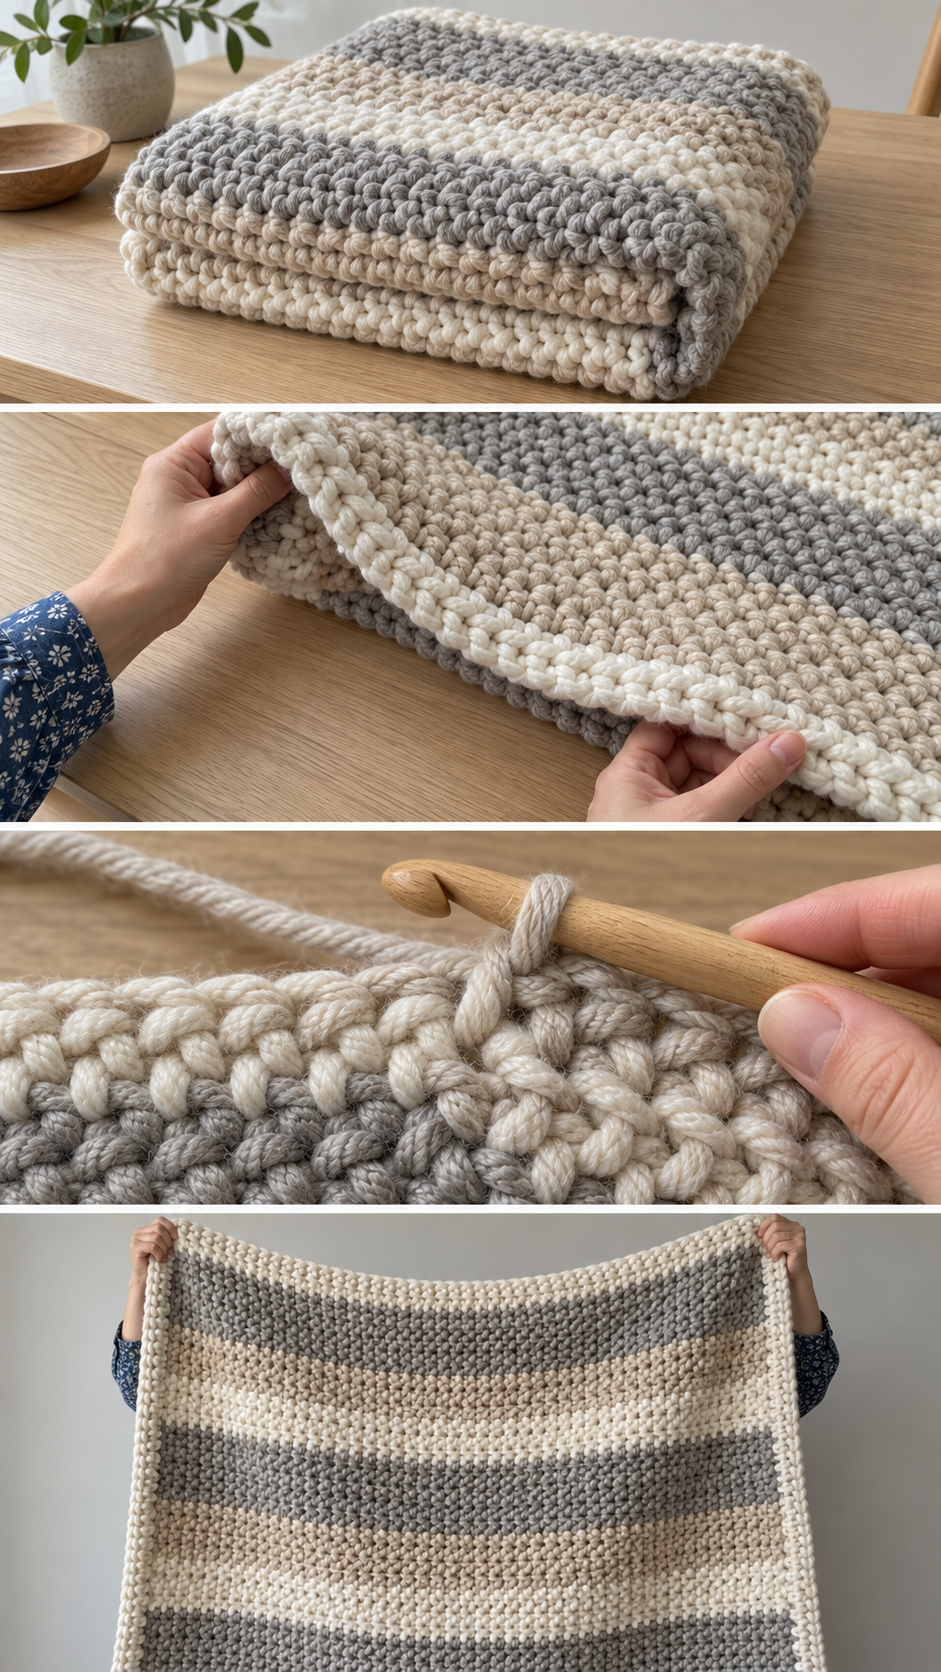
Also called moss stitch or woven stitch, it is nothing more than single crochet and chain one, worked into the gaps of the row below. The result is a dense, flat, almost woven-looking fabric with no holes to catch a finger, and in super bulky yarn it grows quickly enough to finish a sofa throw in a couple of weekends.
It is also the best stitch there is for colour. Because each row sits offset from the one below, stripes blend into each other instead of stacking in hard bands. Two or three shades of the same colour look like a single tweedy yarn from across the room.
You need a chain and a single crochet. That is the whole list.
Why this linen stitch throw blanket works
Linen stitch lives entirely in the spaces. Every single crochet goes into a chain-one gap from the row below, never into a stitch. That offsets each row by half a stitch, which is what produces the tight, interlocked texture — there is no straight vertical line anywhere for a hole to open along.
It also makes the pattern self-checking. Every row has exactly the same number of single crochet as the row before. Count the first row once, write the number down, and check it every few rows. If the number changes, you have missed or doubled a space, and you will know within one row rather than discovering a slanted edge a foot later.
The honest trade-off: linen stitch is dense, and density means yarn. A linen stitch blanket uses noticeably more yardage than the same size in double crochet, and it is heavier. That weight is part of why it feels good on your lap. It is also why I would not make this one for a baby — it is too heavy to be a safe infant blanket.
Materials you will need
Yarn: super bulky weight, category 6. For a 50″ × 60″ throw, plan on roughly 1,100–1,400 yards, but treat that as a starting point rather than a promise — see the gauge section for how to calculate your own. Buy all of it at once and check the dye lot.
A wool blend gives the best drape and warmth. Chenille and velvet-style chunky yarns look luxurious but are slippery and hard to count in linen stitch; I would avoid them for a first blanket.
- Hook: 10 mm (N/P-15) — one size larger than your yarn label recommends
- Notions: stitch markers, a large-eyed tapestry needle, scissors
- Optional: a second and third colour if you want blended stripes
Going up a hook size is not optional here. Linen stitch pulls in tighter than you expect, and on the label-recommended hook the fabric becomes stiff enough to stand up on its own. The bigger hook keeps it soft.
Gauge and sizing
Chain 20 and work 12 rows in linen stitch as below, then measure the middle of the swatch. Count both the single crochets and the chain-ones across 4″ — in linen stitch each one takes up about the same width, so together they are your stitches per inch.
Mine came out at roughly 2 stitches and 2½ rows per inch. Yours will differ, and that is fine.
To size the blanket, multiply your target width by your stitches per inch, then round to the nearest even number. That is your foundation chain. It has to be even for the stitch pattern to come out right at both edges.
- Baby / stroller (not for sleeping): 30″ × 36″
- Lap / throw: 50″ × 60″
- Twin bed topper: 66″ × 90″
Working out yardage: weigh your swatch, divide its weight by its area in square inches, and multiply by the area of your blanket. Then compare with the weight per skein on your yarn label. It is five minutes with a kitchen scale and it stops you running out two rows from the end.
Abbreviations
- ch = chain: yarn over and pull through the loop on your hook.
- sc = single crochet: insert hook, yarn over and pull up a loop (2 loops on hook), yarn over and pull through both.
- ch-1 sp = the gap under a single chain from the row below. In linen stitch this is where every sc goes.
- sk = skip: pass over the next stitch or chain without working into it.
- sl st = slip stitch: insert hook, pull a loop through the stitch and the loop on your hook together.
Pattern notes
- Worked flat in rows, turning at the end of each.
- Every sc from Row 2 onward goes into a ch-1 space, not into a stitch. This is the single most important thing in the pattern.
- The ch 2 at the start of each row counts as your first sc and its ch-1. The last sc of each row goes into the space under that turning chain from the row below.
- Count your sc on Row 1 and write it down. Every row has the same number.
- For stripes, change colour on the last yarn-over of the final sc in a row, then carry on in the new colour.
Step by step
Part 1: The foundation and first row
Foundation: Chain an even number — your target width times your stitches per inch, rounded to even.
Row 1: Sc in the 4th ch from the hook. *Ch 1, sk next ch, sc in next ch*; repeat from * across to the last ch. Turn.
The three chains you skipped at the start act as the turning chain and the first gap. Count your sc now and write the number down.
Check: your sc count should equal (foundation chain − 2) ÷ 2. Chain 100 and you will have 49. If it does not match, your foundation was an odd number — add or remove one chain and start again.
Part 2: The body
Row 2: Ch 2. Sc in the first ch-1 sp. *Ch 1, sc in next ch-1 sp*; repeat from * across, working the last sc into the space under the turning chain at the end of the row. Turn.
Row 3 onward: Repeat Row 2 until the blanket reaches your target length, ending on a completed row.
That is genuinely the whole body. Two lines of pattern, repeated a hundred and fifty times. It is the kind of crochet you can do while watching something, which is most of its appeal.
Check every ten rows: count the sc and measure the width at the bottom and the top. If the width is shrinking, you are missing the last space under the turning chain. If it is growing, you are working into it twice.
Part 3: Blended stripes (optional)
Linen stitch shows colour changes differently from most stitches. Because each row is offset, a two-row stripe reads as a soft band rather than a hard line.
A reliable approach is three shades of one colour — say a cream, an oatmeal and a warm grey — changed every two rows in a repeating order. From a distance it reads as one textured yarn; up close you see the stripes.
Carry the unused colours loosely up the side edge rather than cutting them each time, twisting them once with the working yarn every couple of rows. The border in Part 4 will cover the carries completely, and you save yourself dozens of ends to weave in.
Part 4: The border
A border squares off the edges, hides the colour carries and gives the blanket a finished frame.
Round 1: Join yarn in any corner. Ch 1. Work sc evenly around all four sides, placing 3 sc into each corner. Along the row ends, work about 1 sc per row. Join with a sl st to the first sc.
Rounds 2 and 3: Ch 1, sc in each st around, working 3 sc into the centre stitch of each corner. Join.
Watch the edge rather than the count along the sides. If it ripples, you are adding too many; if it pulls in and puckers the blanket, add more. Fasten off.
Finishing and care
Weaving in: in super bulky yarn, weave each end back and forth through at least three or four stitches in different directions. Thick yarn slips out if you only go one way.
Blocking: lay the finished blanket flat, spray it lightly with water and pat it into a rectangle. Linen stitch relaxes noticeably with blocking and the texture evens out.
Washing: follow your yarn label, but most chunky blends do best hand washed cool and dried flat. A wet super bulky blanket is extremely heavy — never hang it to dry, or it will stretch out of shape and stay that way.
Frequently asked
Why are my edges uneven?
Nearly always the last stitch of the row. The final sc belongs in the space under the turning chain from the row below, and it is easy to miss or to put in the wrong place. Mark that space with a stitch marker at the end of each row until the habit sets in.
Can I use a thinner yarn?
Yes. The stitch pattern works in any weight, and the gauge method sizes it for you. In worsted weight the fabric is beautiful and very durable, but expect it to take three or four times as long as super bulky.
Why does my blanket feel stiff?
Your hook is too small for the stitch. Linen stitch is naturally dense, so it needs a hook one or two sizes bigger than the yarn label suggests. Swatch again on a larger hook and the difference is immediate.
Is this safe for a baby?
Not for sleeping. Any heavy or chunky blanket is a suffocation risk for infants, and current safe-sleep guidance is to keep blankets out of a baby’s sleep space entirely. The small size is fine as a stroller or play blanket under supervision.
Before you start
Make the swatch and count its stitches properly. Everything in this pattern — width, yardage, foundation chain — comes from that one small square, and it takes twenty minutes.
More cosy makes live in Blankets & Afghans. If you make one, I would love to see it.